A Day the Grand Temple Inscribed with Ages is the second quest under the A Long Day in the Mountain Quest Chain released in Genshin Impact version Luna VI. It’s the continuation of ‘The Wind Has Ceased’ quest, where we will unlock The Temple of Space, a whole new sub-region like Enkanomiya and The Chasm: Underground Mines. This guide will help you complete A Day the Grand Temple Inscribed with Ages quest it in Genshin Impact.
- A Day the Grand Temple Inscribed with Ages Quest Guide
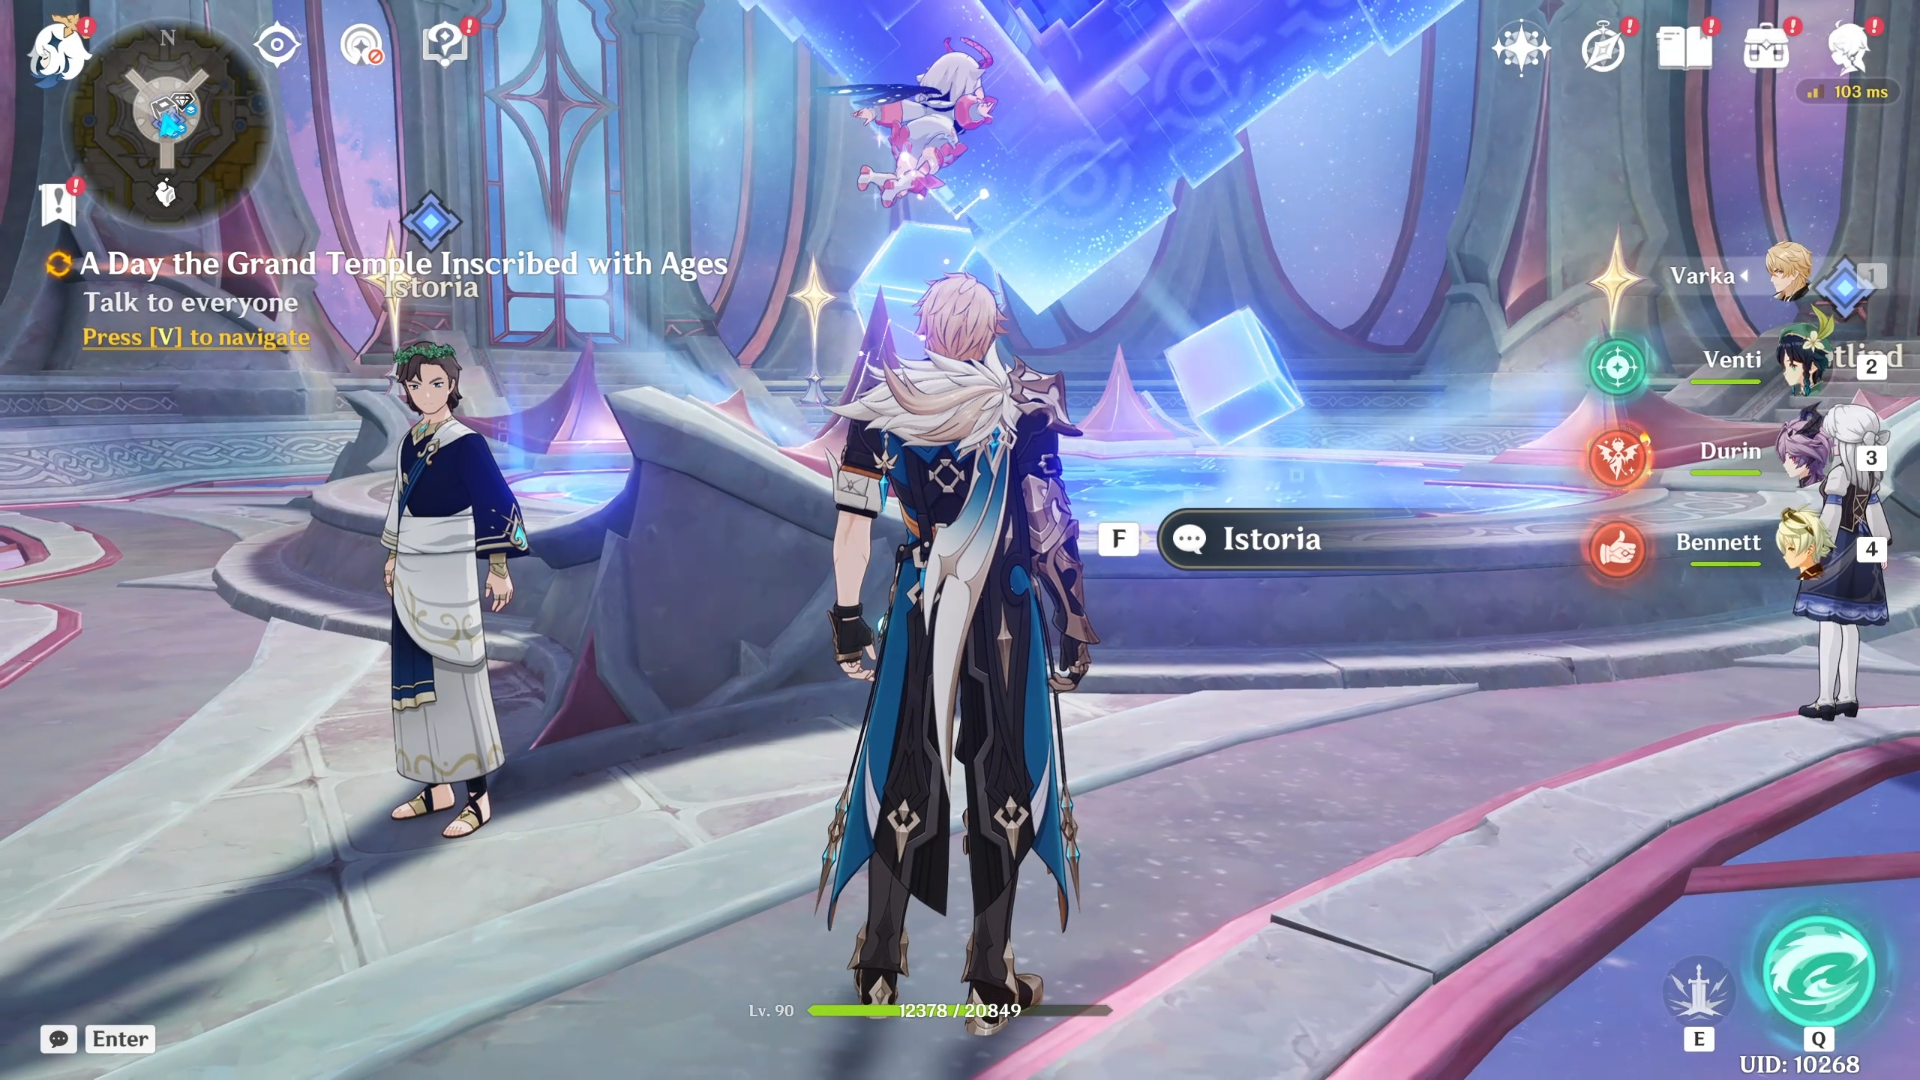
A Day the Grand Temple Inscribed with Ages Quest Guide
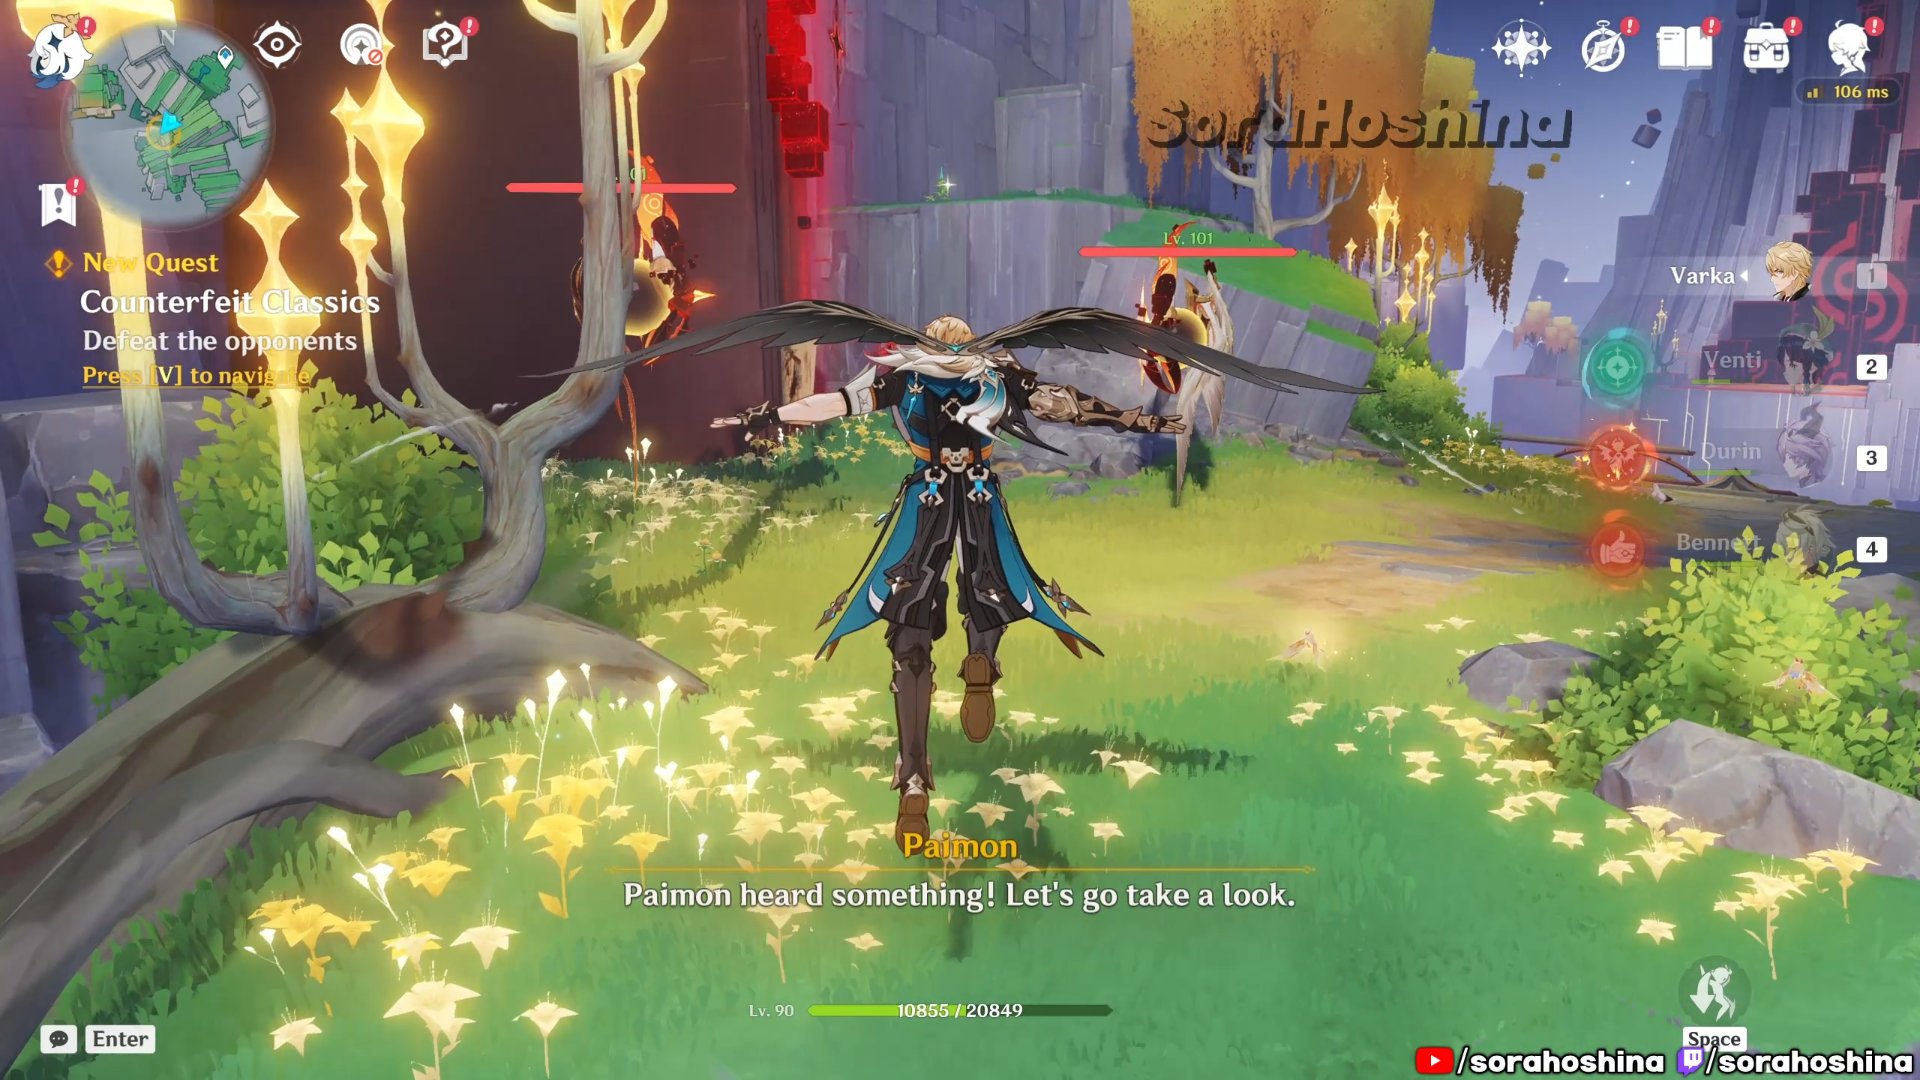
You will obtain the ‘A Day the Grand Temple Inscribed with Ages’ quest, immediately after completing ‘The Wind Has Ceased’ quest that can be started in Dornman Port, Mondstadt. There are 3 locations you need to go, and find Zeitlind’s lost belonging. All these locations will also trigger their respective quests, namely Long Live Life, Counterfeit Classics, and Unofficial Chronicle of the Desert Pavilion.
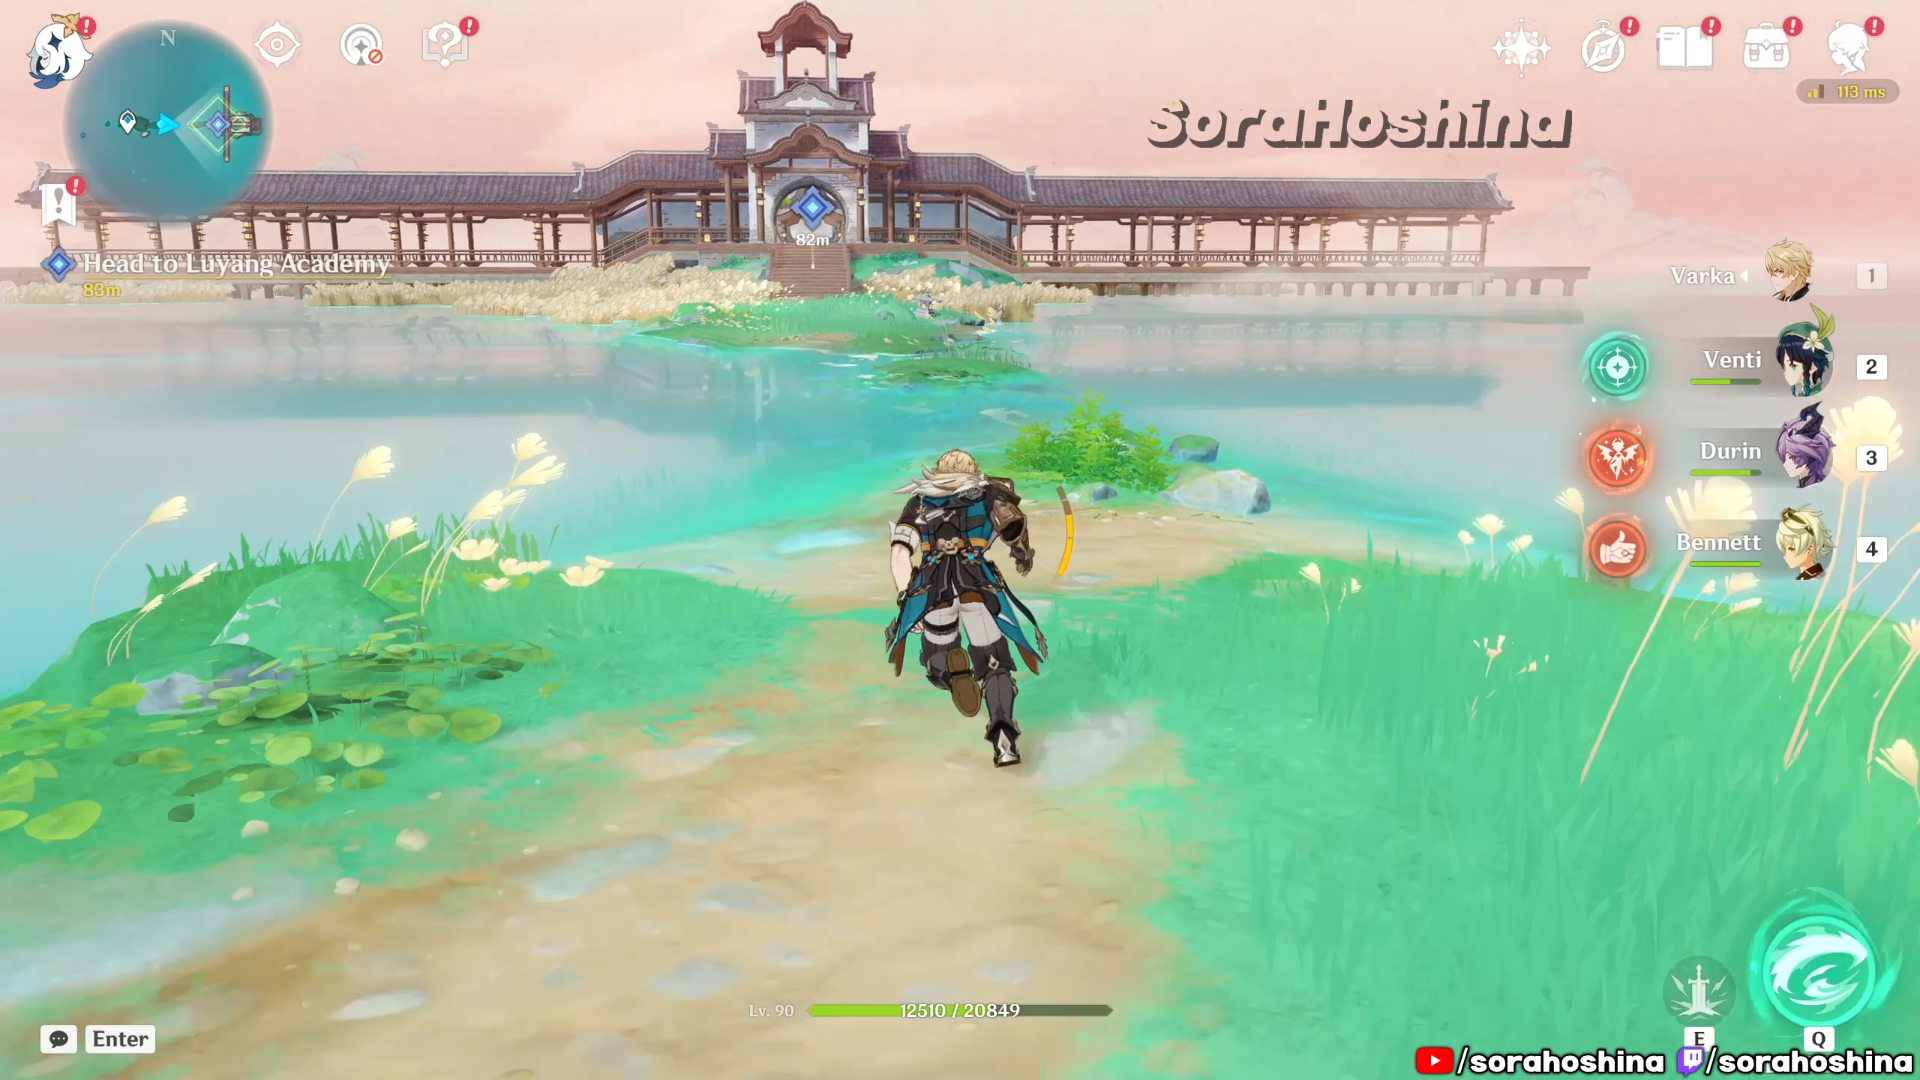
Long Live Life – Investigate and liberate Luyang Academy
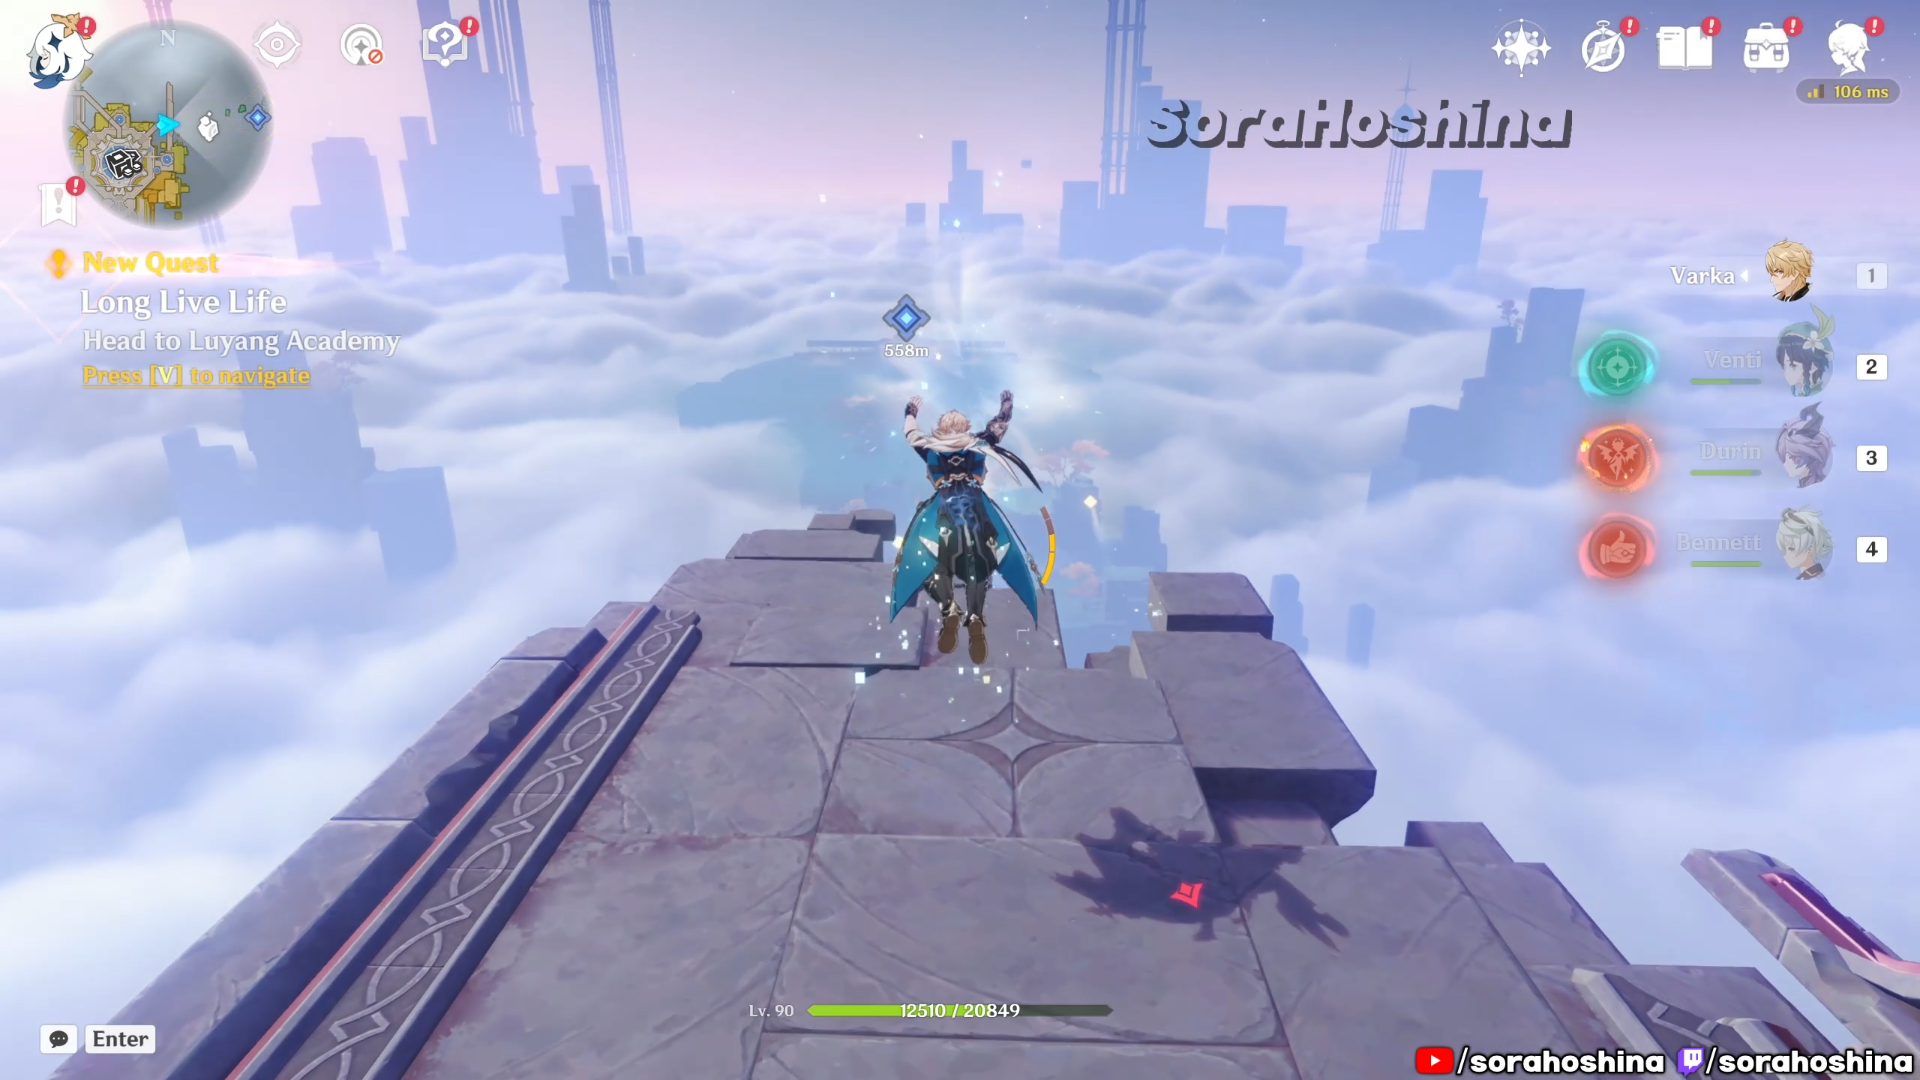
You should start with Luyang Academy as the current spot you are right now is extremely close to the ‘portal’ you need to use to reach the Luyang Academy (if you didn’t unlock the teleport waypoint there yet). You can then use the wondrous Harpasta to transform into a moth and fly through the air until you reach the destination.
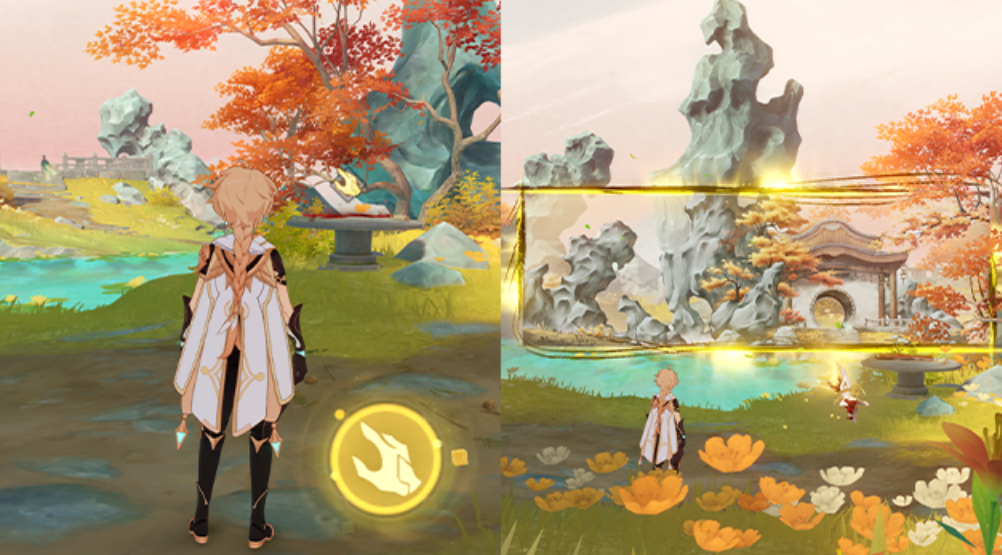
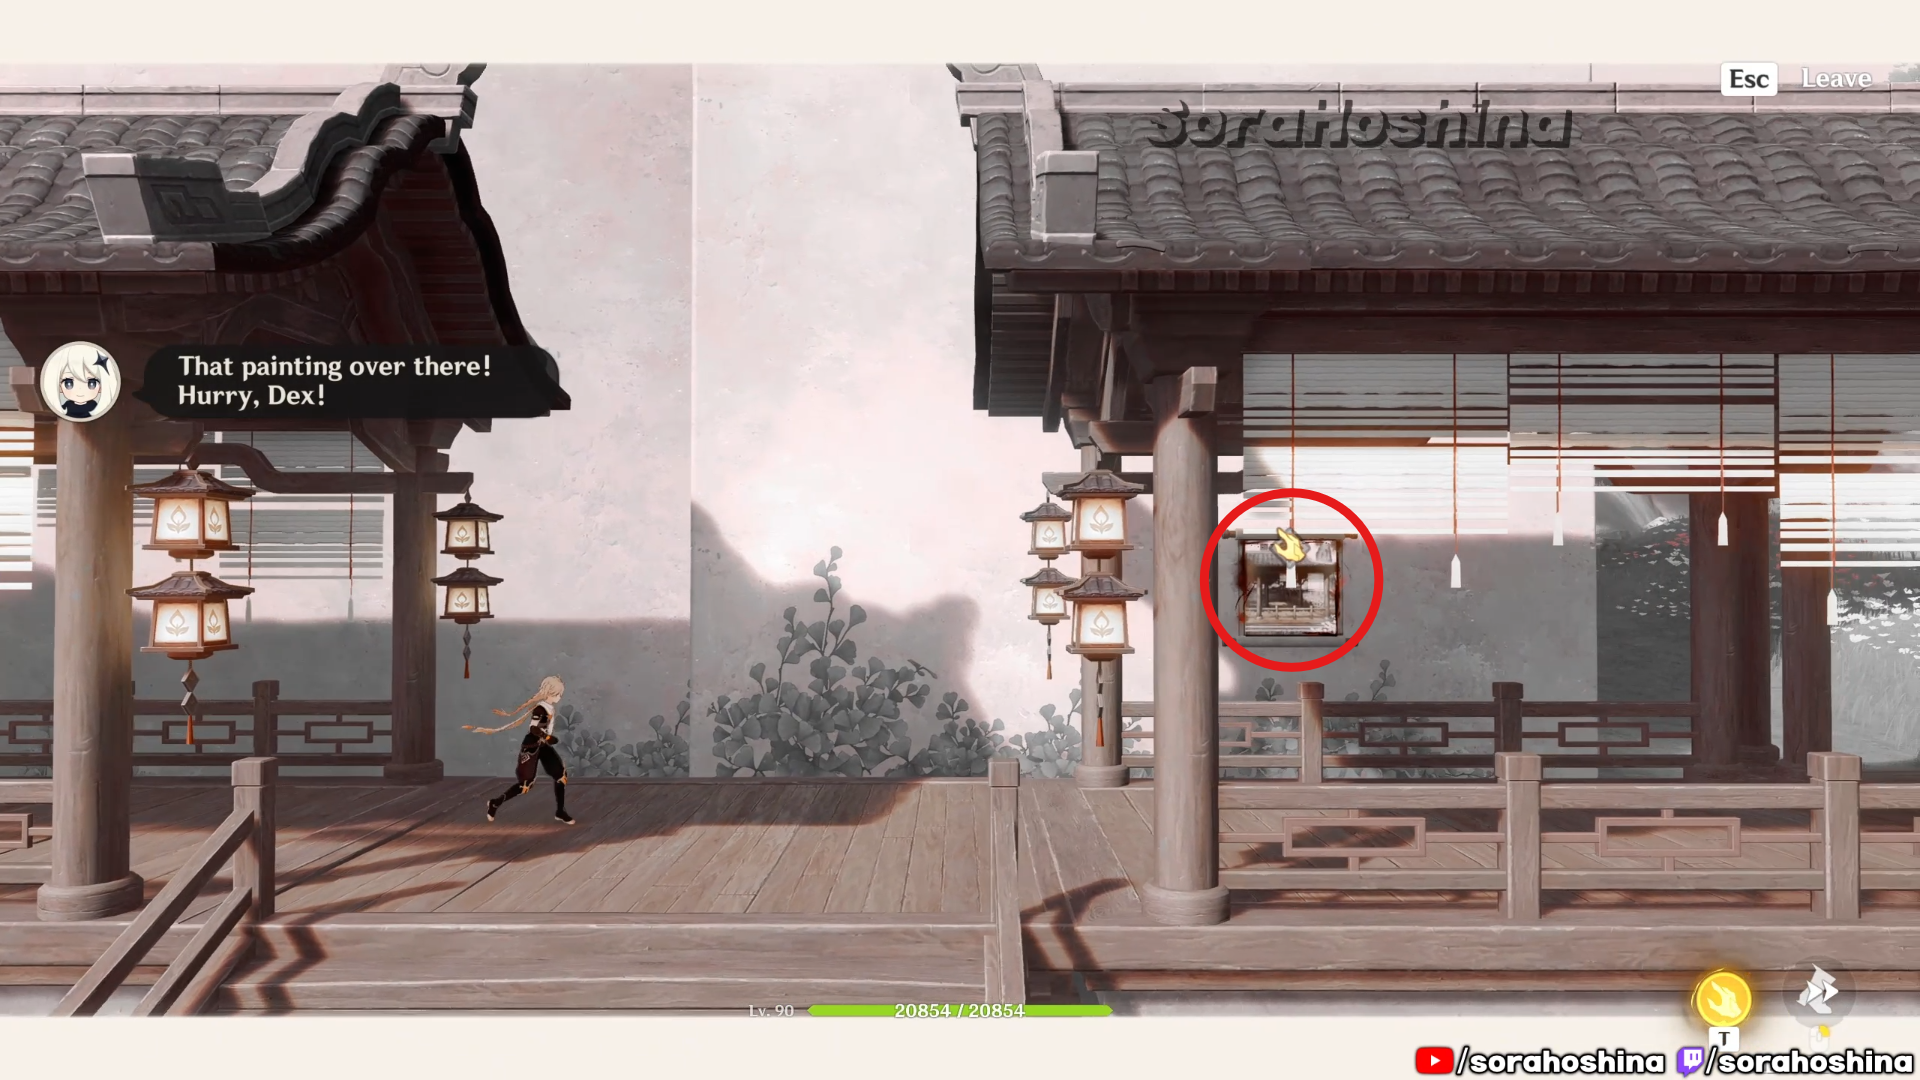
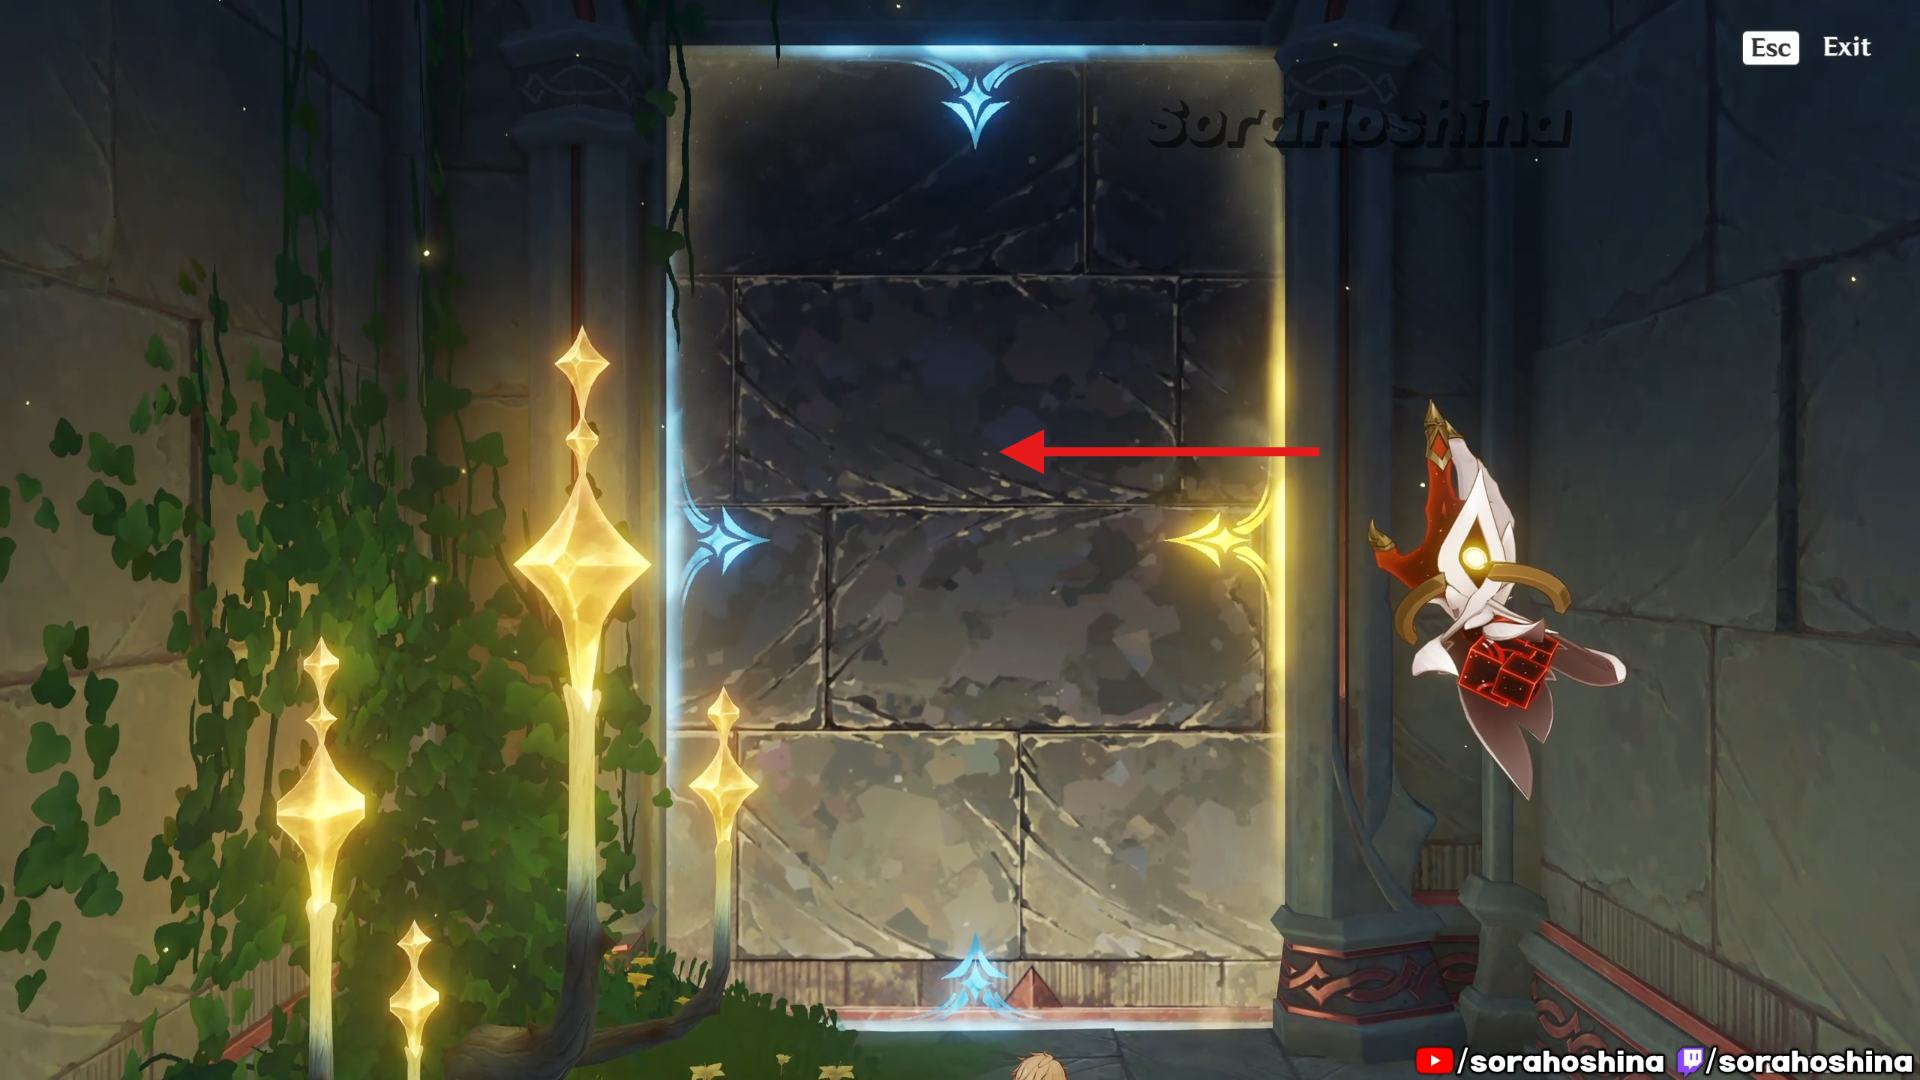
The puzzle for this location is all about World in a Painting mechanism. The paintings in this area have pockets of space sealed inside them. Dex can restore the space trapped within the painting and manifest objects from the painting into the physical world.
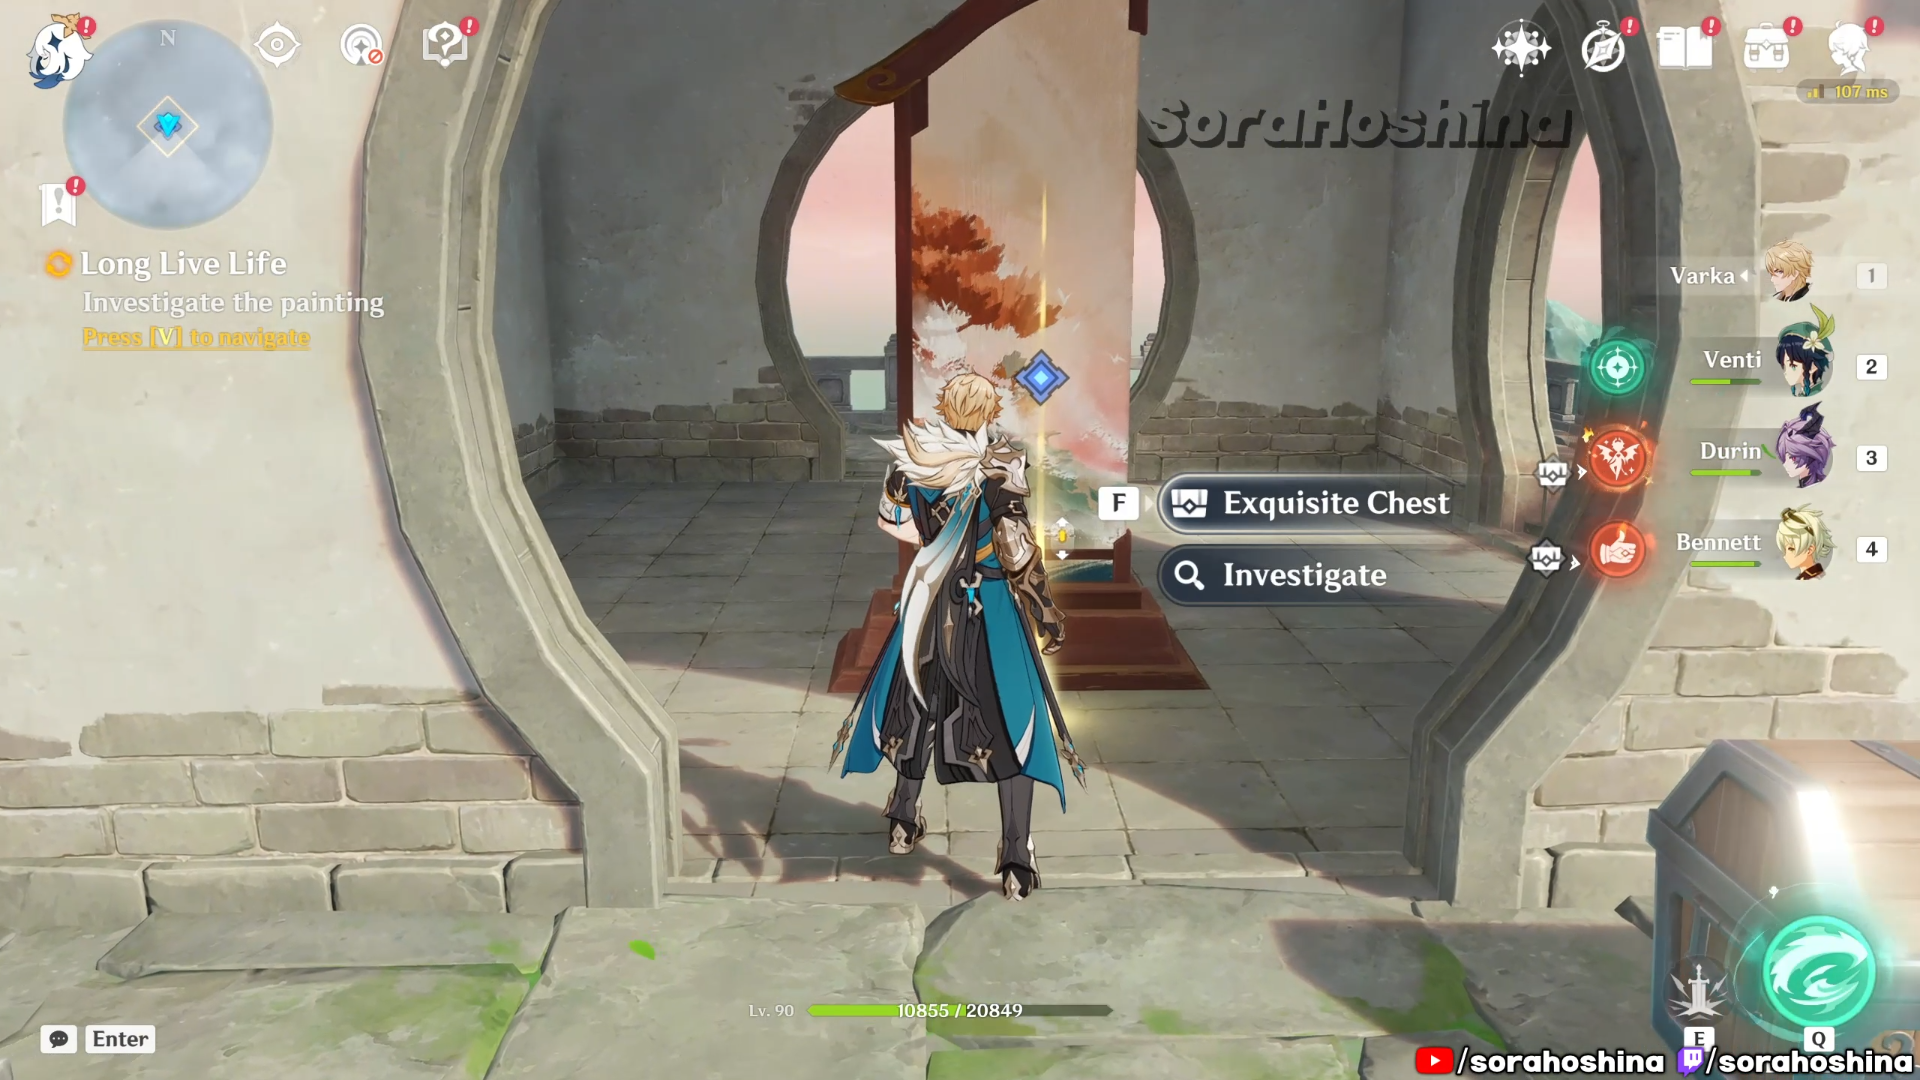
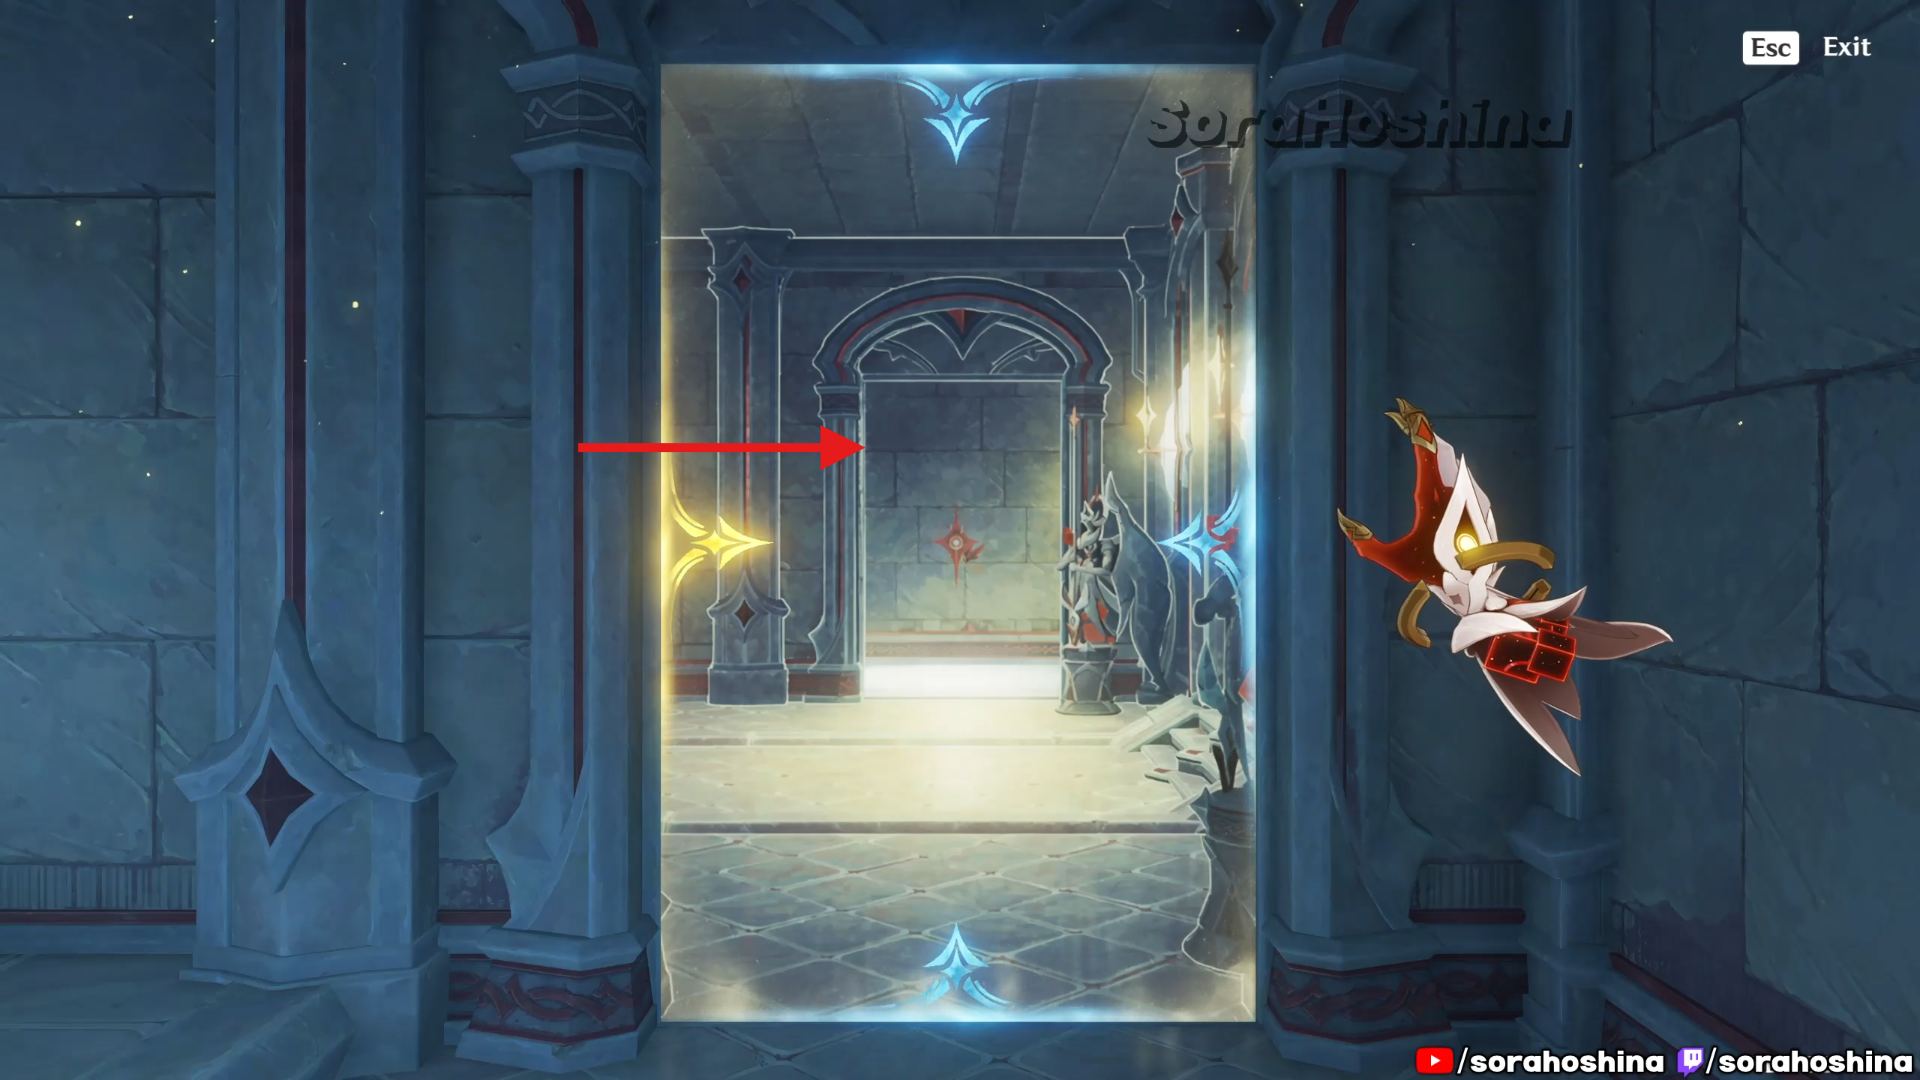
Once you’re at the Luyang Academy, investigate the strange ink mark and the room at the edge of the academy. If you noticed, there’s basically nothing in here, and that’s because the whole academy is sealed inside a painting.
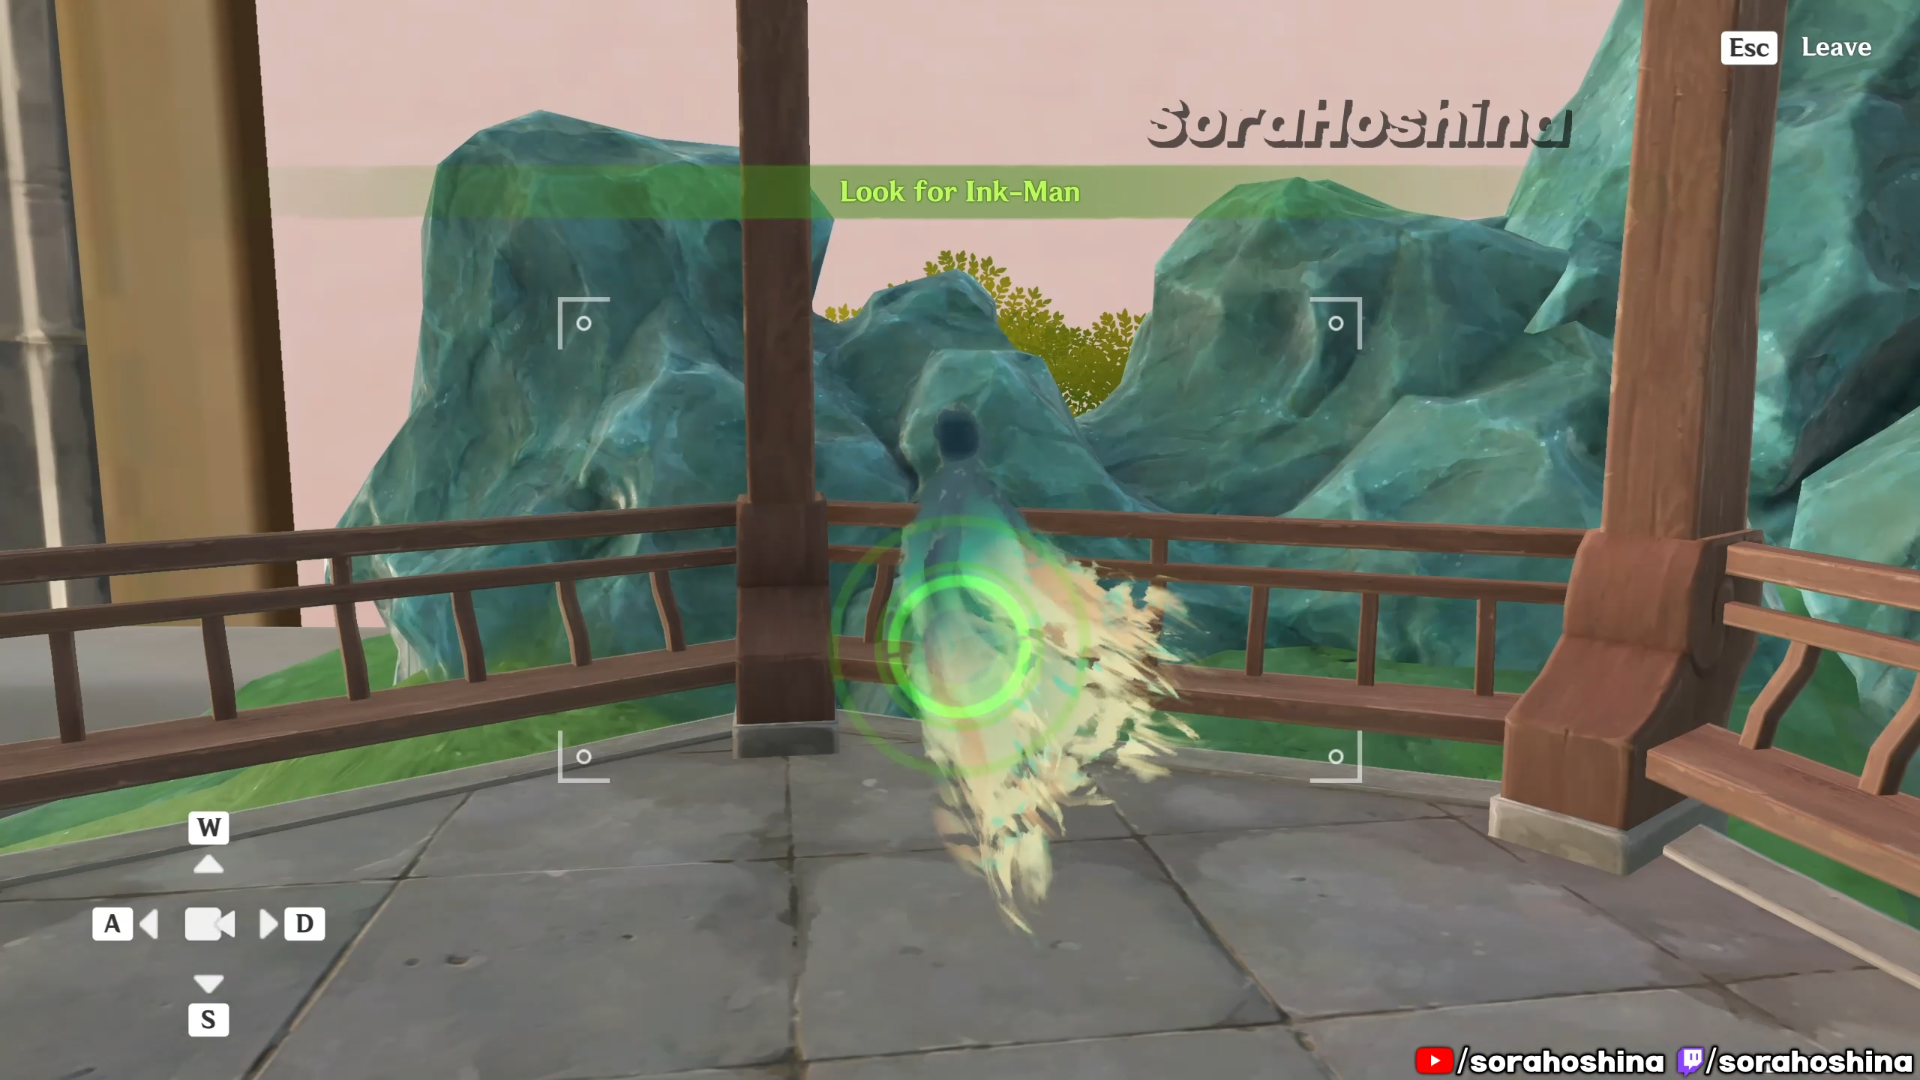
After examining everything and you’re at the miniature building, find the Ink-Man inside it. You can see it like in the image above. You will then be transported to another space to progress the quest.
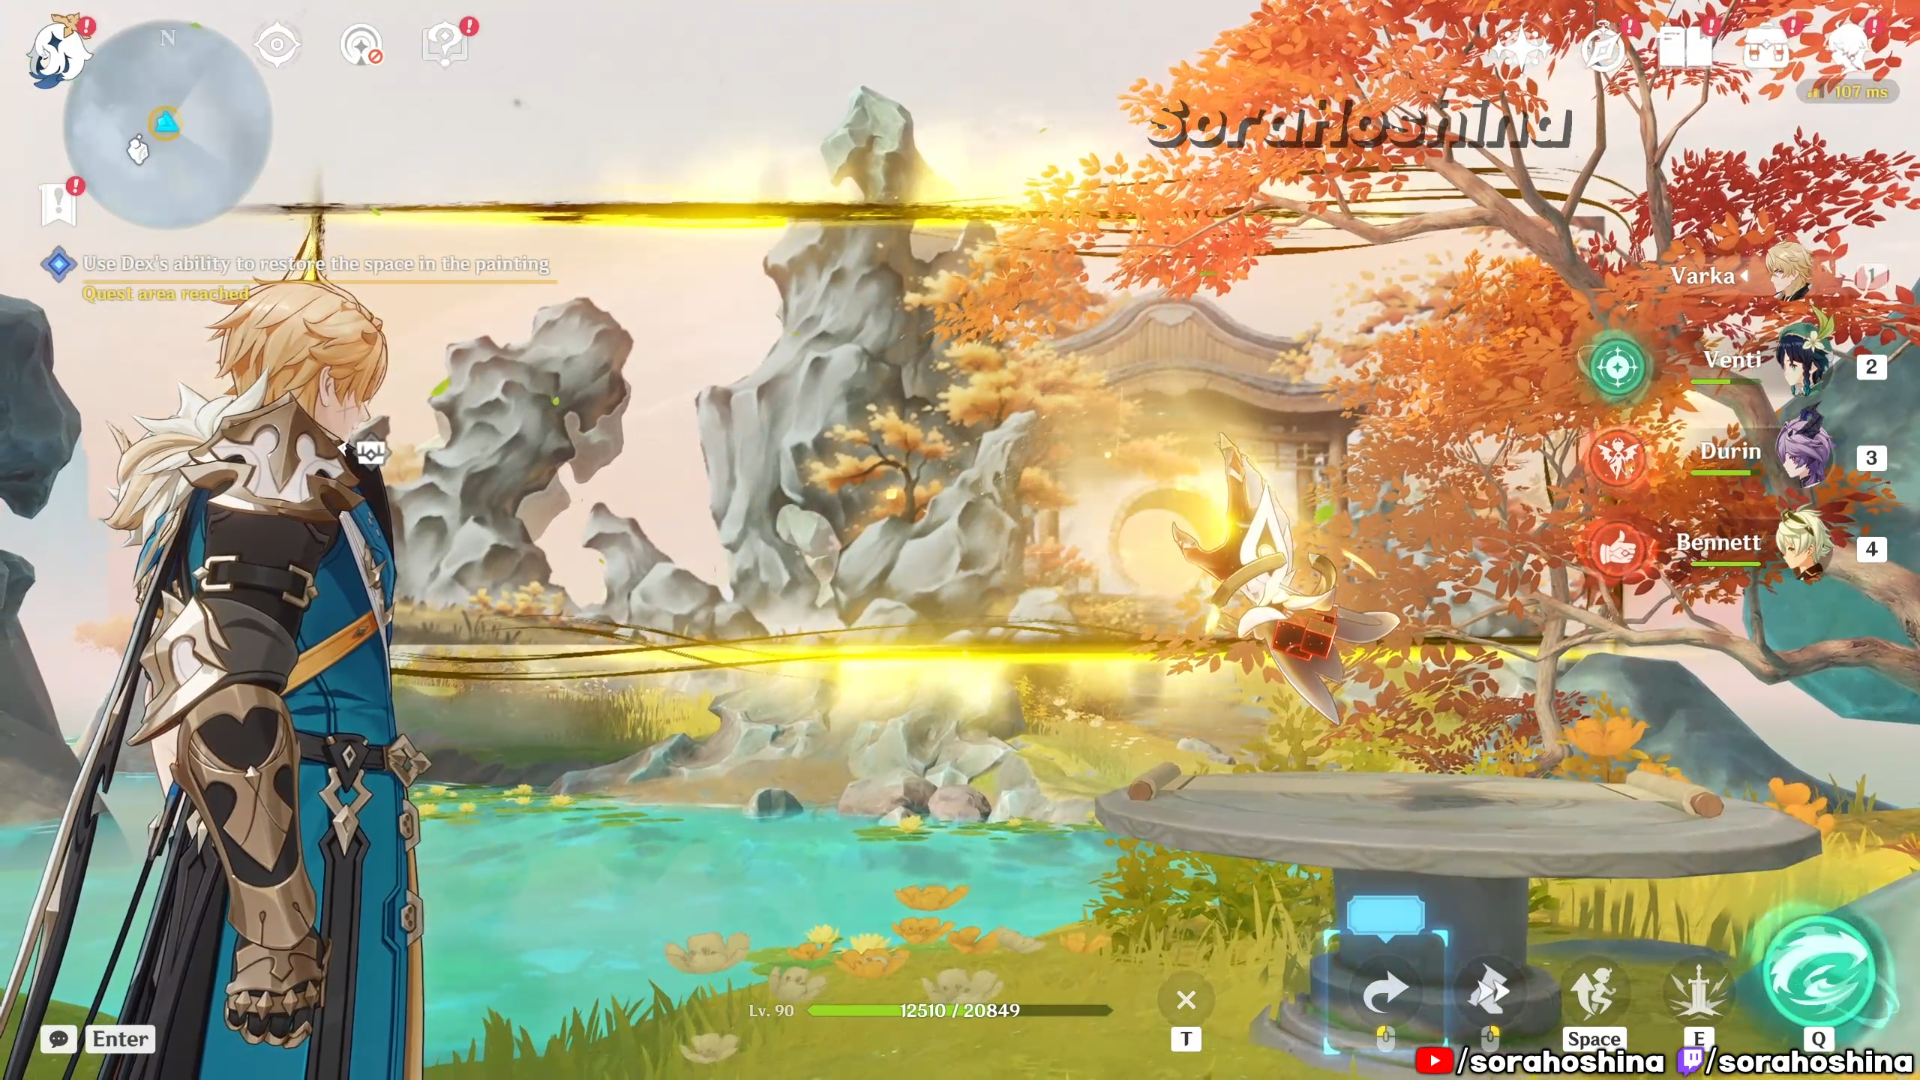
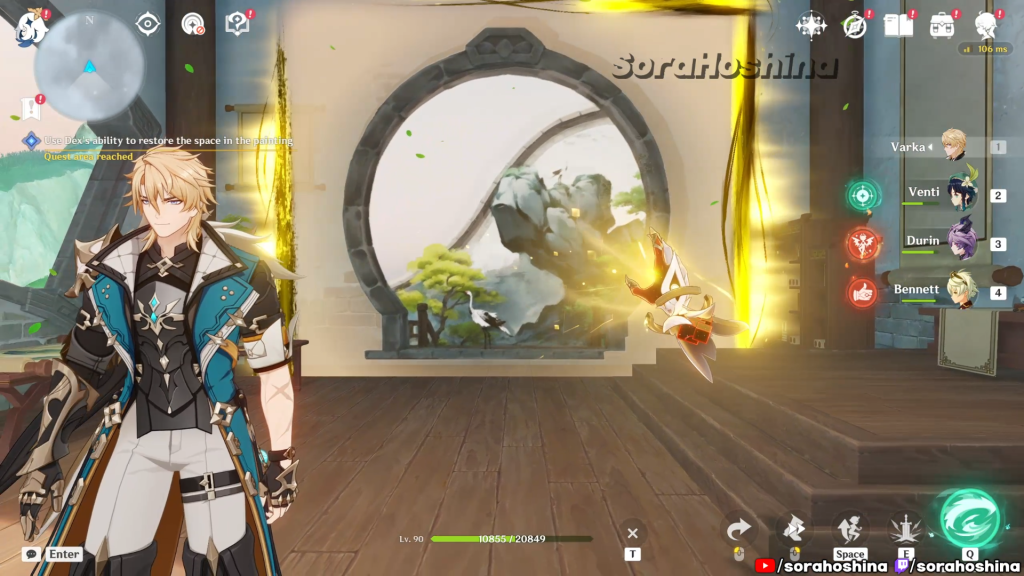
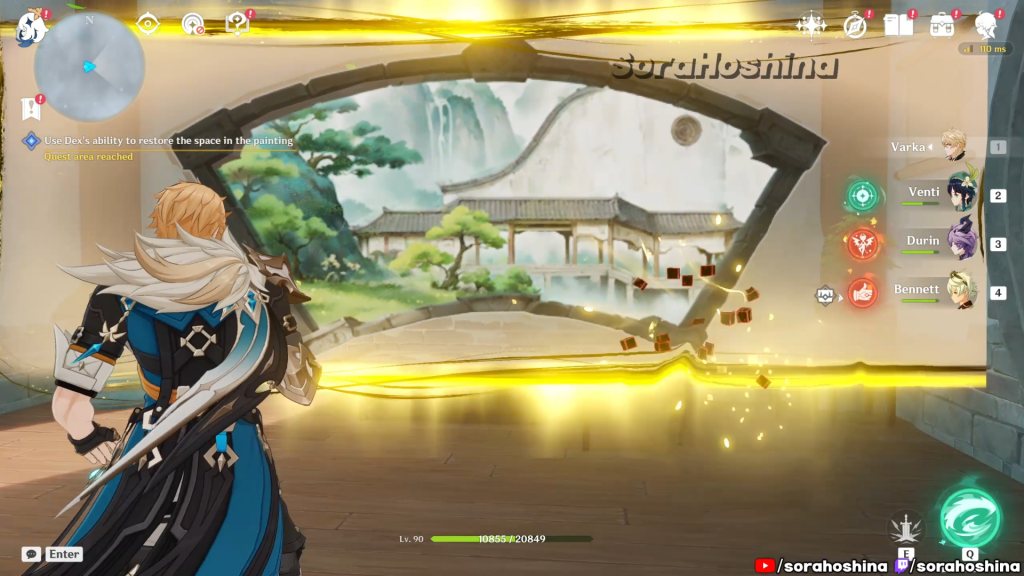
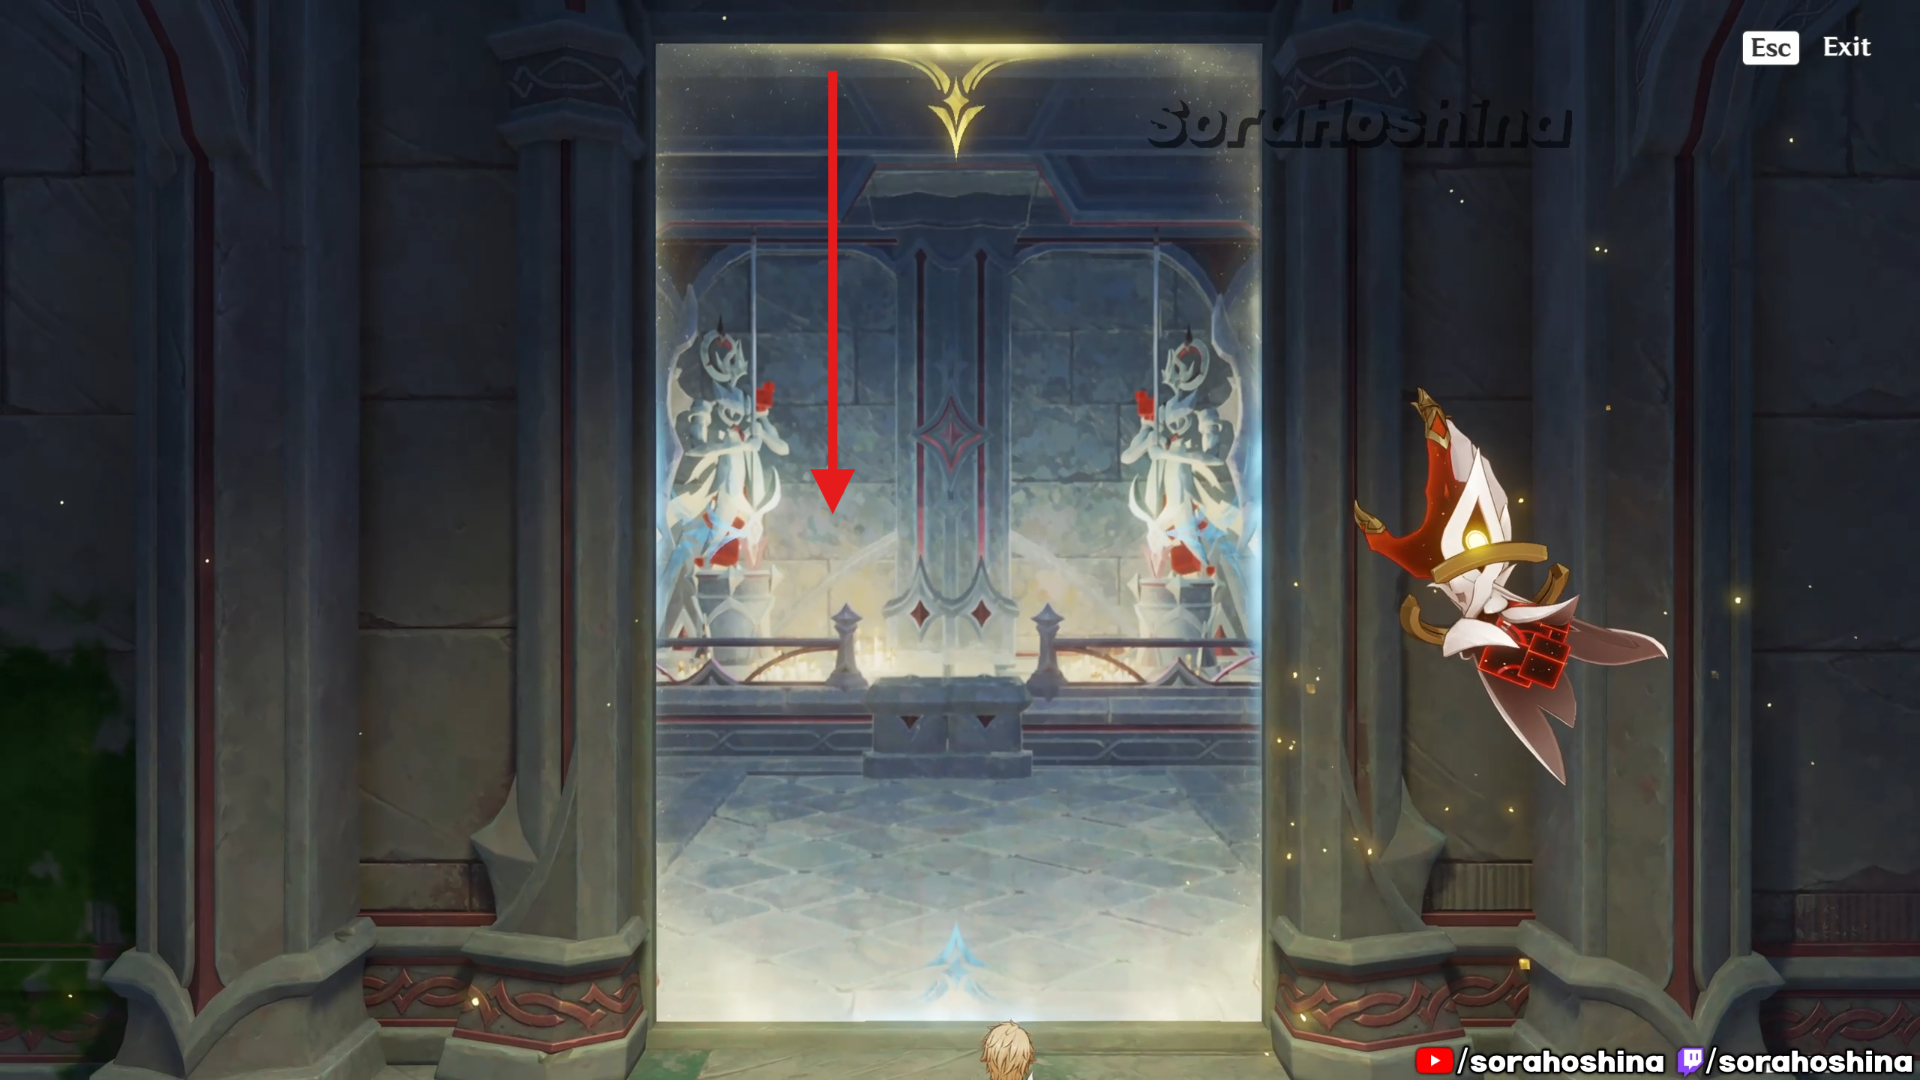
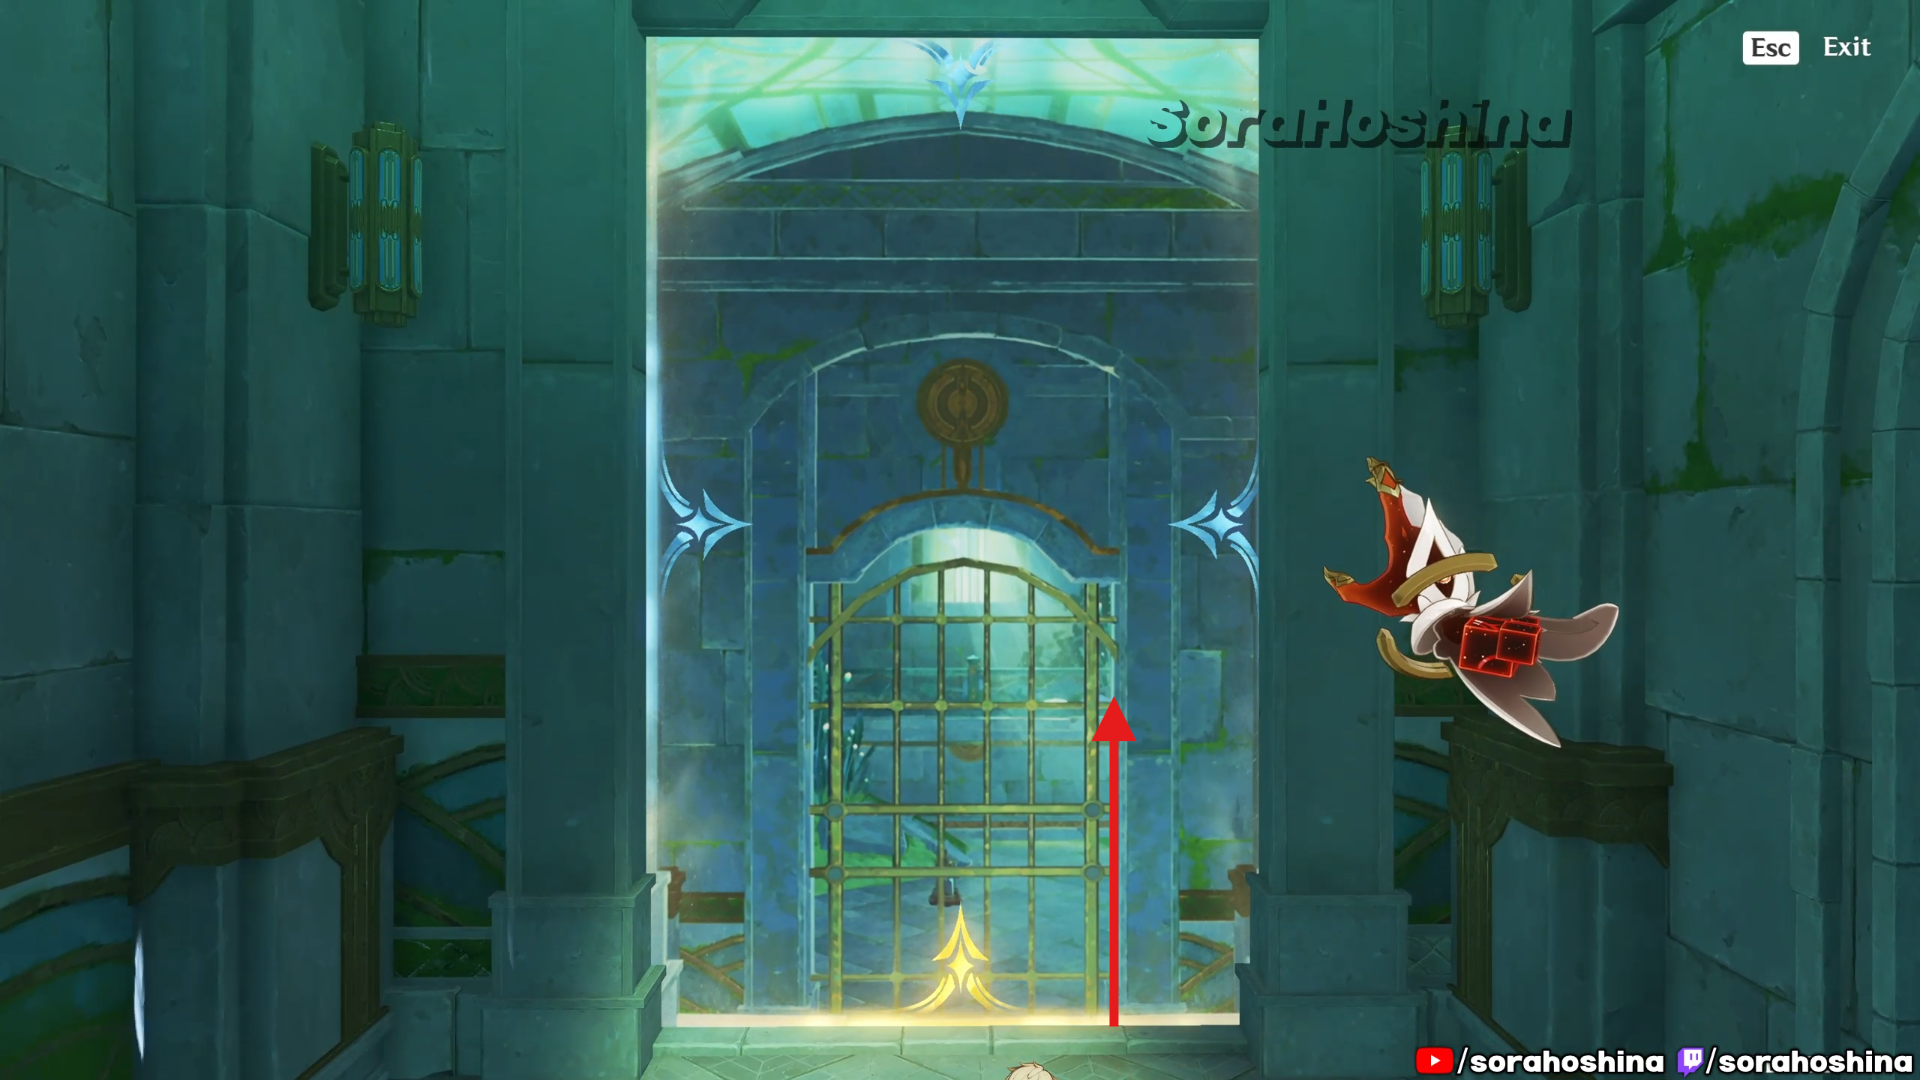
Keep following the Ink-Man to let it continue showing the way. On the table, there will be a painting. Let Dex pick it up, and align it with the background so it can manifest the building in real life. You can then go to the newly solidified building.
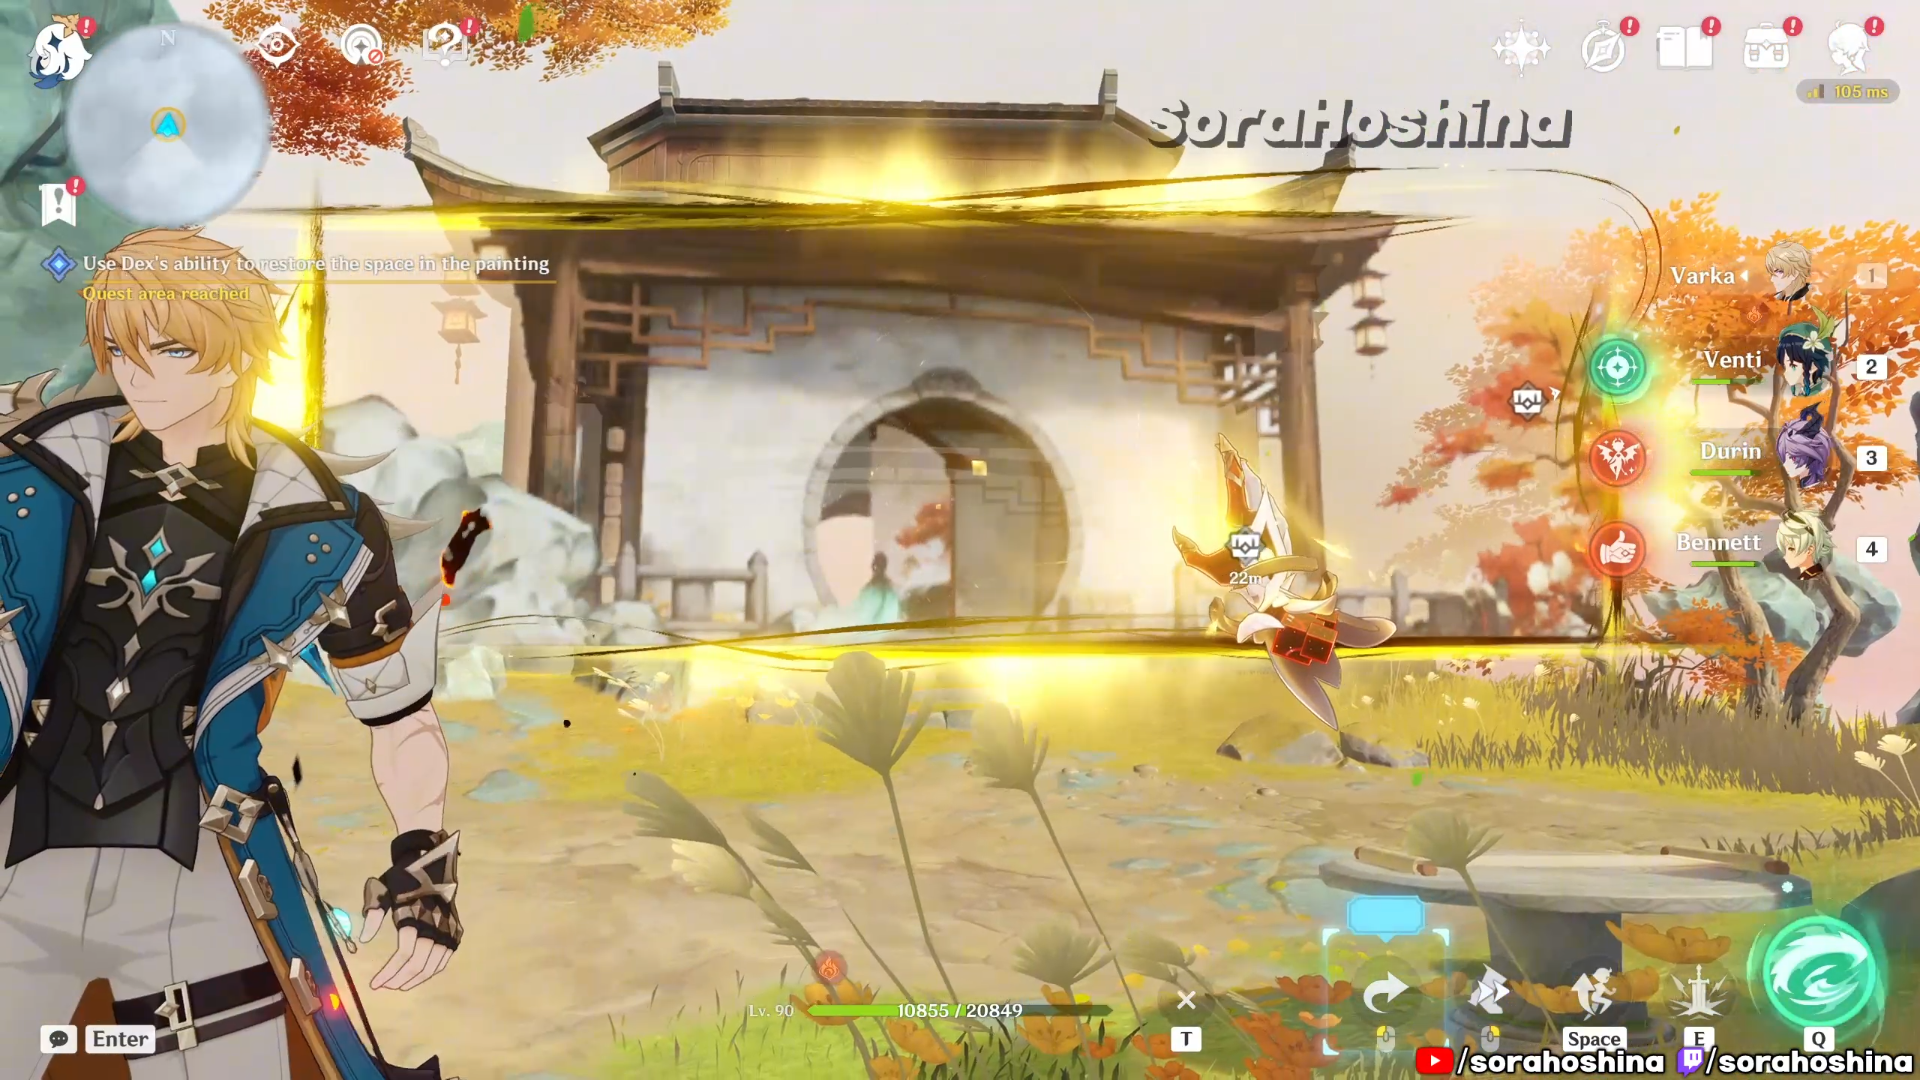
The second painting also has the same mechanism. If you’re confused on where to align it, refer to the image above for the right spot and continue the quest.
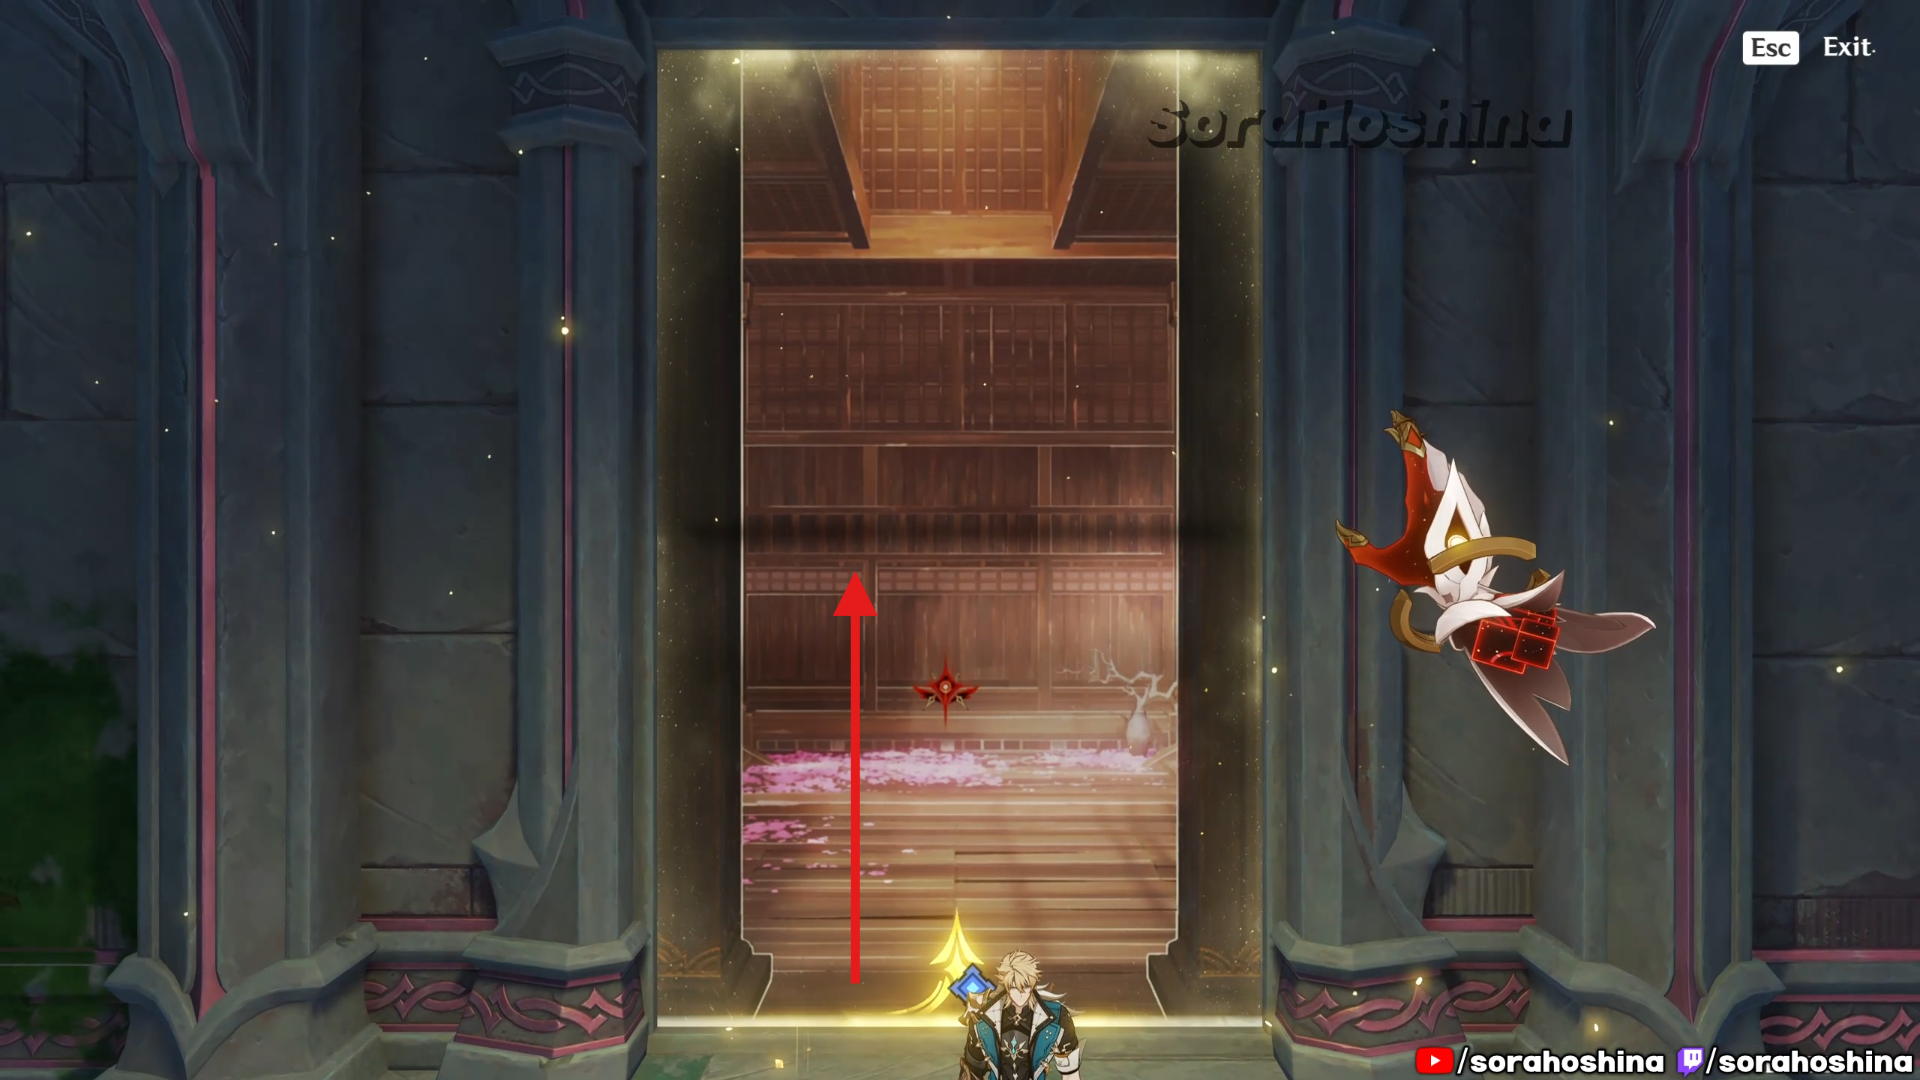
Now, investigate the painting to be transported back to the original Luyang Academy. More spaces will be unlocked so you can just follow the quest navigation until you reach the last room and find the first of Zeitlind’s belonging.
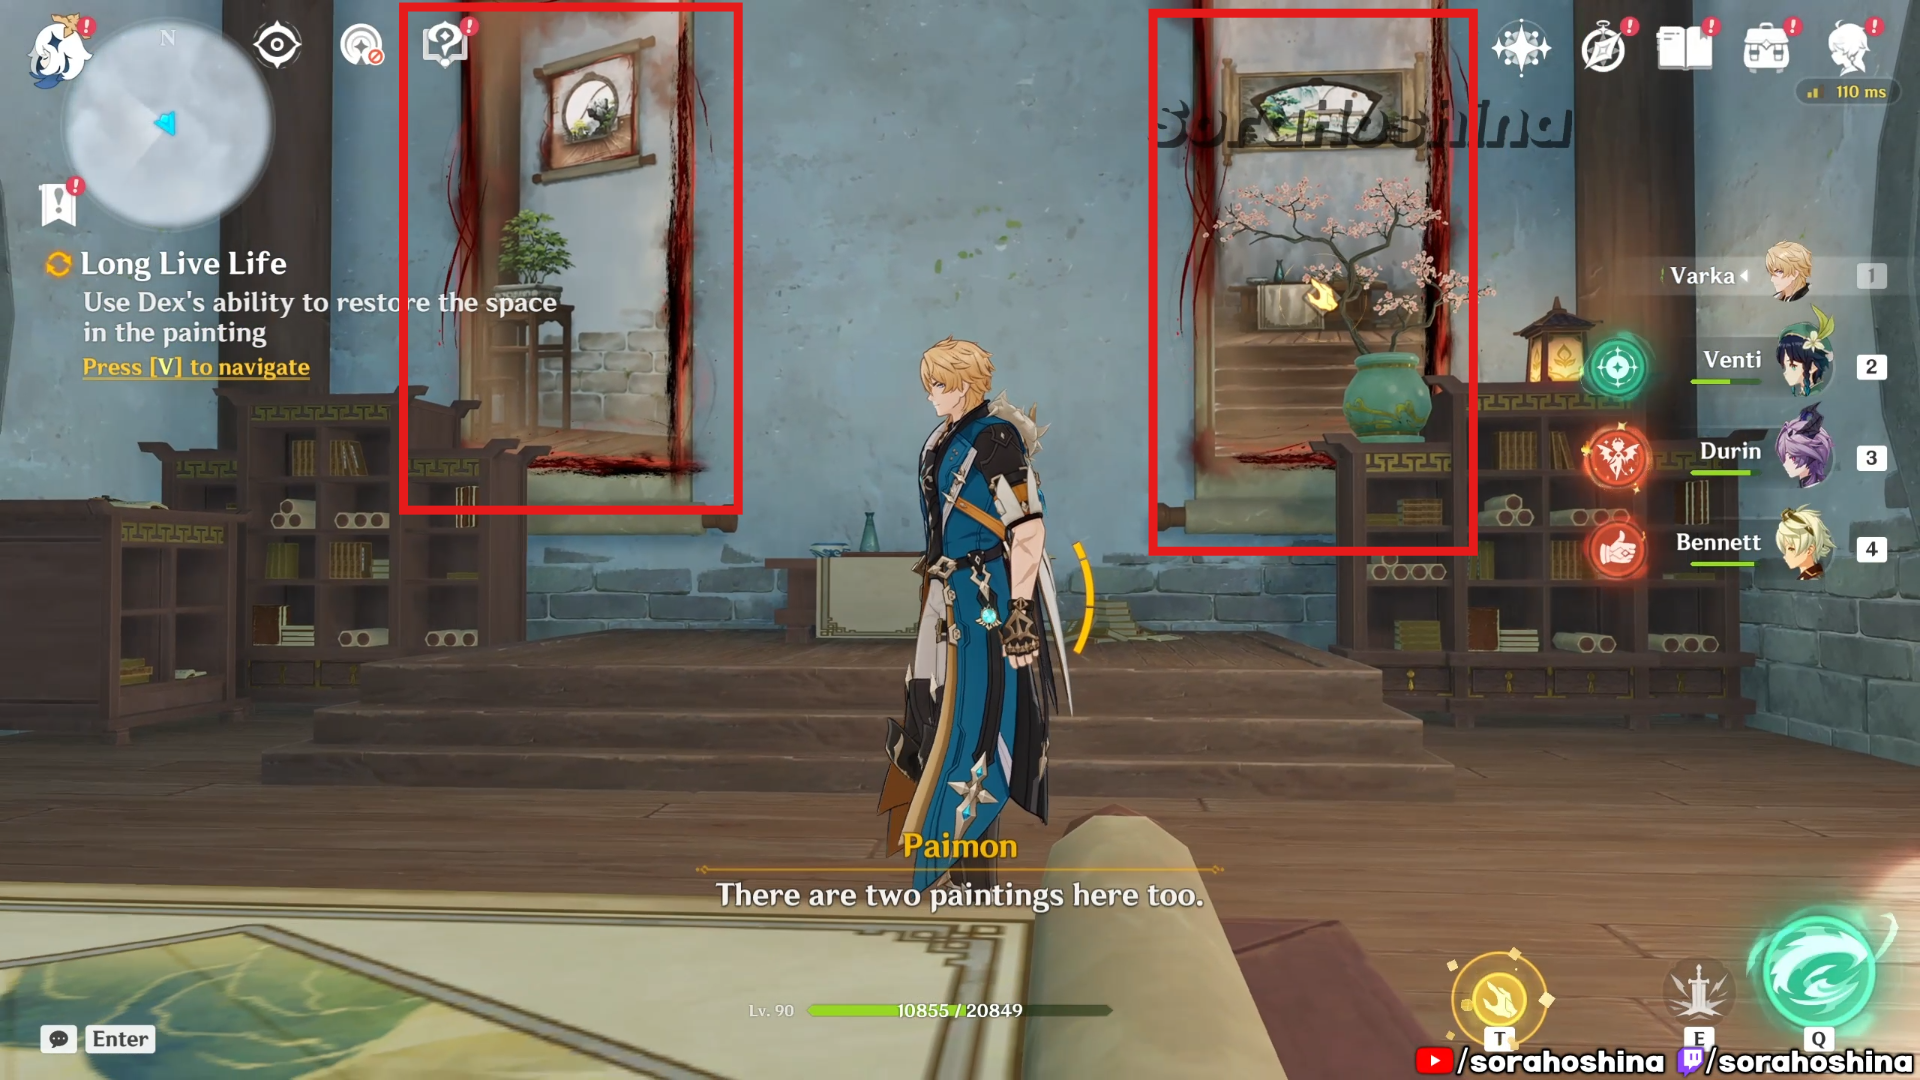
Although you found the item, this sub-quest is still not over yet as you need to still follow the Ink-Men until you reach a room with 2 paintings. Call Dex and let it help manifest the items in the painting to reality.
There will be another 2 paintings afterwards for you to manifest, and a new path will emerge for you to save the next NPC. If you remember, you already met this person by the Statue of the Seven in Dornman Port, but he’s not the real one though.
The trap will appear and you need to run away from the inks. If you find a dead end, it’s not. There will be a painting nearby for Dex to use and manifest a path for you to run. This will happen multiple times so keep an eye out for paintings on the tablets.
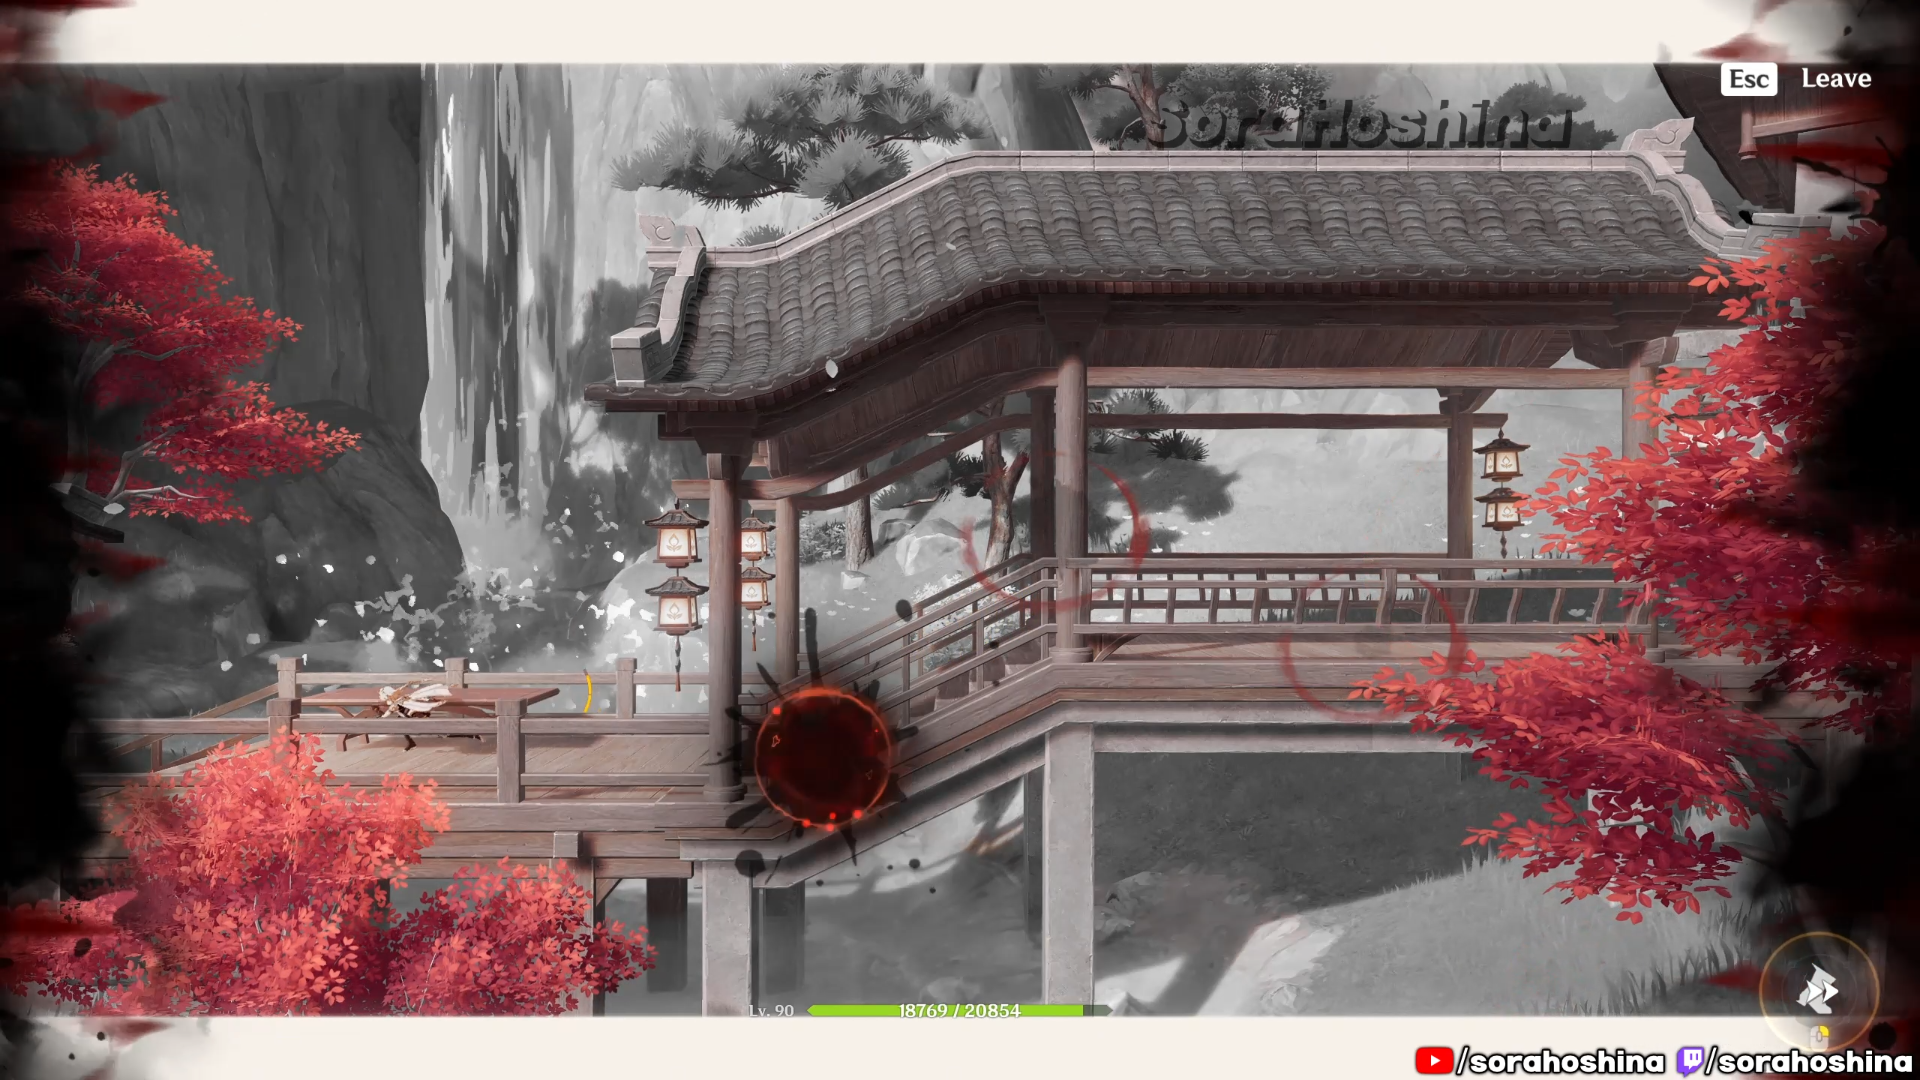
At one point, you will get cornered by the inks from both side and they will trap you here for a minute. What you need to do here to is to survive and avoid the ink botches until a new painting will spawn and use Dex to manifest the path. Continue with the quest navigation until you meet Daozi again.
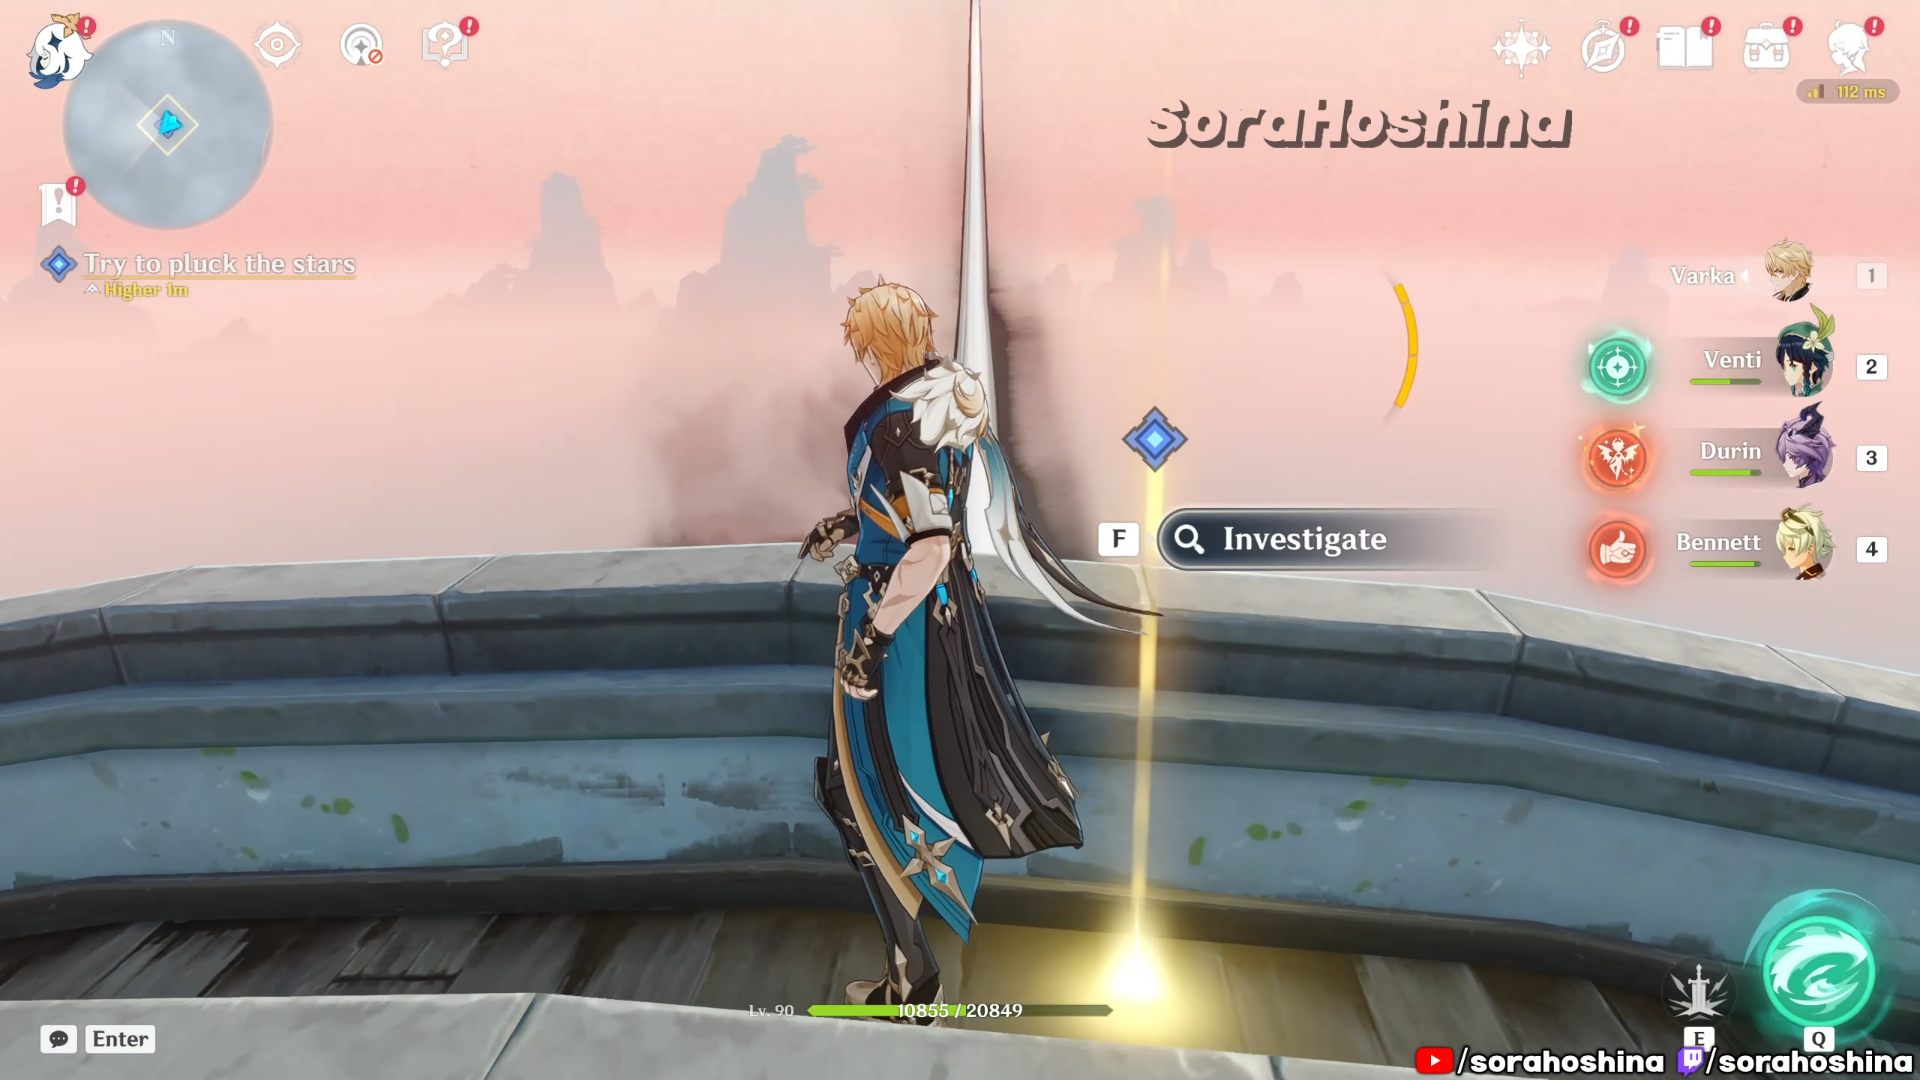
Once you enter the painting, snatch the star to fully unlock the whole area of Luyang Academy and turn those Ink-Men back to normal humans.
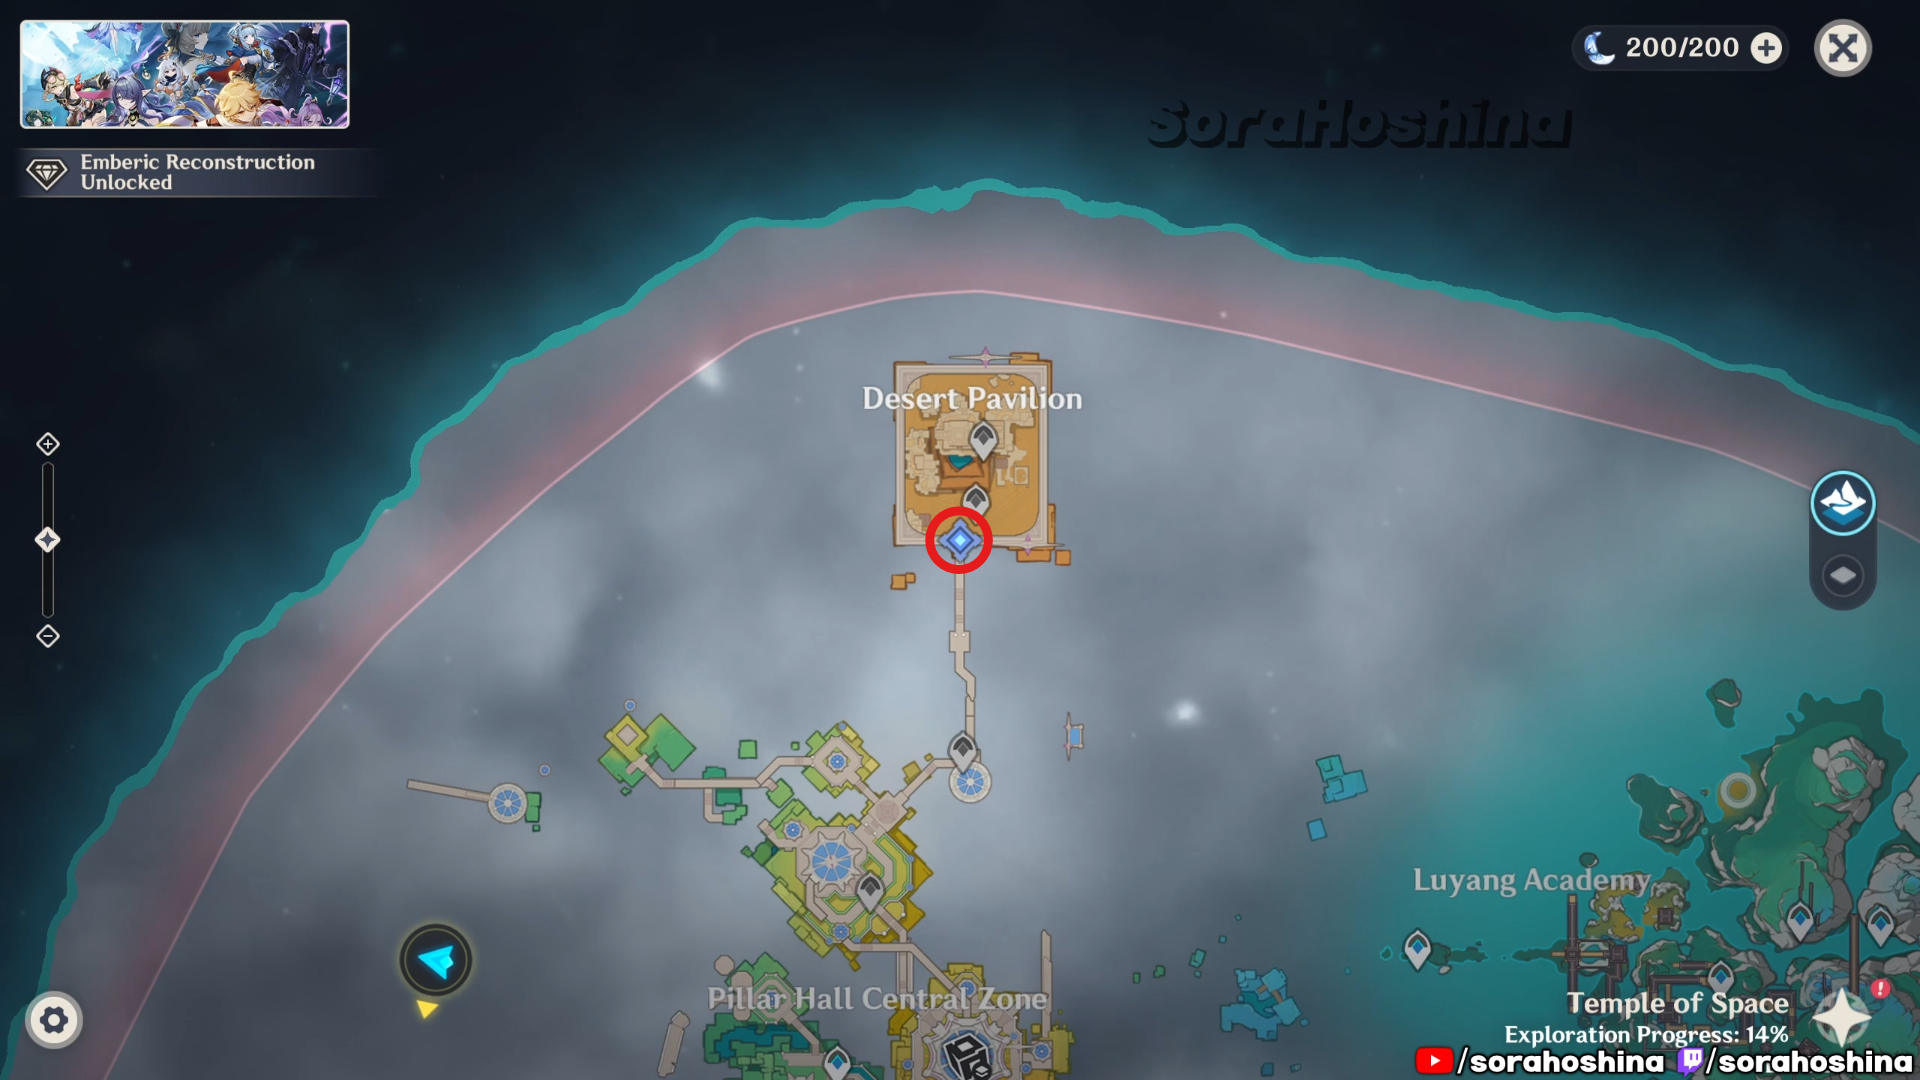
Counterfeit Classics – Investigate and liberate Mahavaipulya Chamber
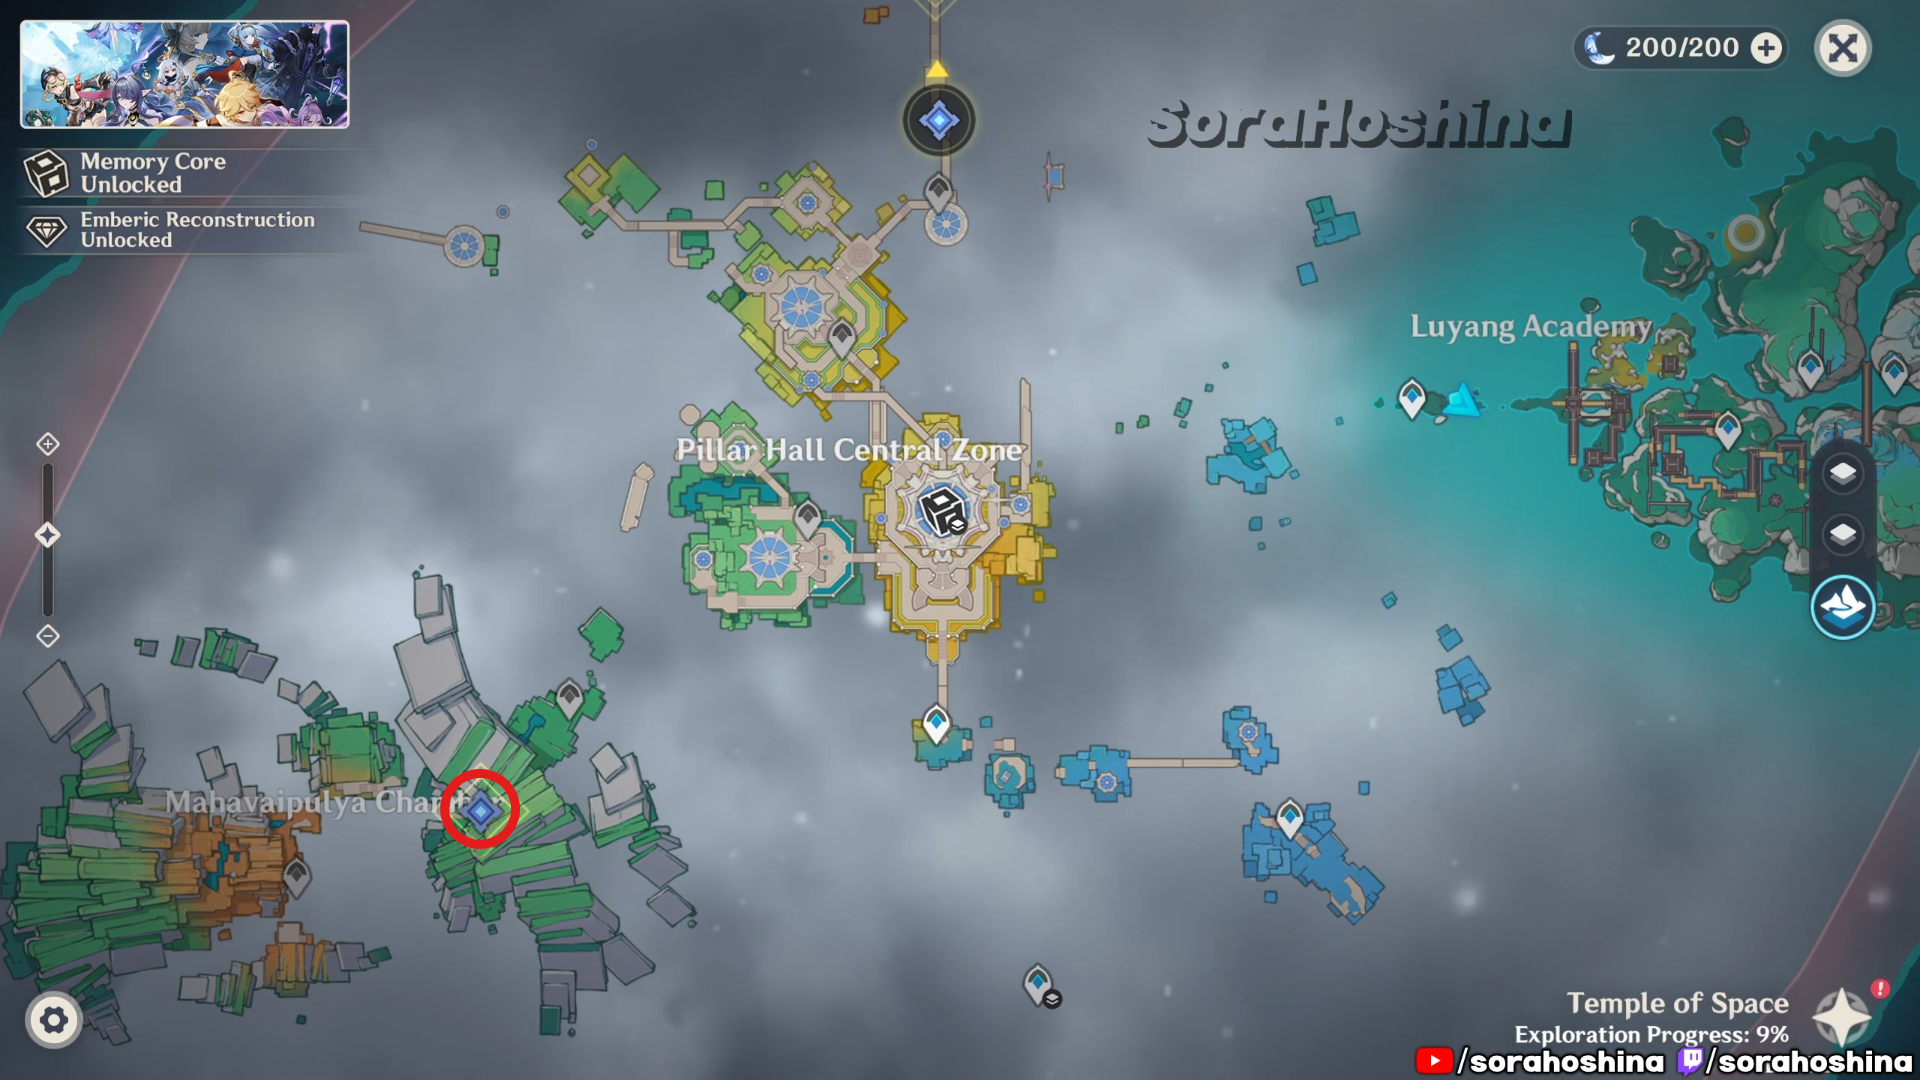
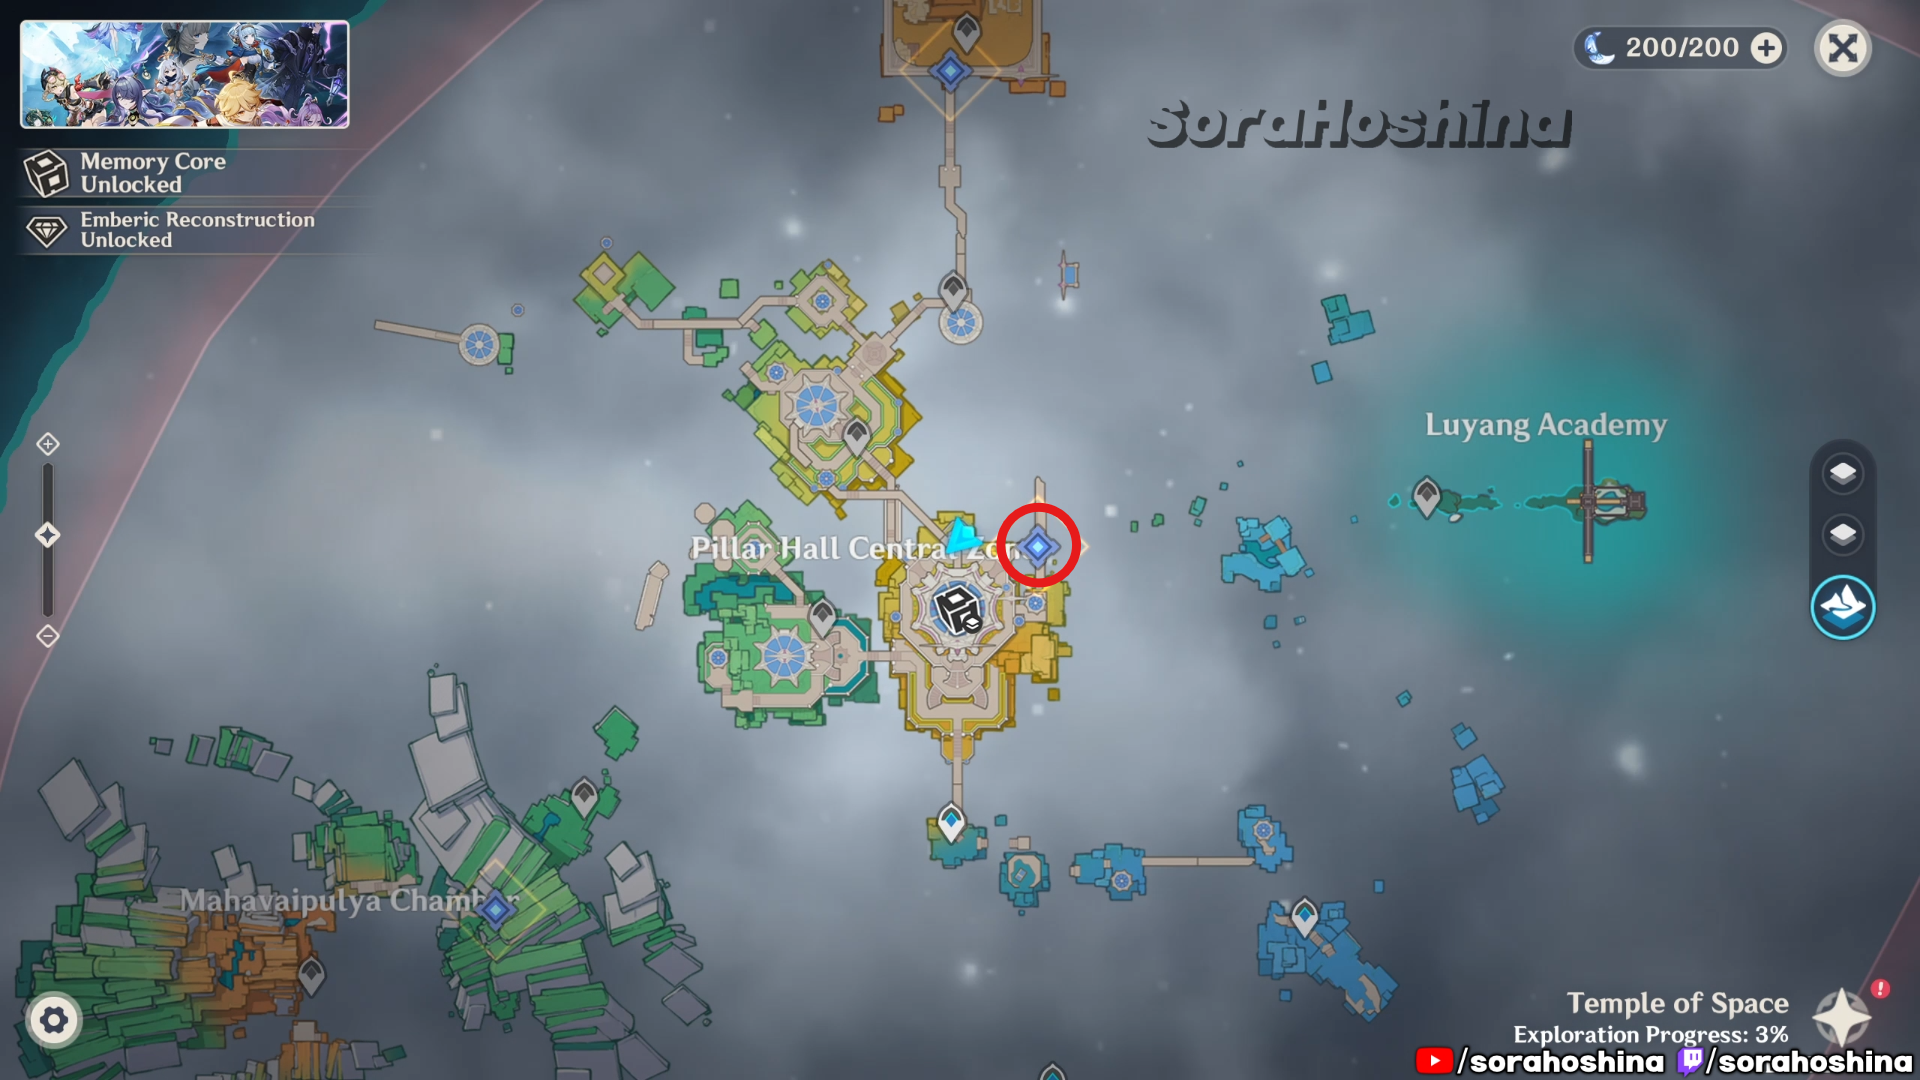
This will be next location for you to go. If you didn’t unlock the waypoint yet, go back to Pillar Hall Central Zone and unlock the waypoint on the west side of the building. Afterwards, head to the broken bridge on the west of Pillar Hall Central Zone. There will be a Harpastums for you to turn into a moth and fly to the opposite platform, aka Mahavaipulya Chamber.
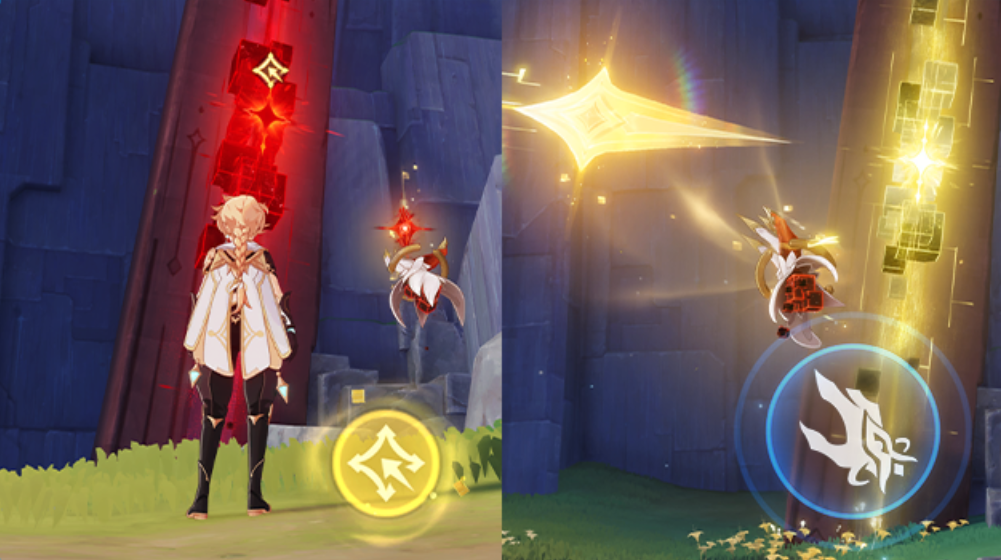
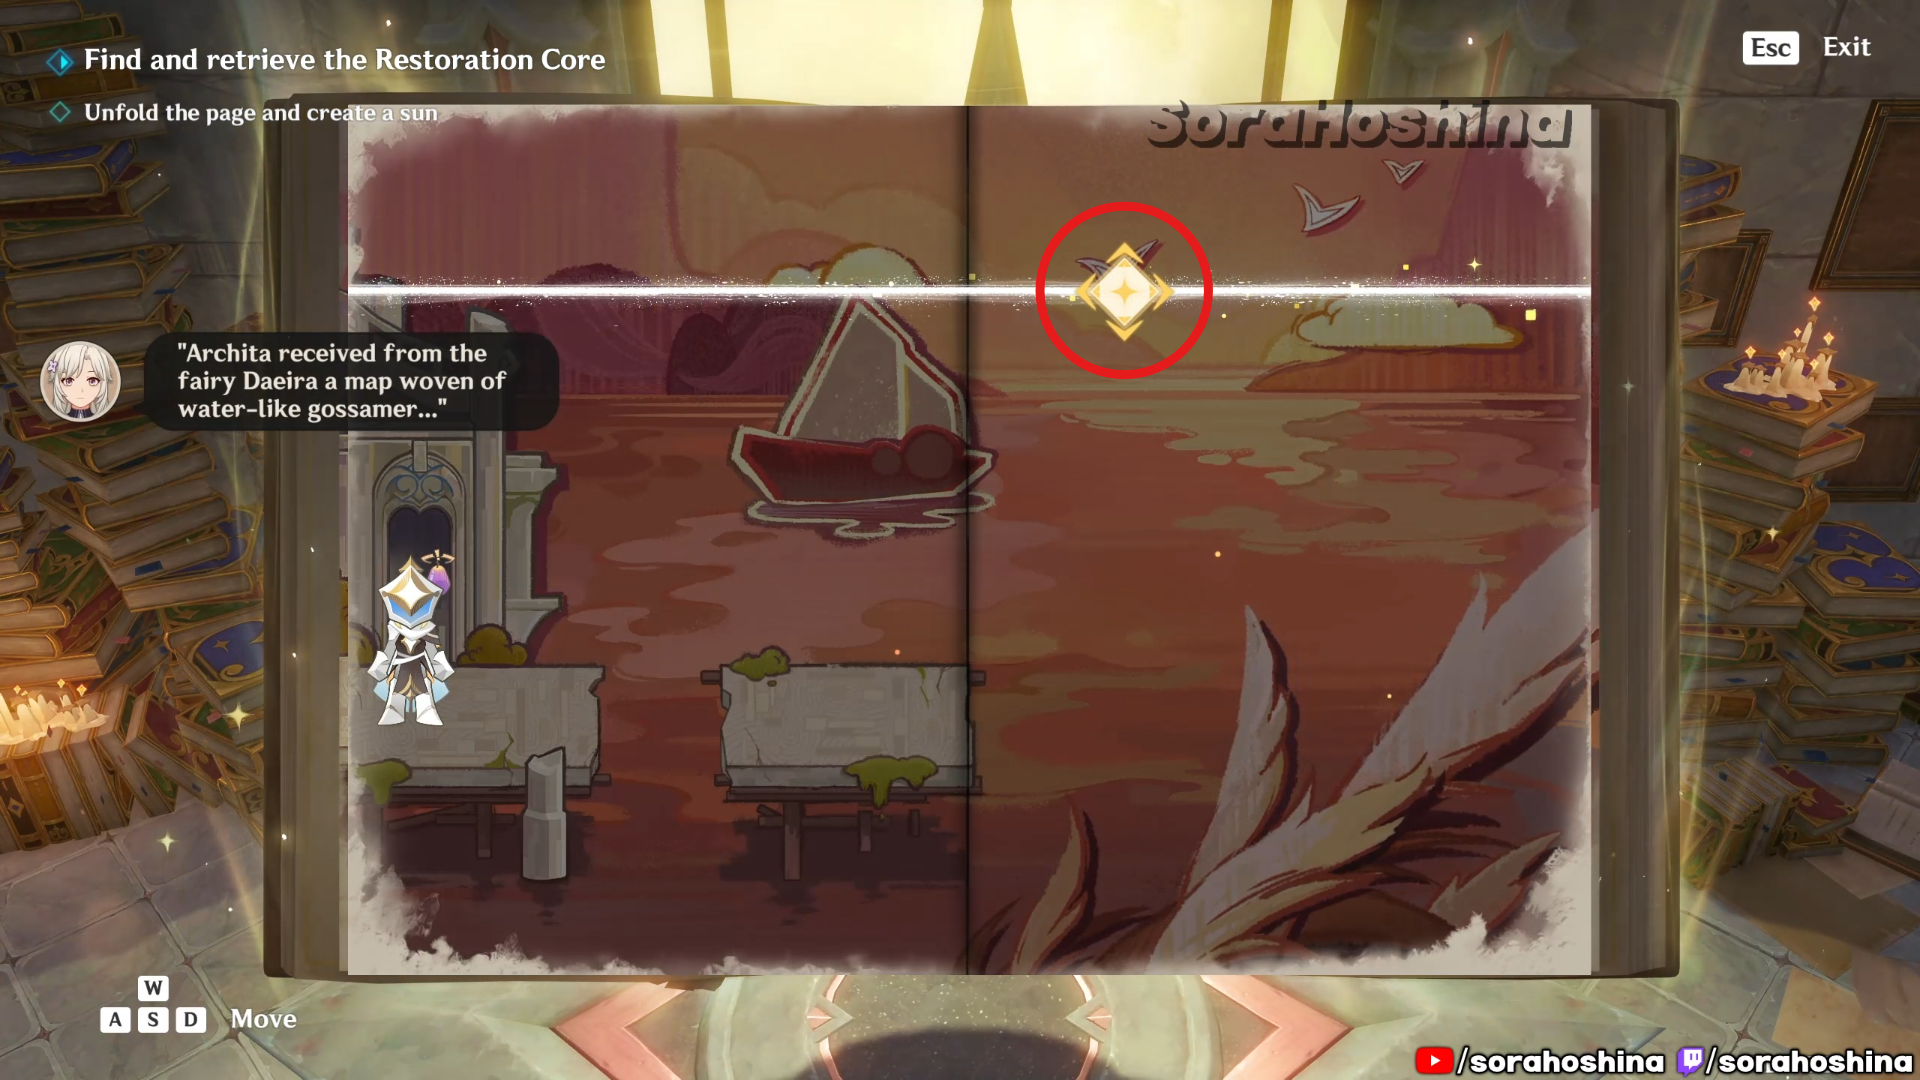
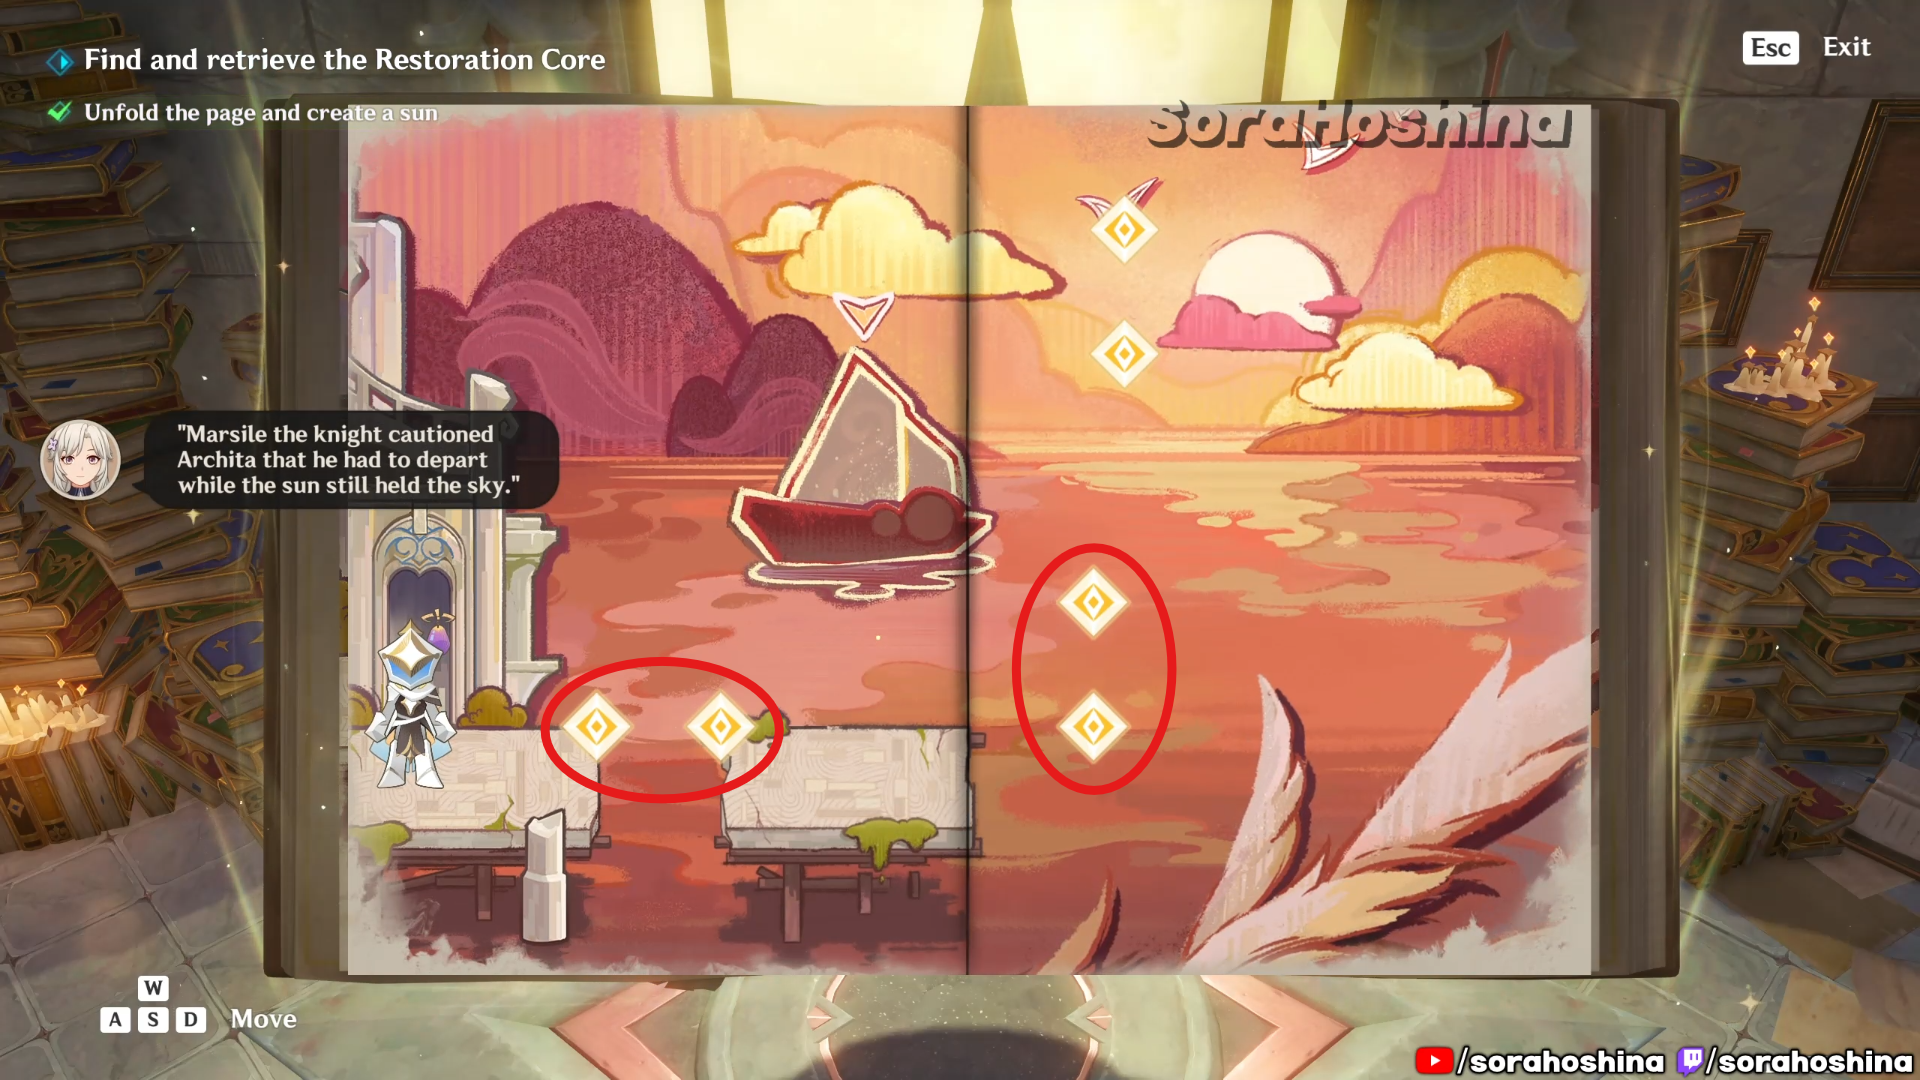
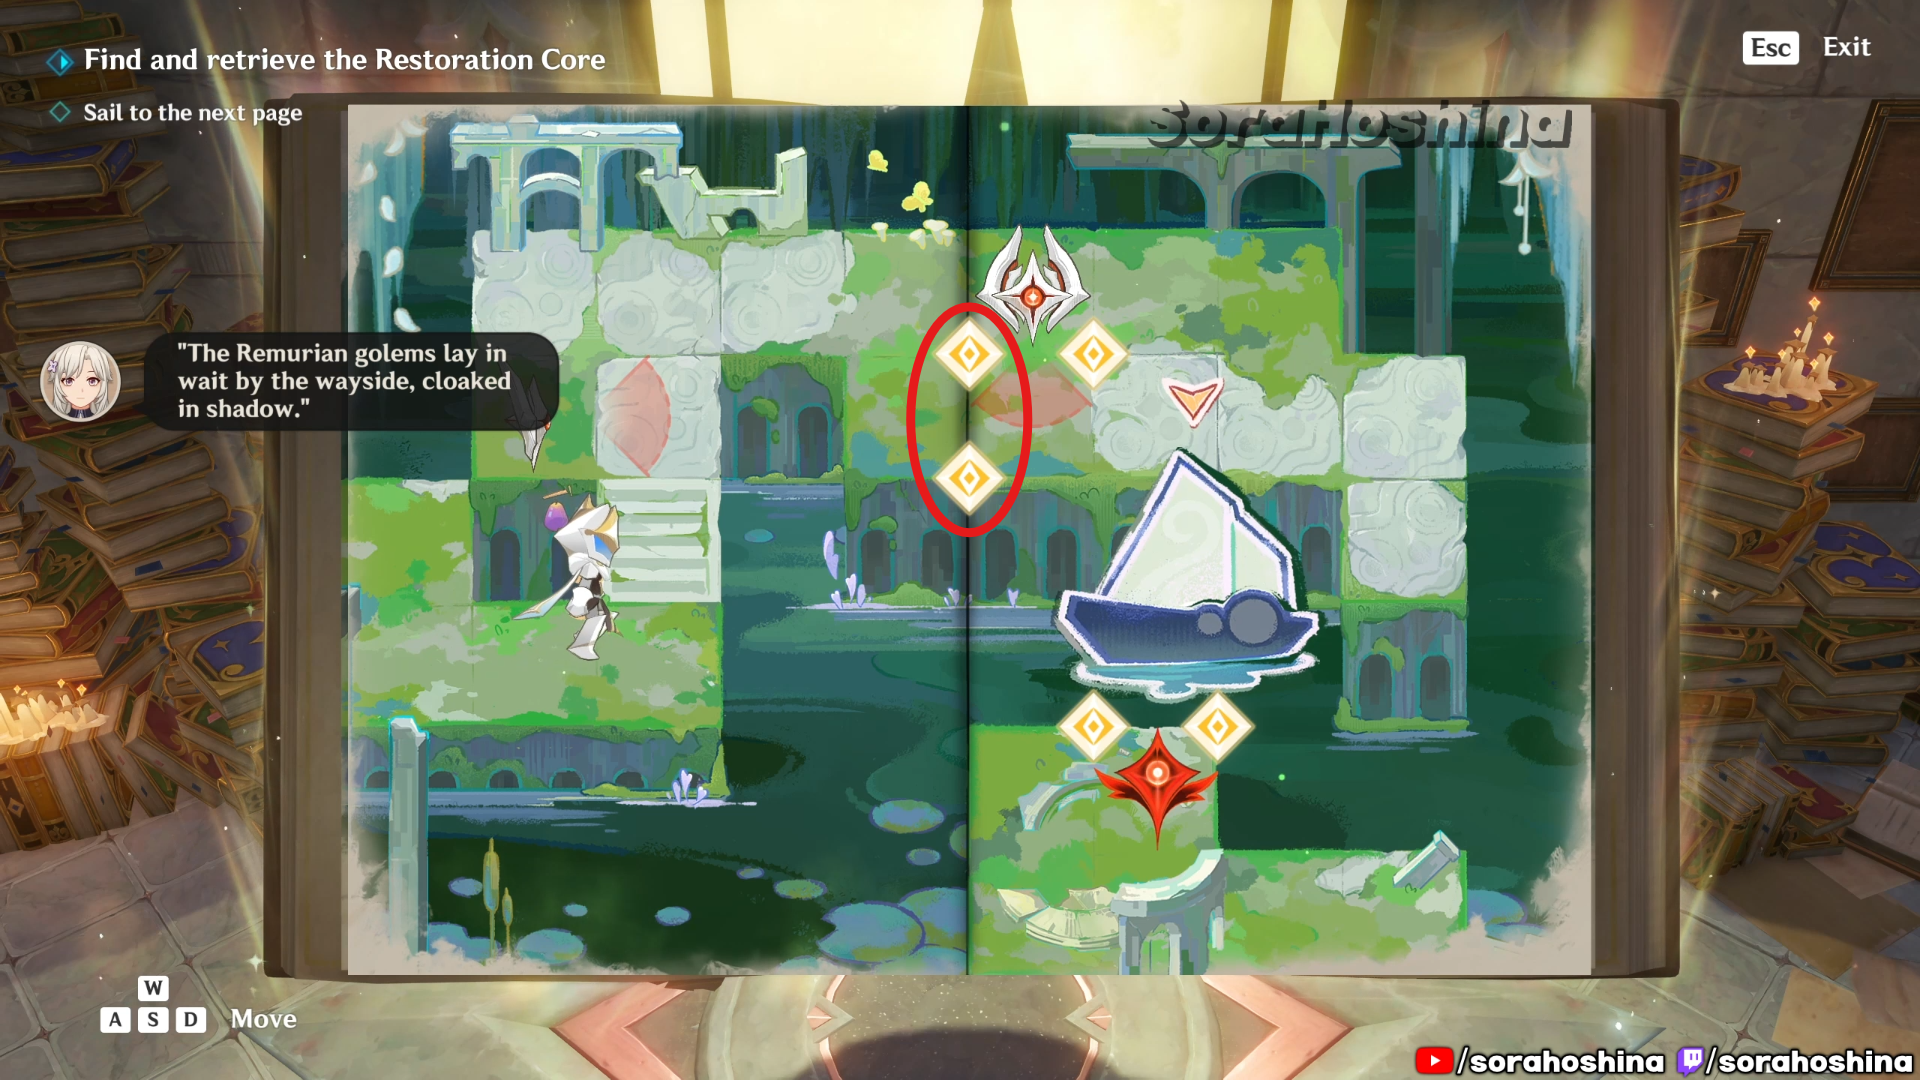
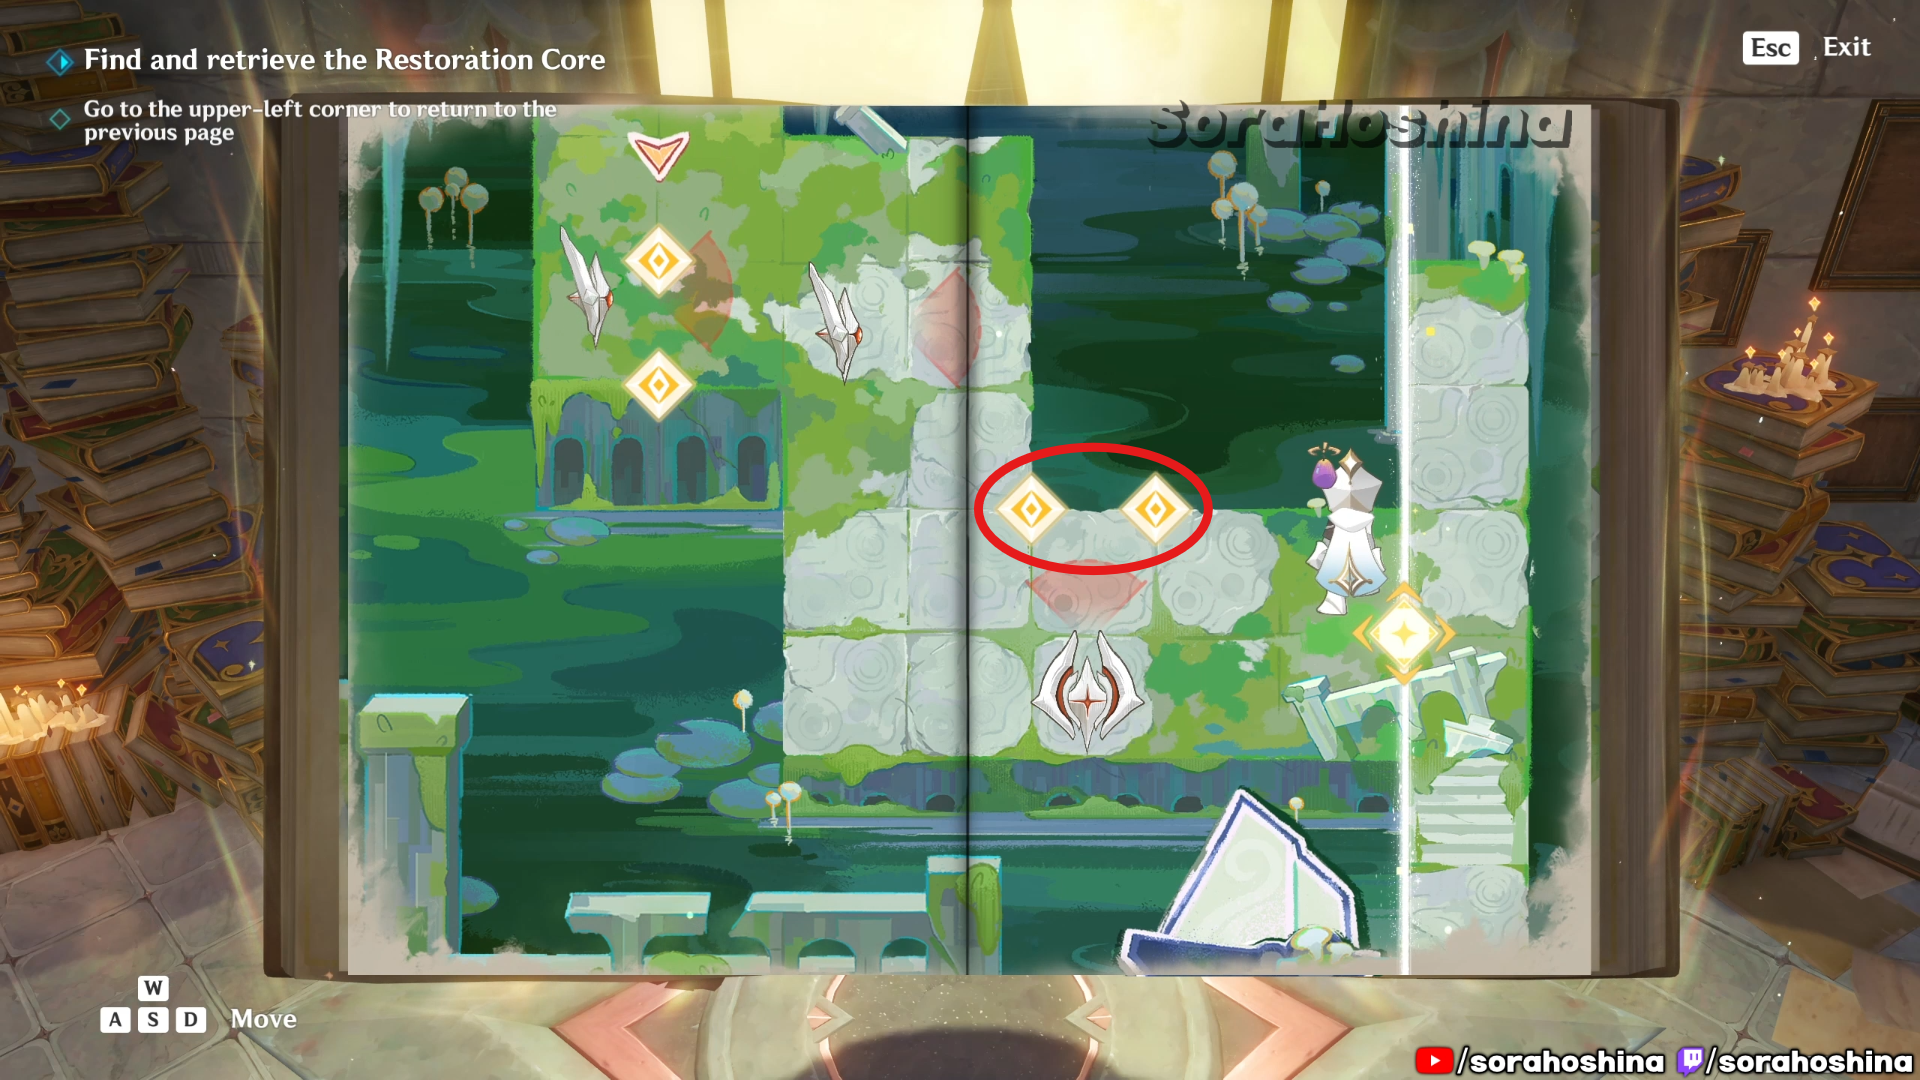
The puzzle for this location is all about Restoration Core and Book of Billions. With the Restoration Core, Dex can use it to unfold and restore space that was previously folded. While the Book of Billions is doors that act like pages of book. You can flip to the next page to open gateways to other dimensions.

In this area, you will find a piece of paper but with multiple names, signalling that many NPCs are stuck inside that piece of paper. Use the Restoration Core beside the paper to restore the space of the area that the paper was stuck on. This will be the puzzles that you will face in Mahavaipulya Chamber, so get used to it.
The next Restoration Core you need to interact with is guarded by enemies. Defeat them first before you can take the core and open the door to the library. Keep following the quest navigation until you see a ‘dead end’.
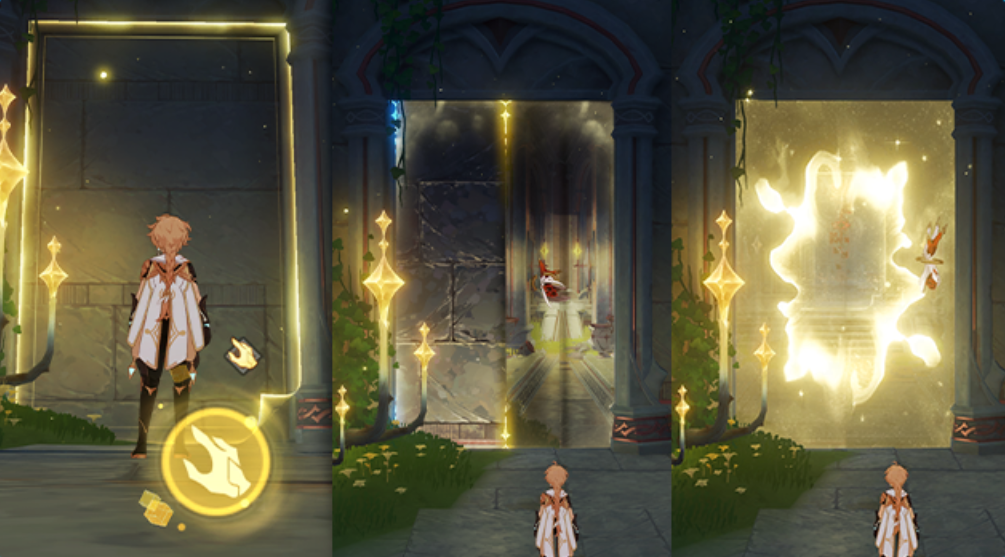
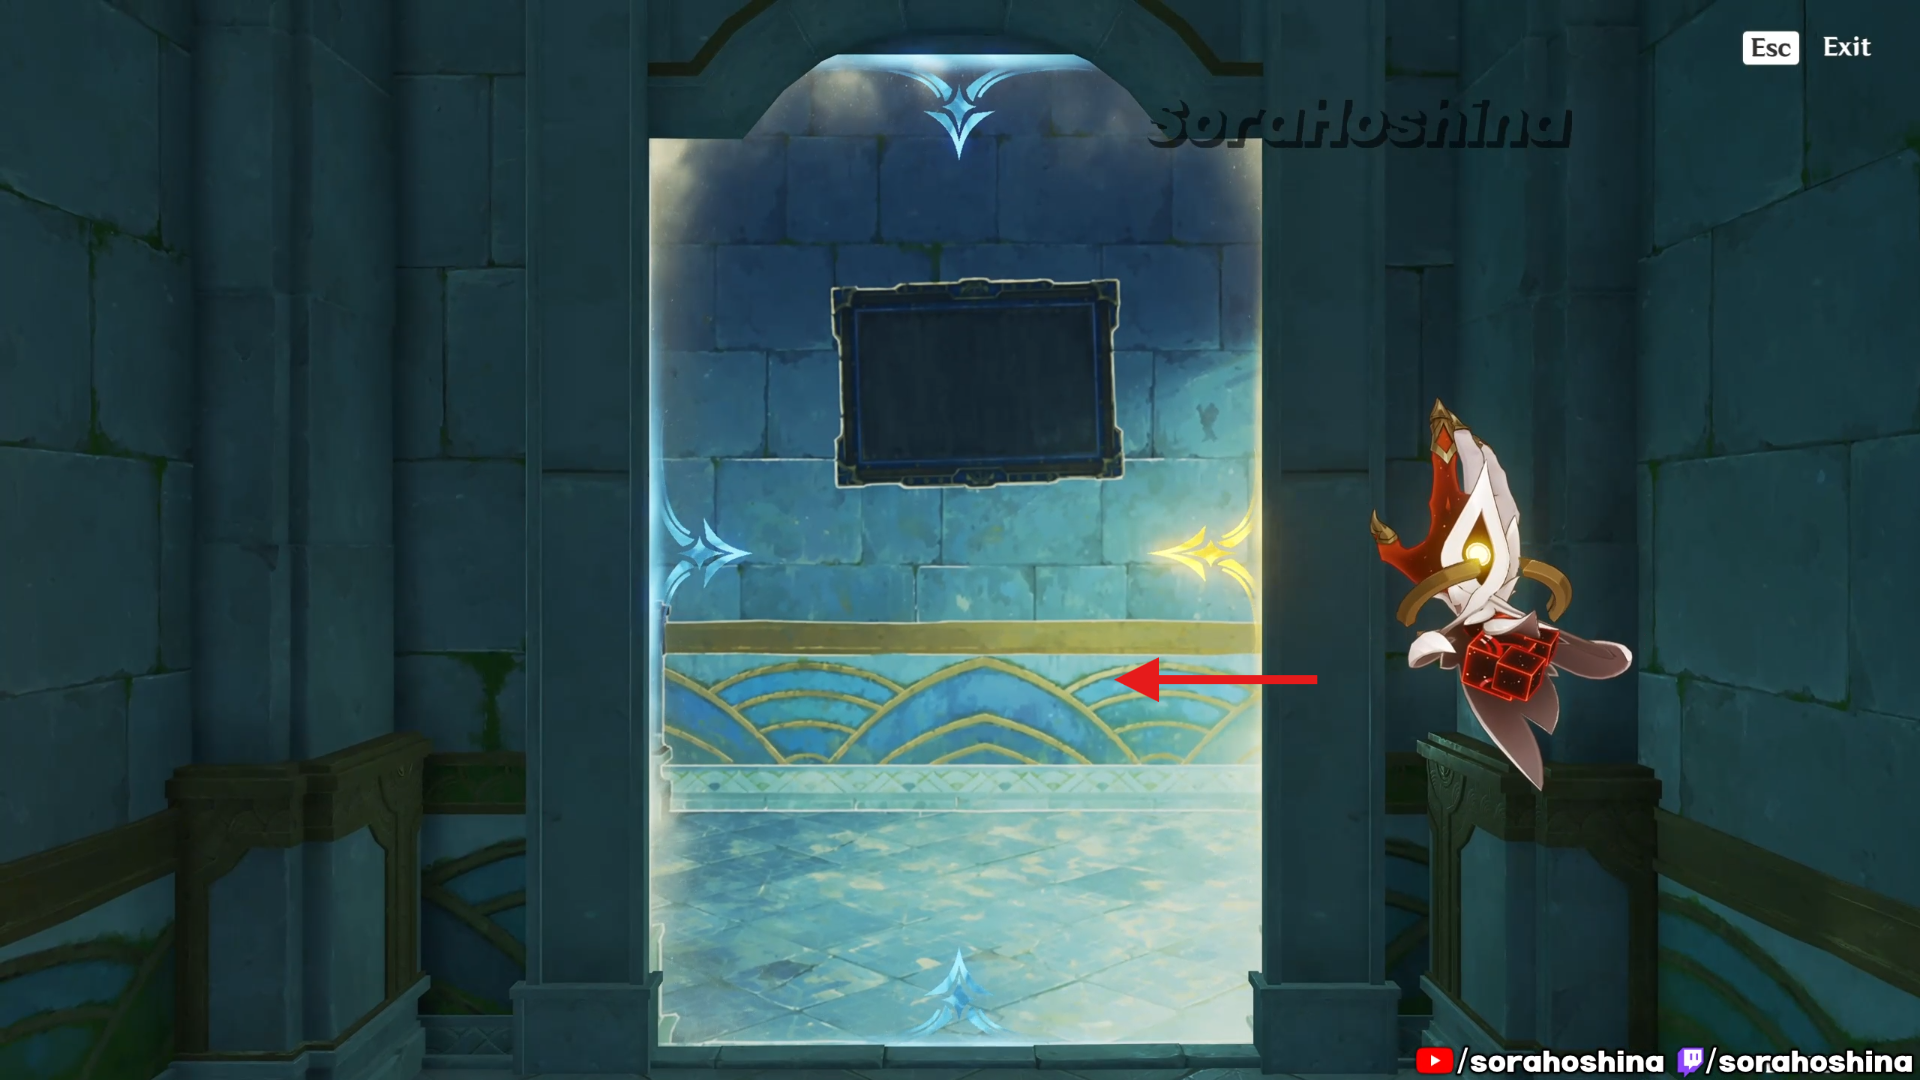
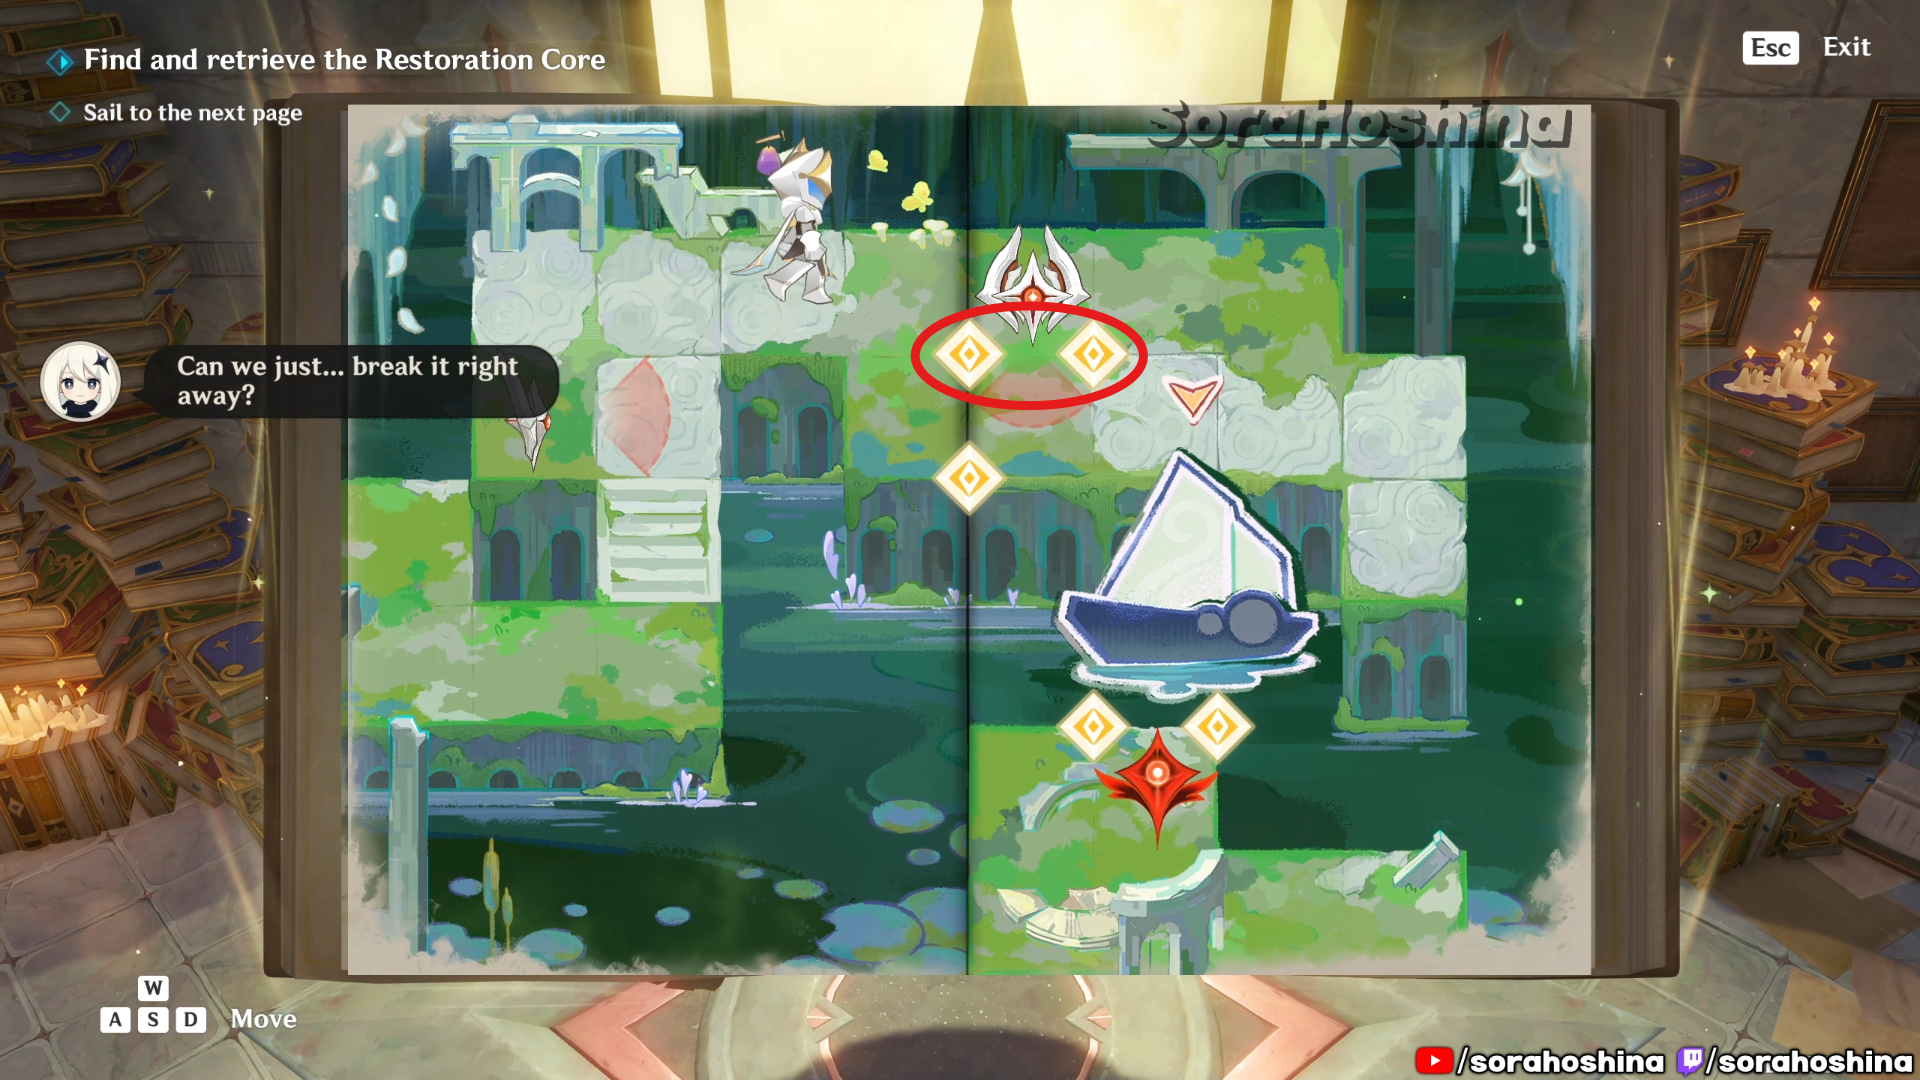
The trick here is to flip the door like a book to open the passage. The correct order here is dragging the corner from the right side to the left.
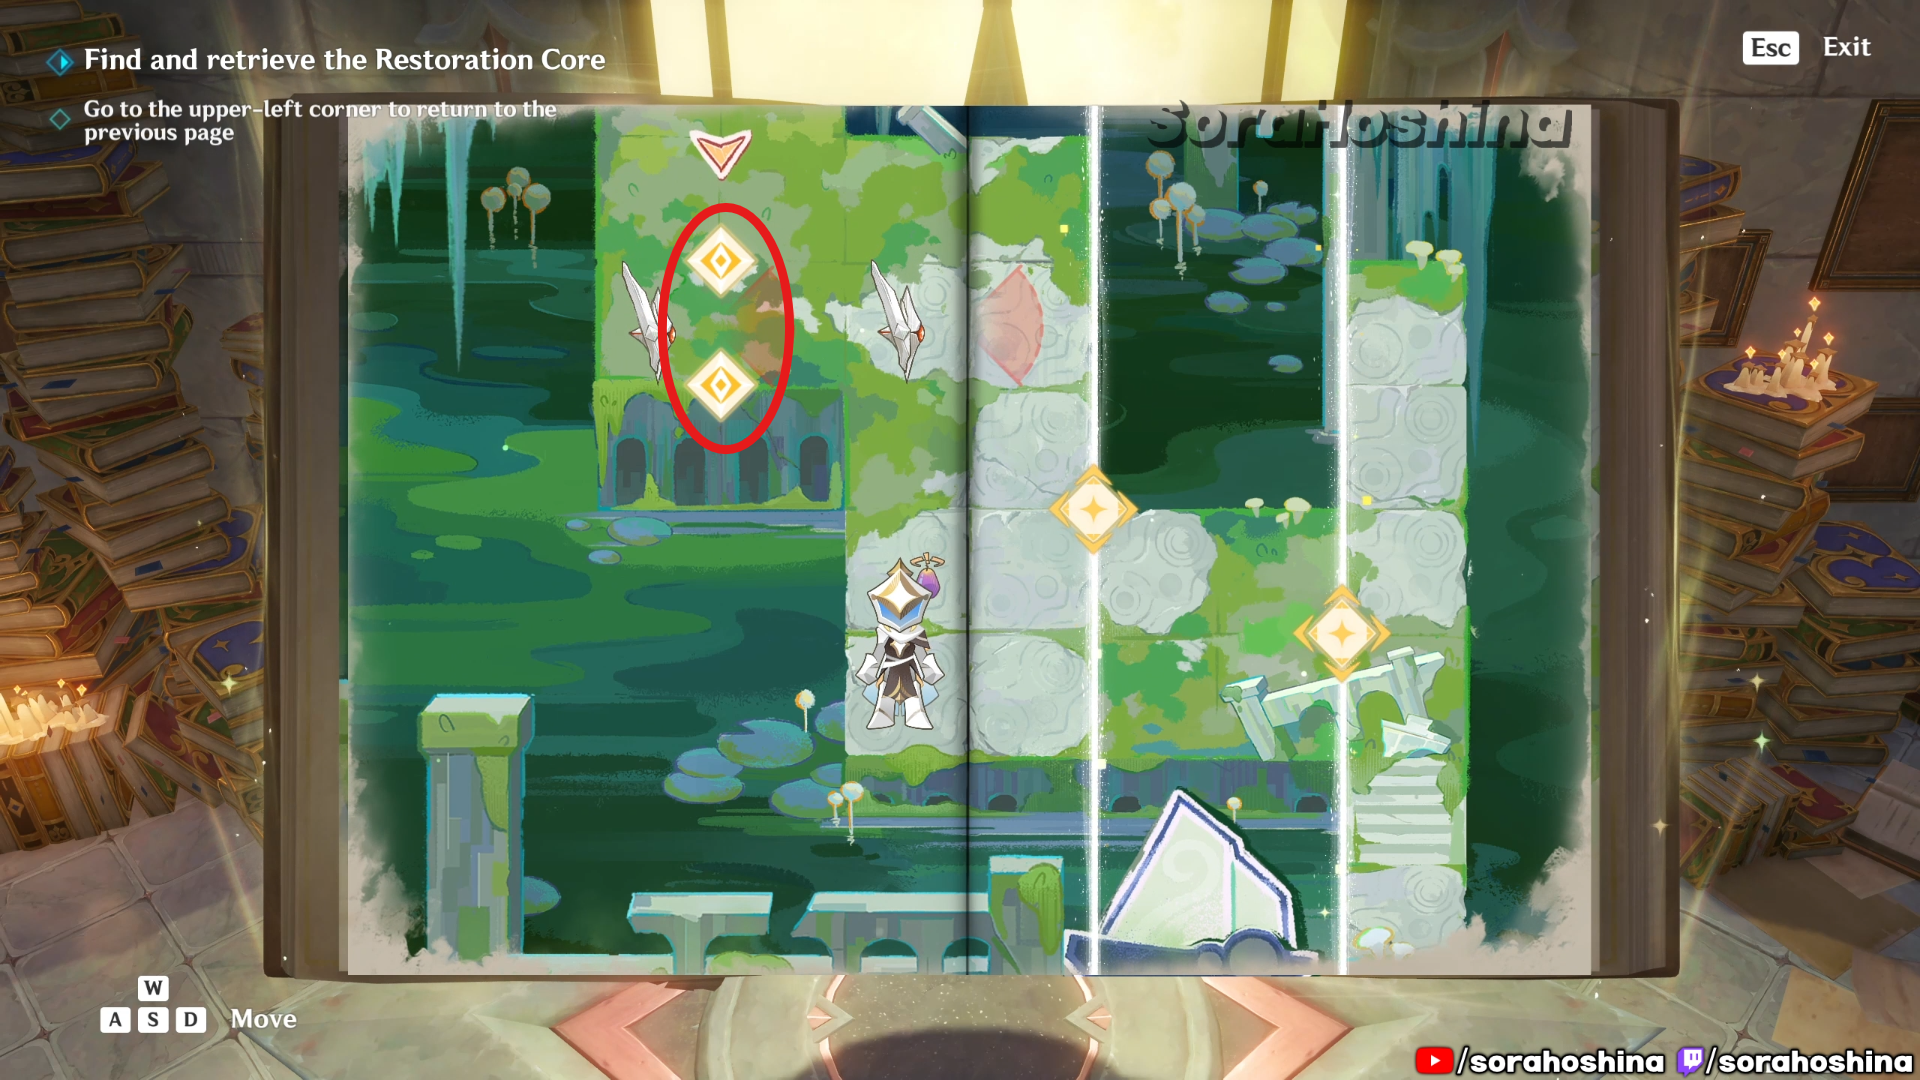
In the room further ahead, you will see a Restoration Core, but it’s a bit invisible and you can’t obtain it. What you need to do is backtrack to the entrance of that door, and flip the door from up to down.
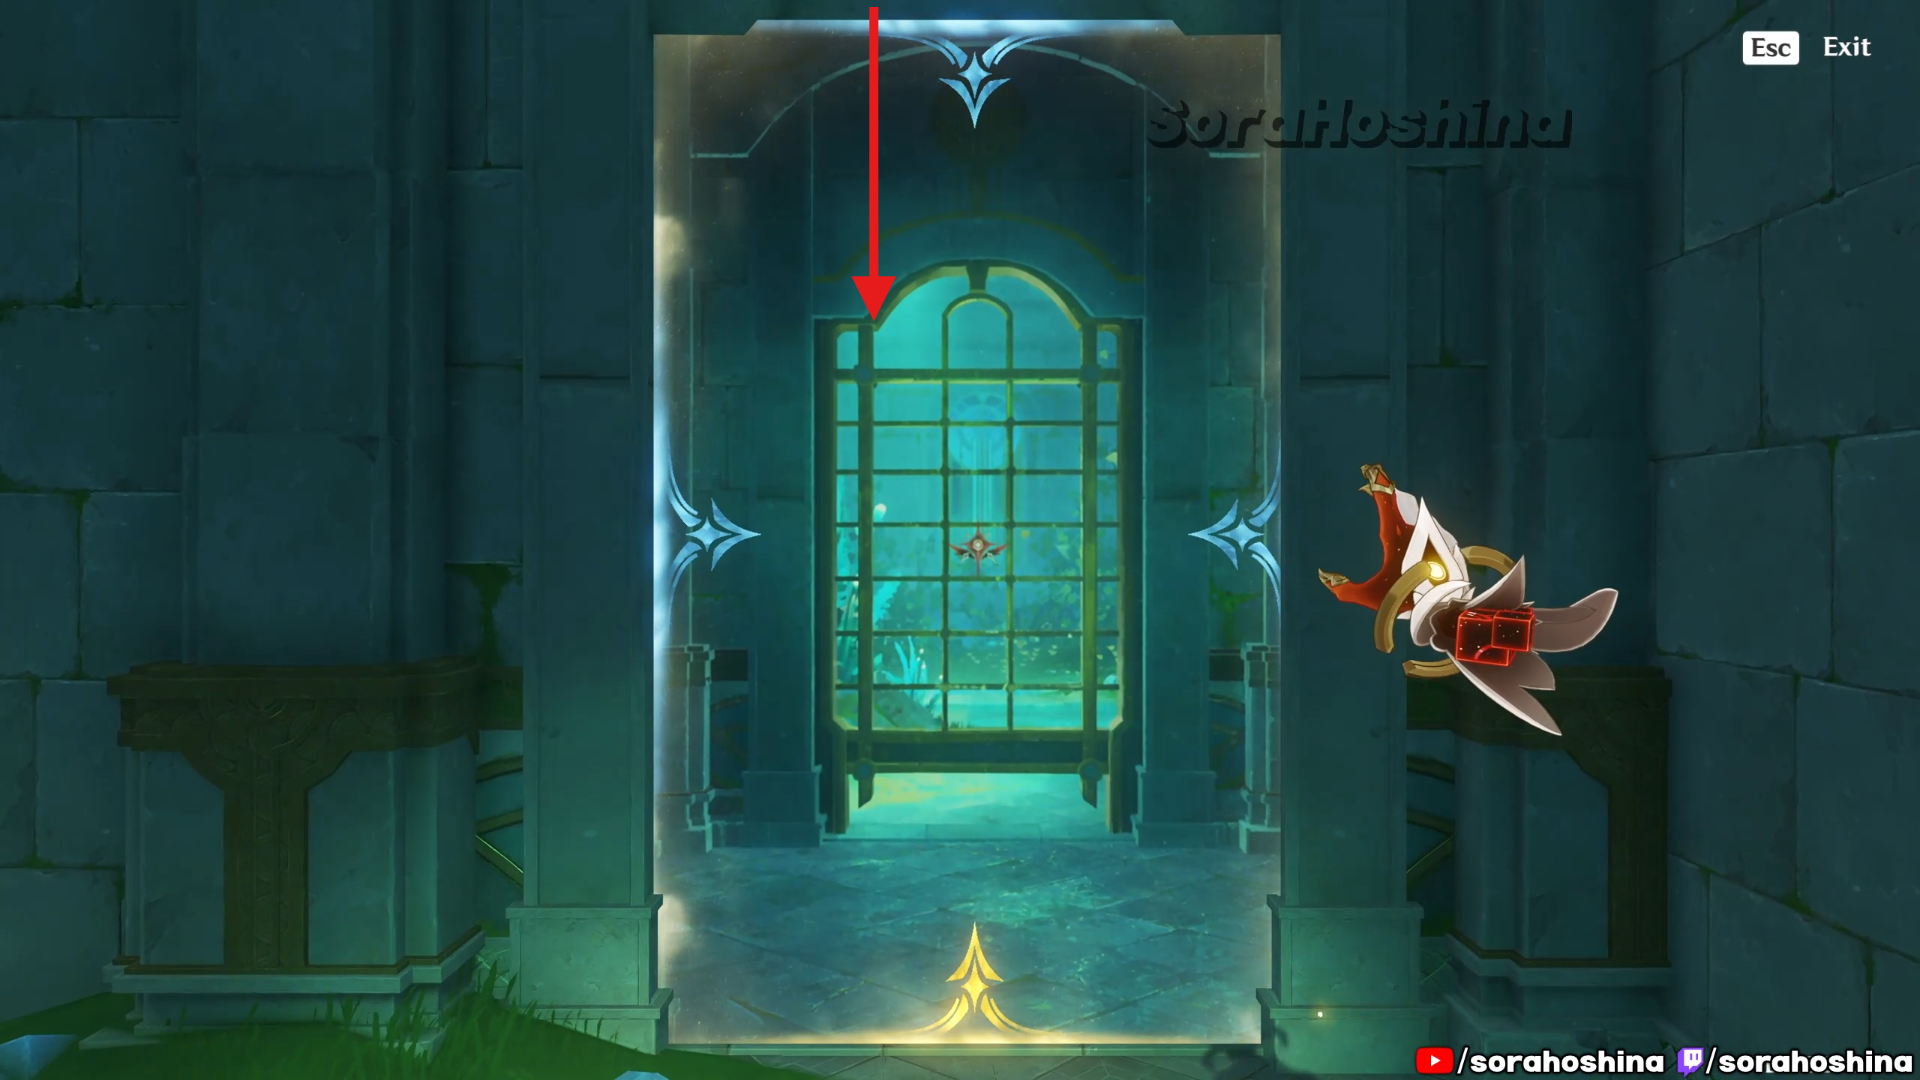
Once you got the Restoration Core, go back to the same door and flip it from down to up. Then, you can use the Restoration Core to restore the space to normal. Personally, I really love this puzzle.
Defeat the enemies that were guarding the chest if you want to. If not, head to the right side of the room to progress through the quest. Simply step on the page inside the glowing circle and it will lift you upwards.
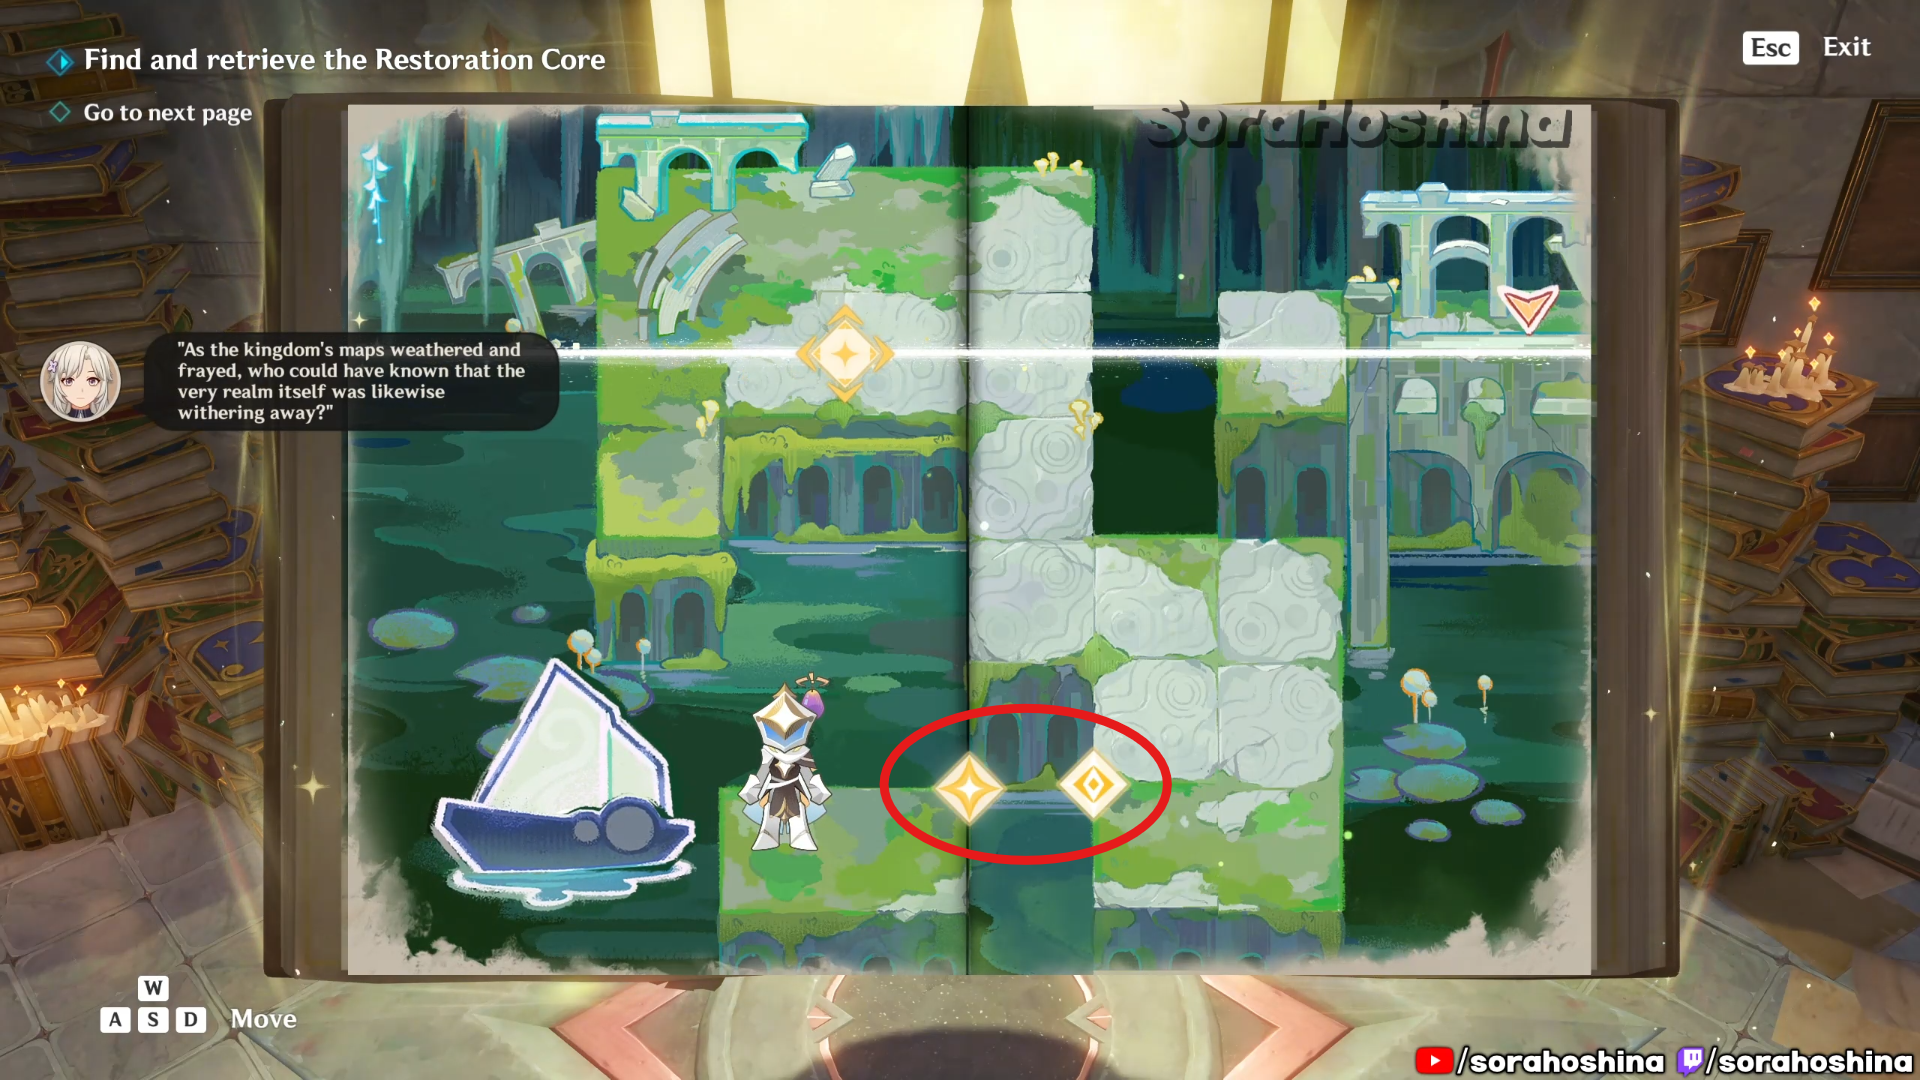
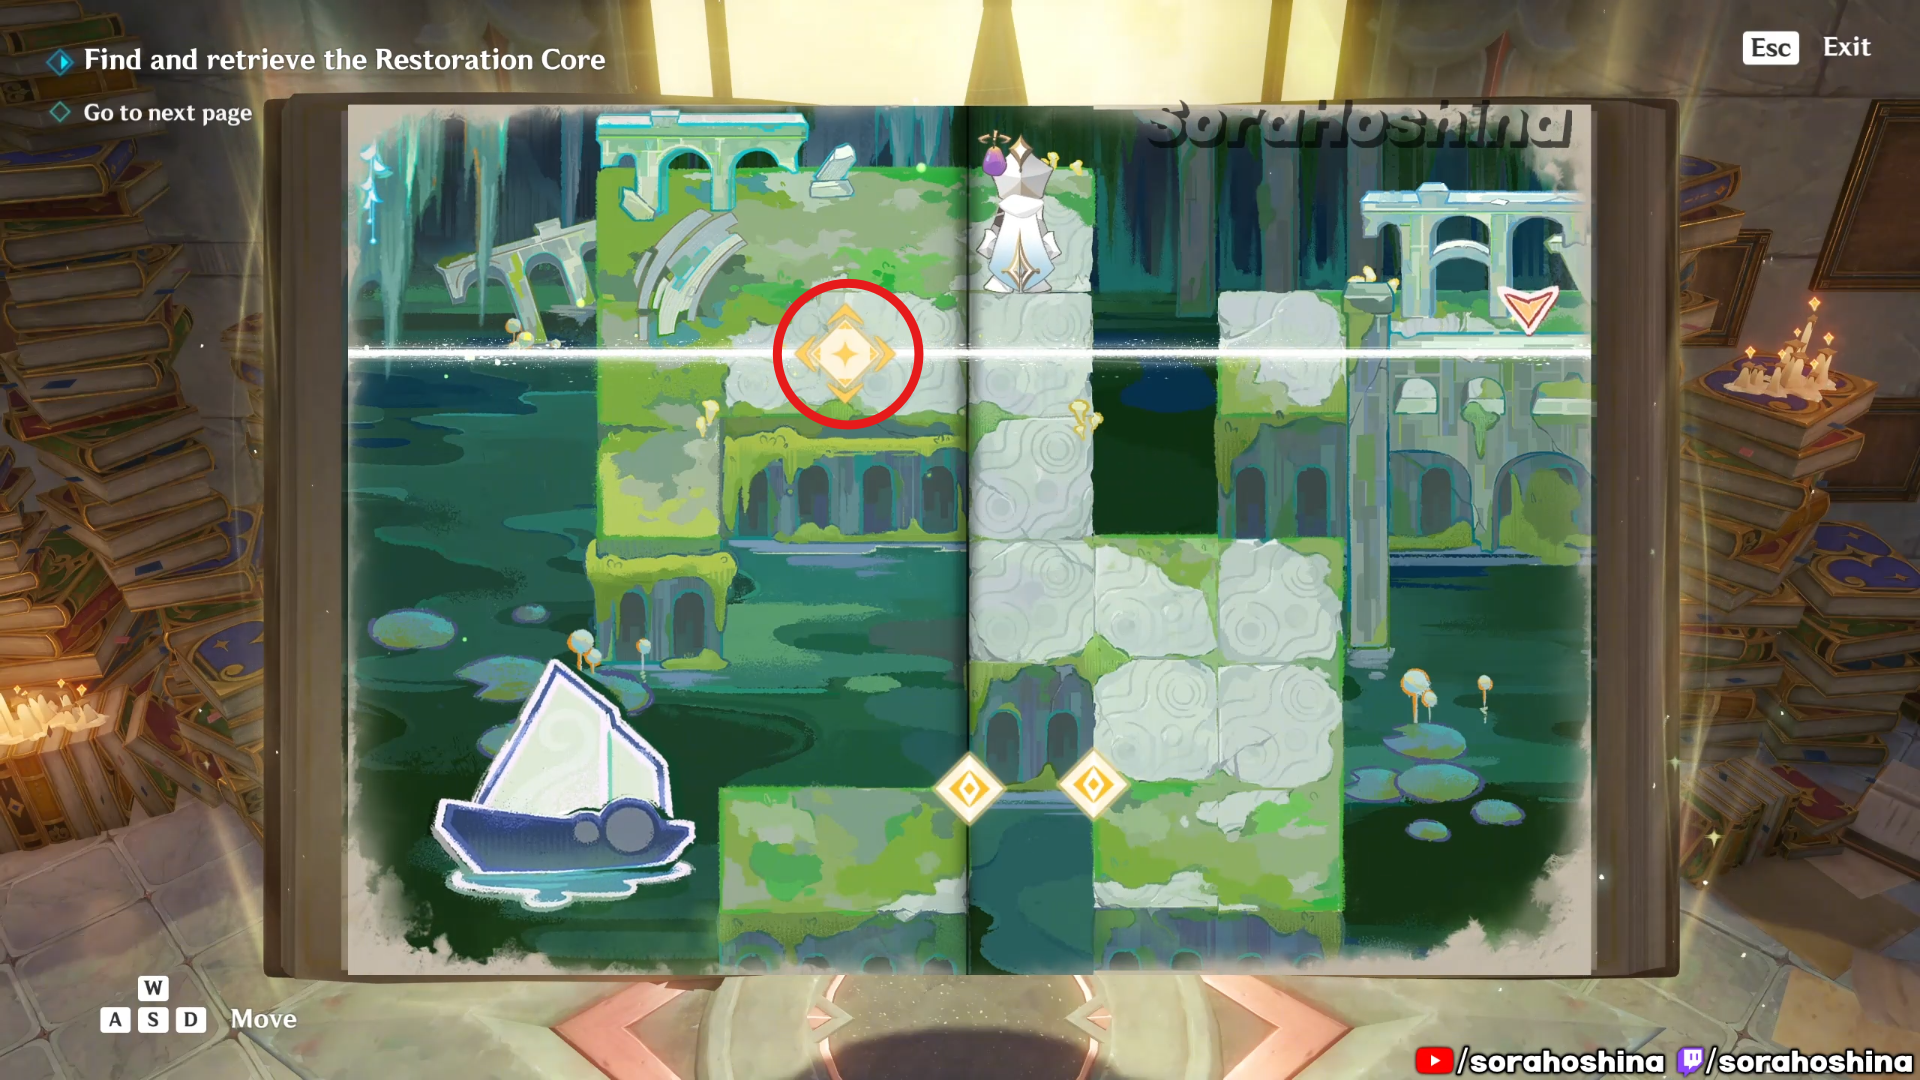
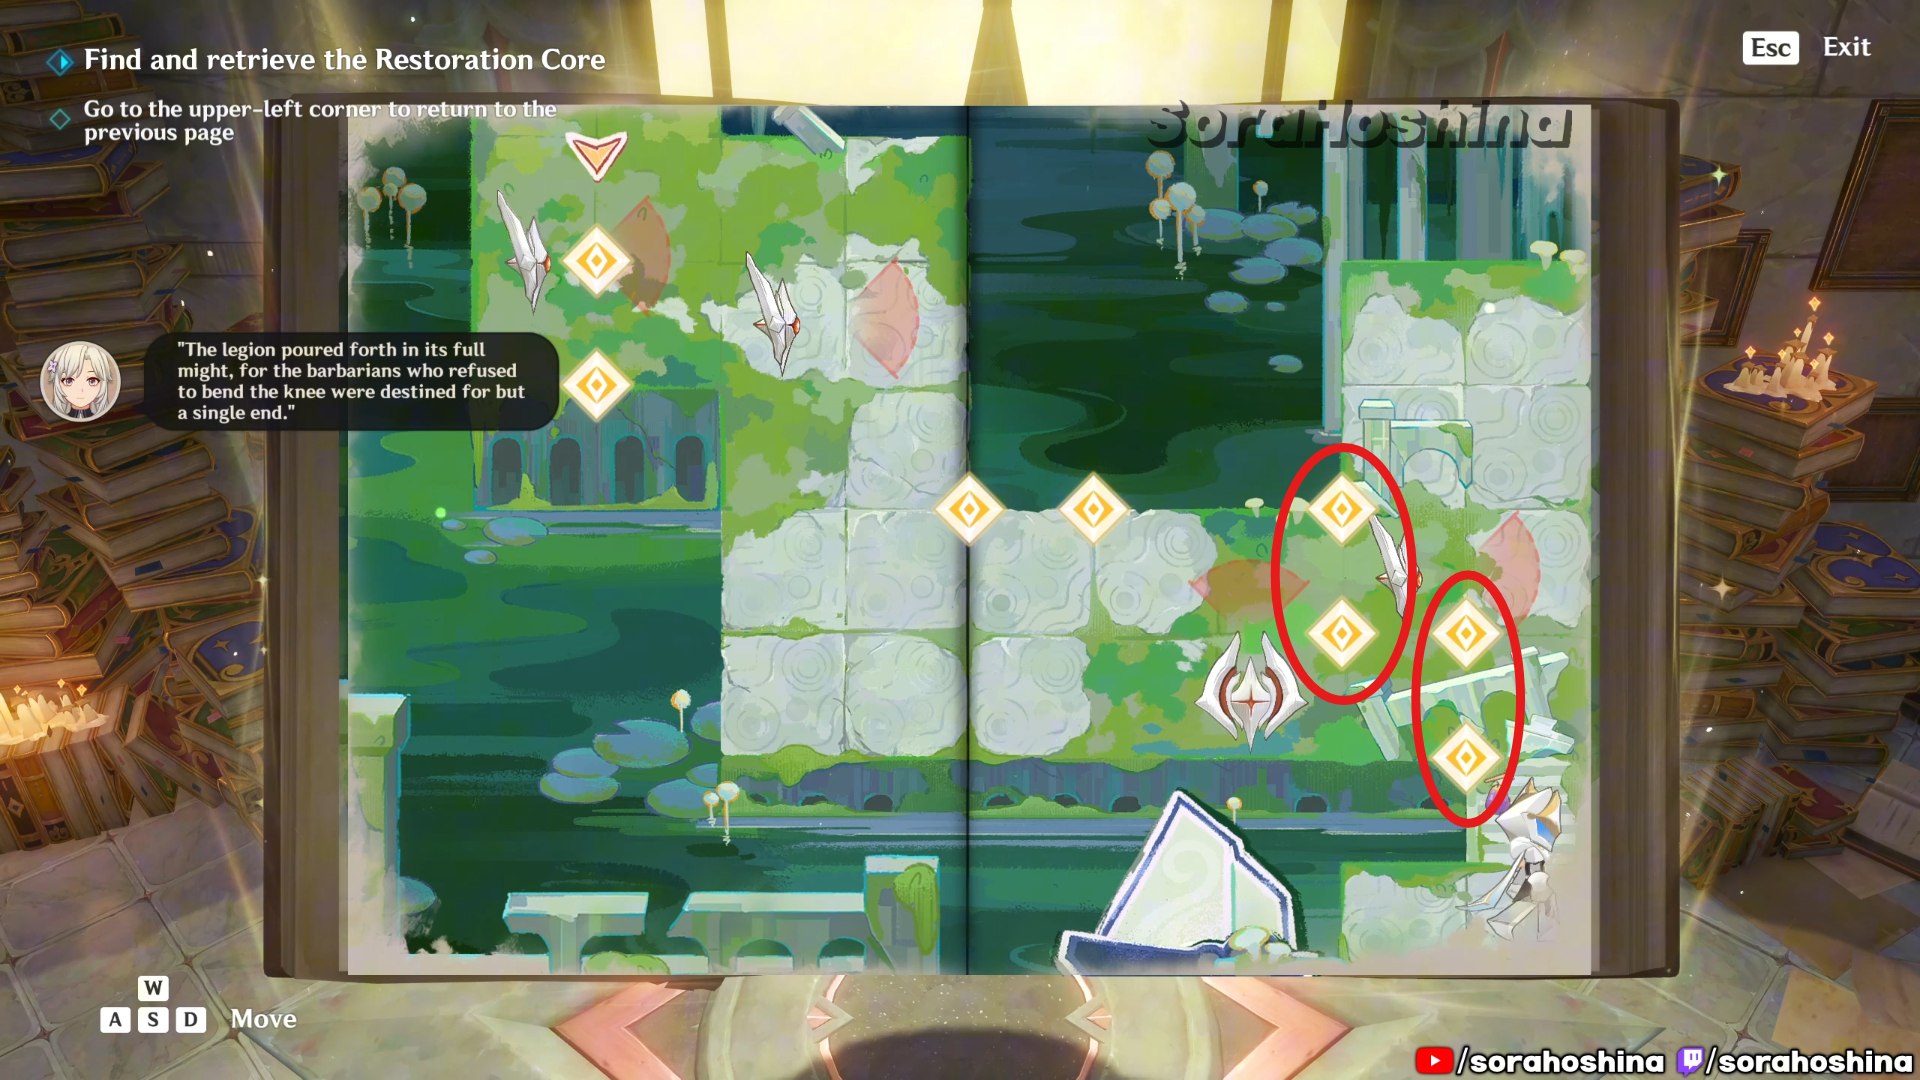
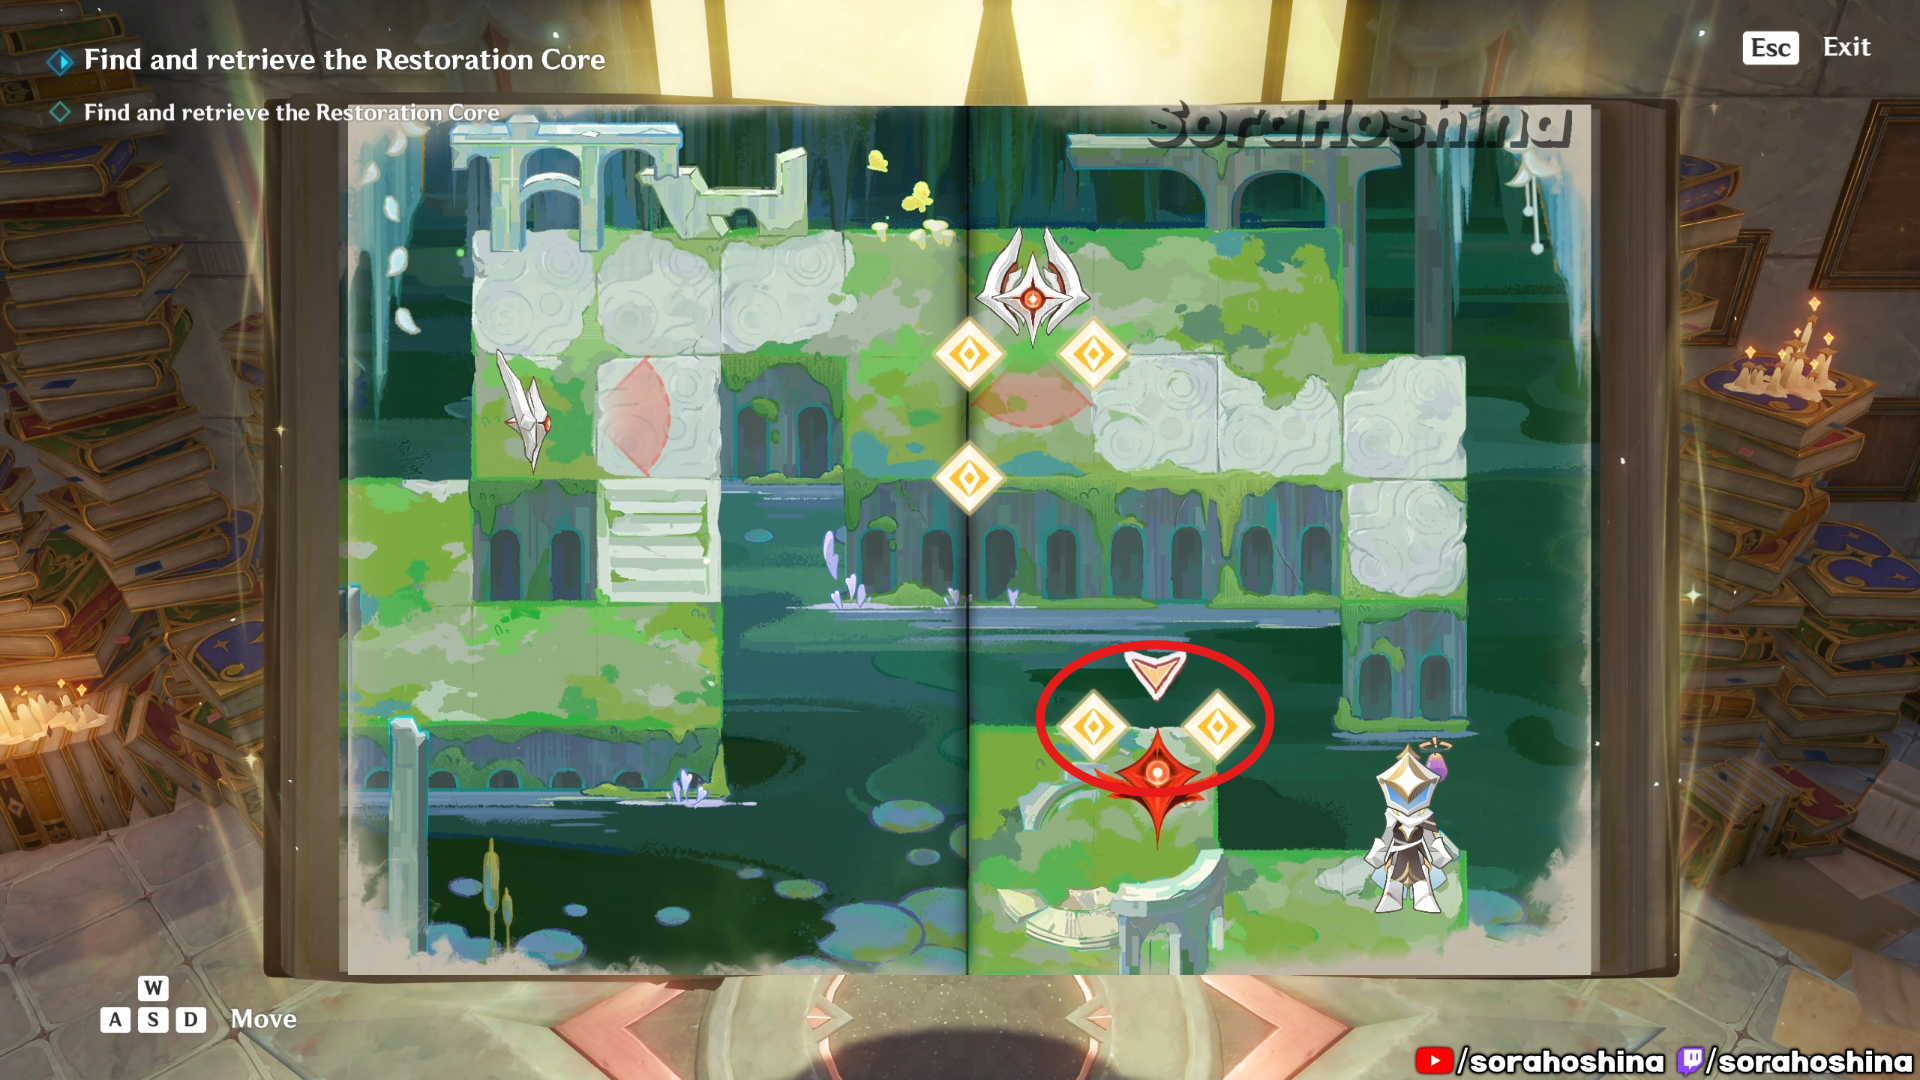
In the current room, you will see another invisible Restoration Core. You know the puzzle by now, go to the furthest room, turn the page from left to right so you can get half of the real Restoration Core.
To get the other half, continue following the path ahead of the Restoration Core to find another page to flip. This time is a new, drag the bottom page only halfway to upwards.
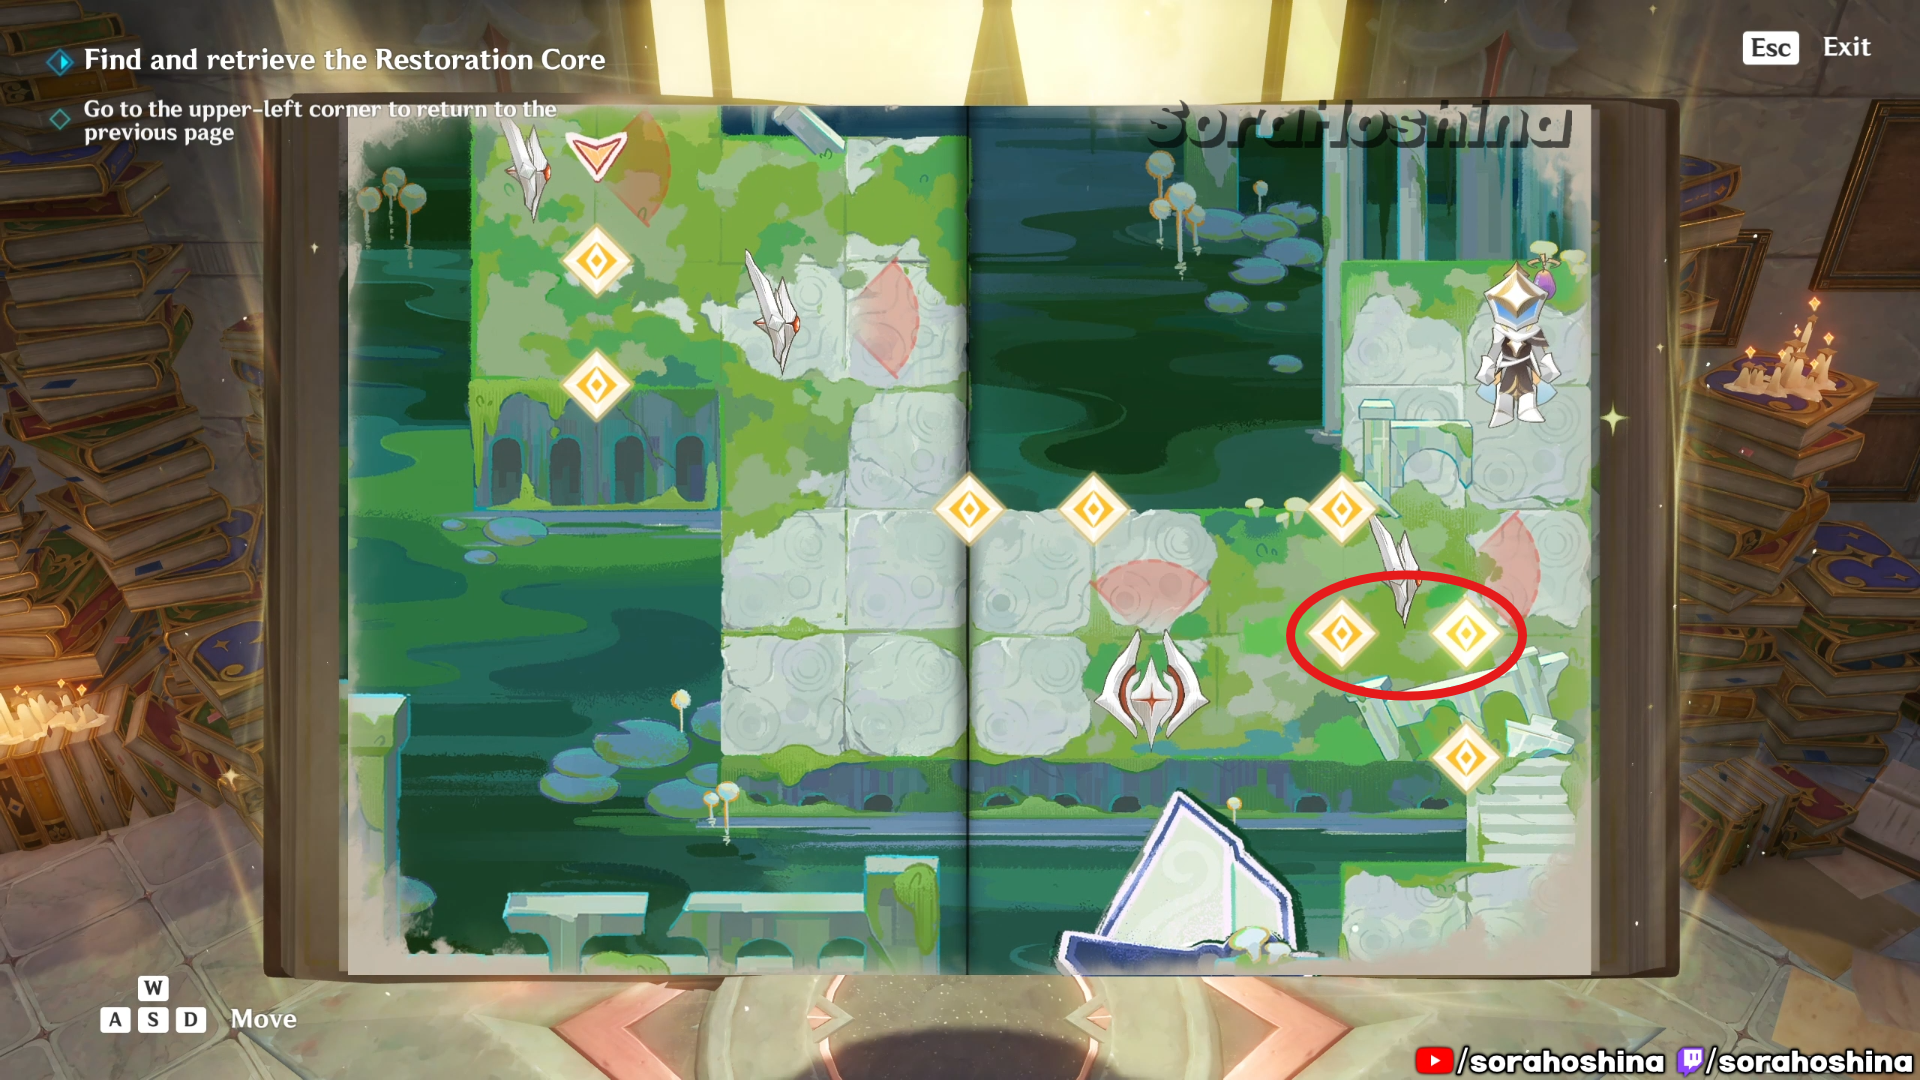
Inside the room with Fontain’s mechanism, flip the page in this room from right side only halfway to the left so you can get said mechanism. Unfortunately, it’s a trap to get the Restoration Core.
But no matter, continue the path until you find another page to flip. The correct step here is from up to down. With the Restoration Core in possession, restore the space to find the next item of Zeitlind’s belonging.
After finding the quest item, continue investigation the library as you still need to save this place and the people trapped inside it. Just keep following the quest navigation for now.
First Page of Mysterious Nation of Books
Once entering the book, unfold the Anomalies line at the top. Next, fold the two bottom Anomalies to create a path for your character to cross and reach the boat.
Second Page of Mysterious Nation of Books
After getting off the boat, fold the bottom Anomalies, make your character walk ahead, before unfolding it back so they can go upwards.

Unfold the Anomalies line at the top to uncover the last two points. Fold the two Anomalies at the top right so your character can reach the end of the page.
Third Page of Mysterious Nation of Books
There are two enemies in this page. First of all, fold the Anomalies near the boat upwards to make the first enemy disappear. Once your character goes upward, you can unfold it back.
Next, fold the Anomalies in between the second enemy to bypass it so you can reach the boat. Don’t worry about the Restoration Core at the bottom page, you will come back here later.
Fourth Page of Mysterious Nation of Books
Now, move your character to the most right before you fold the two Anomalies in between the pillar hide it from view. Next, it’s the two Anomalies behind the first enemy. Only then can your character move to the upward area.
When your character at the top, take the two Anomalies in between the first enemy and fold them to hide it.
Next, wait for the patrolling second enemy to stop in between the two Anomalies before you fold it to hide the second enemy.
Once your character is on the left page, fold the last two Anomalies the moments the last two enemies are in between them so you can hide them both. Walk upwards to reach the previous page.
Back to The Third Page of Mysterious Nation of Books
Here, fold the Anomalies in between the Restoration Core first so it will hide the pillar and your character can move to the left side.
Afterwards, unfold the page and get the Restoration Core and run away from the blocks by folding the Anomalies on the page. These ones are easy so I won’t get in-depth with it. In fact, once you return to the real world and restore the space to normal, you will complete this quest!
Unofficial Chronicle of the Desert Pavilion – Investigate and liberate Desert Pavilion
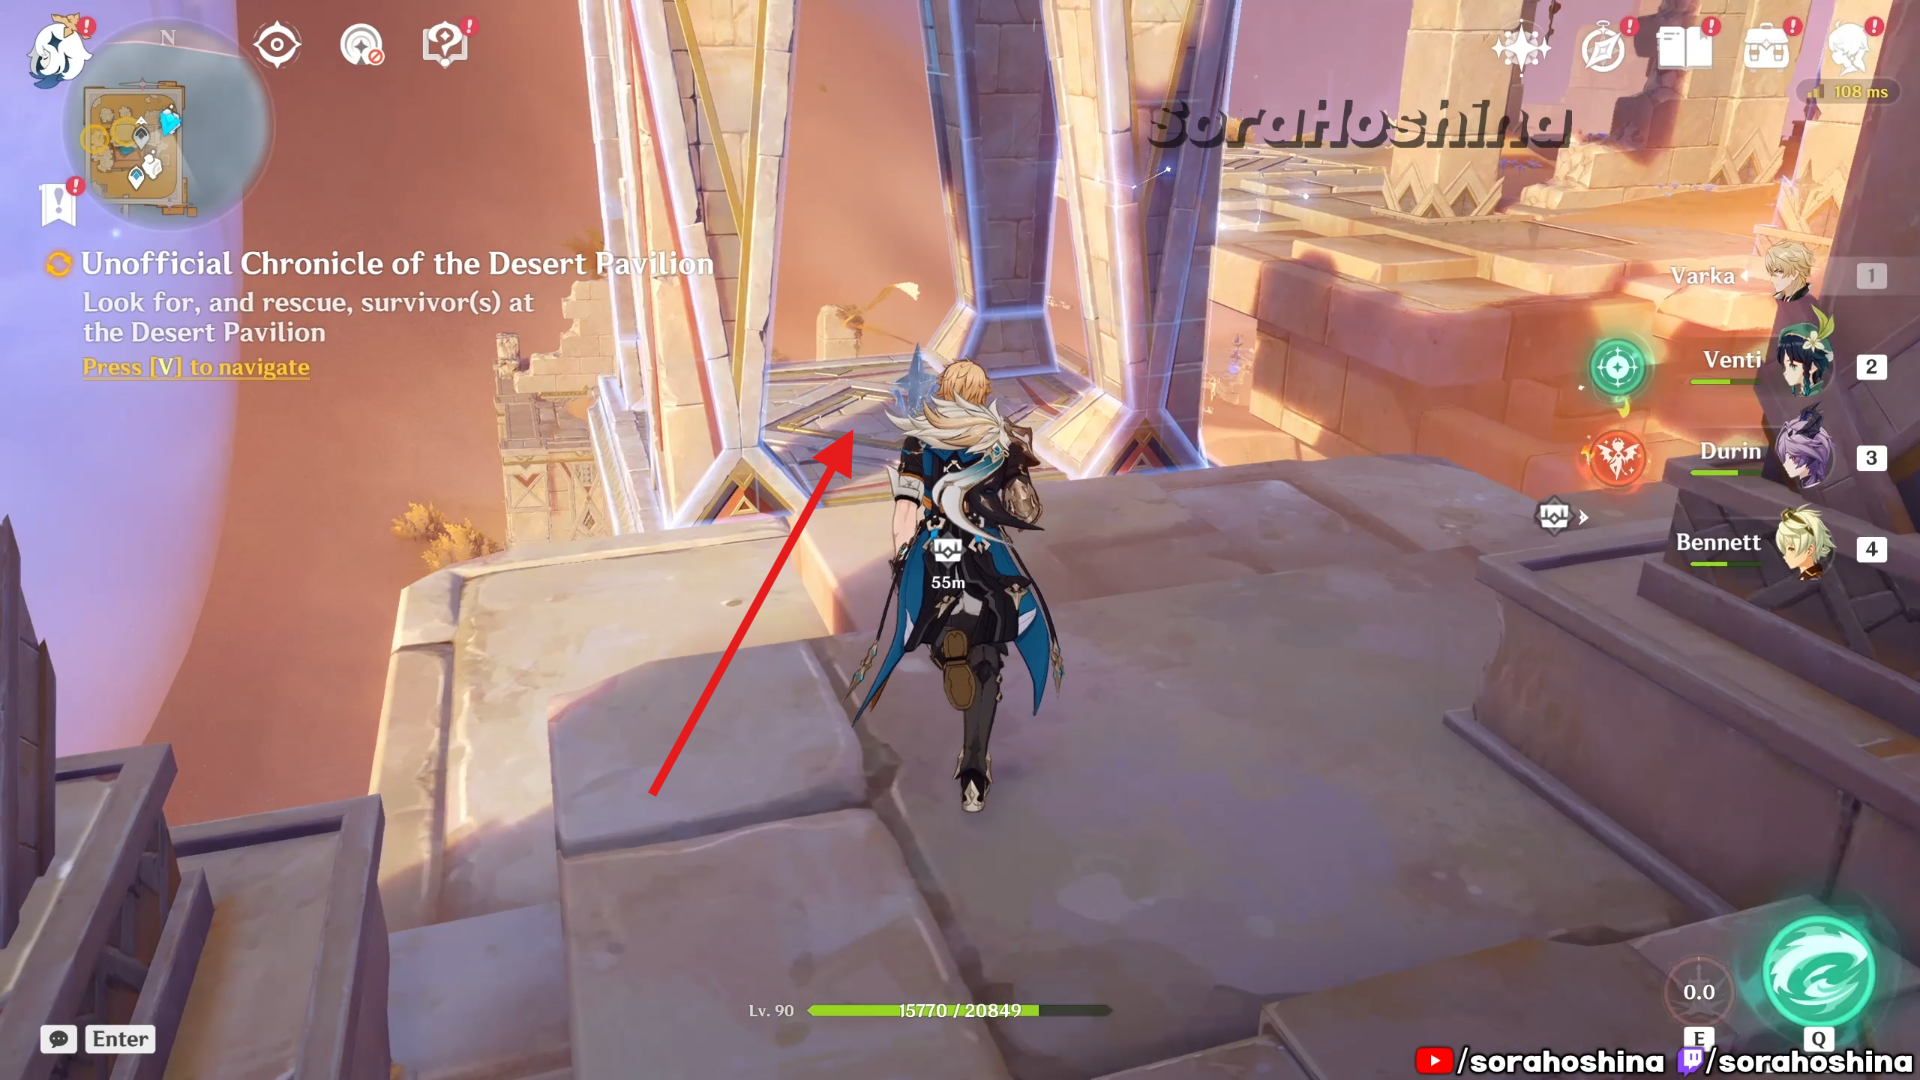
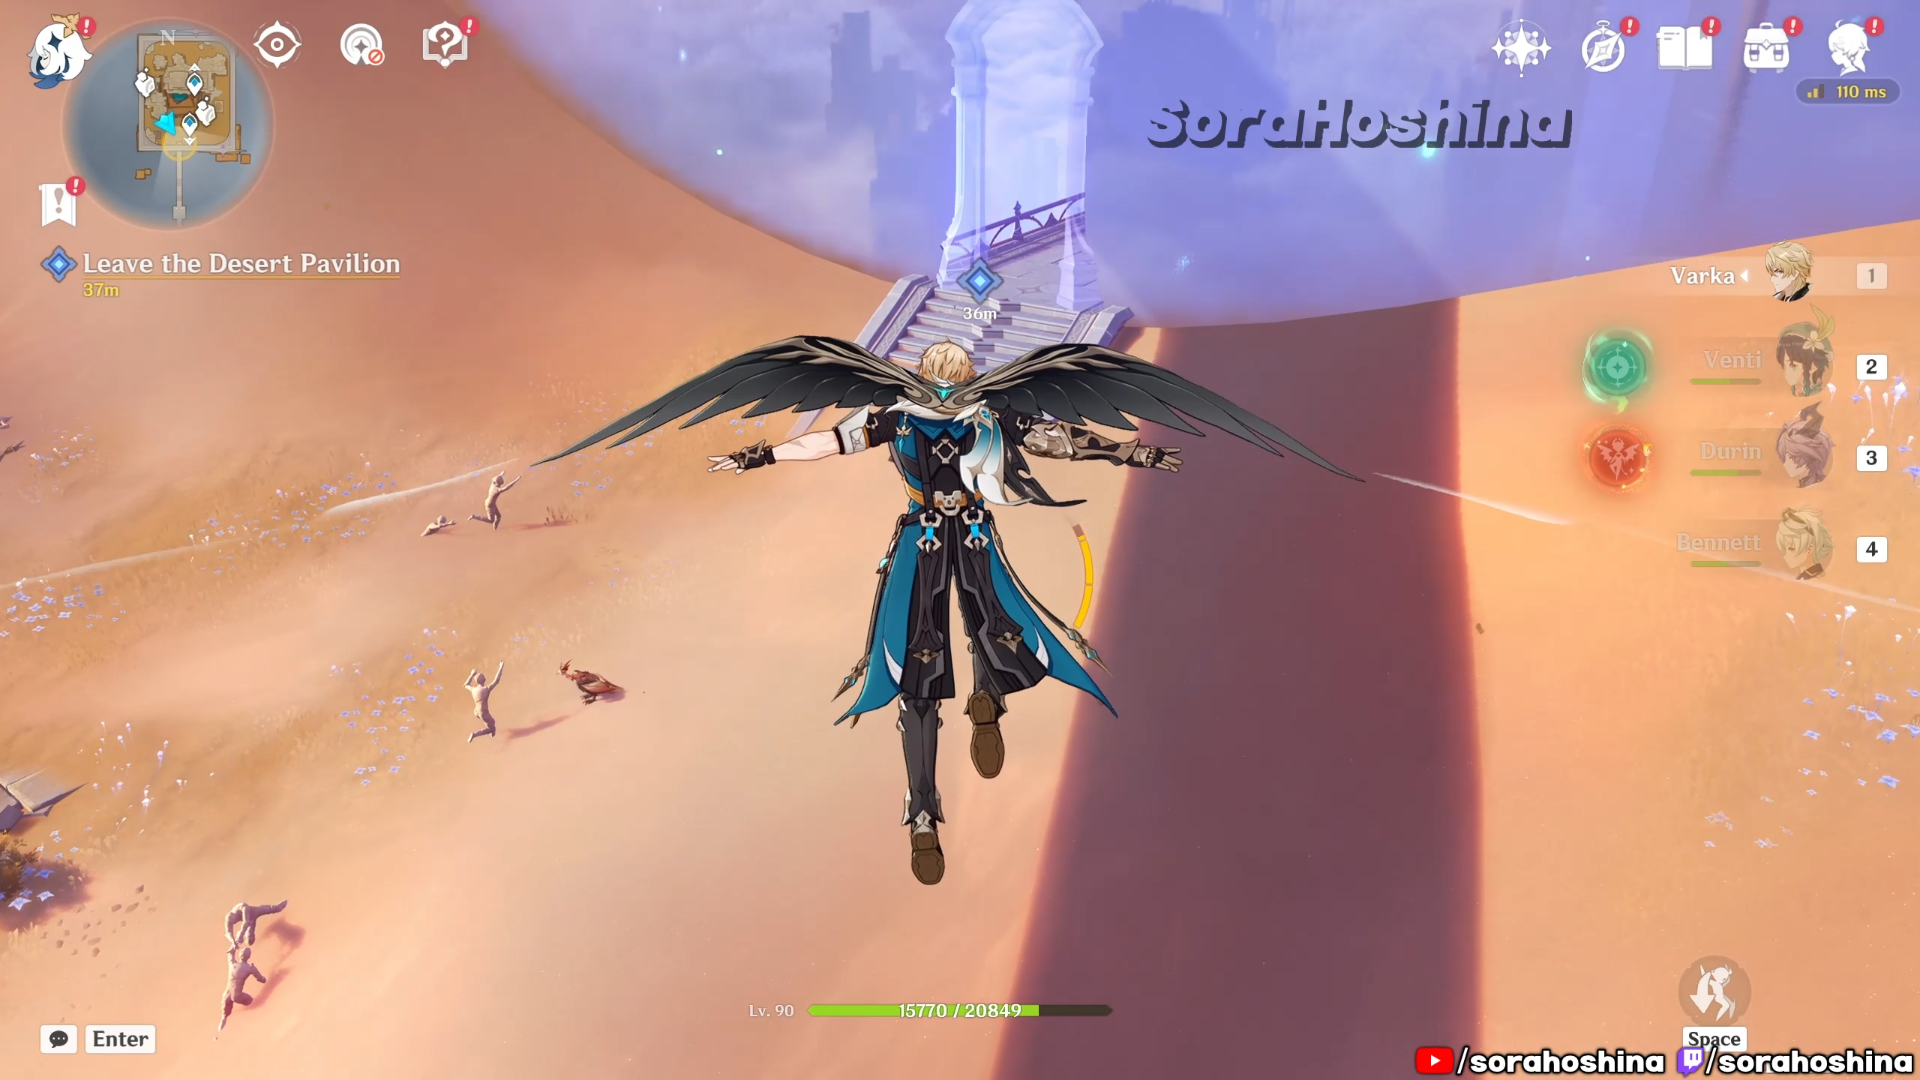
Now for the last location, it’s in Desert Pavilion. Same as the previous quests, if you didn’t unlock the waypoint yet, head to Temple of Space – Memory Core, and head north until you reach Desert Pavilion to start the Unofficial Chronicle of the Desert Pavilion quest.
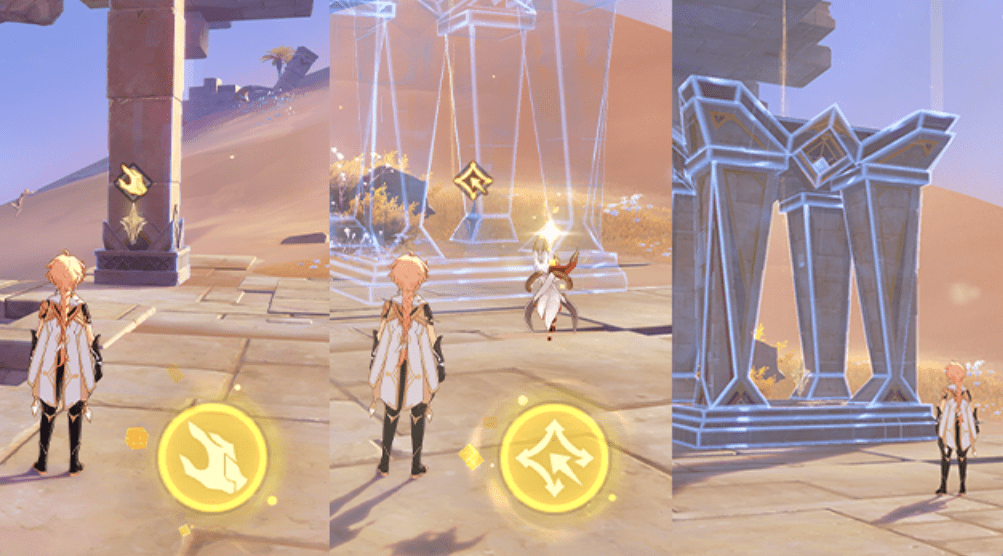
The puzzle for this location is all about Building Towers on Sand mechanism. You need to use Dex to seize objects from quicksand and reconstruct them into their original quicksand state. After seizing the quicksand, you can choose which structure to construct.
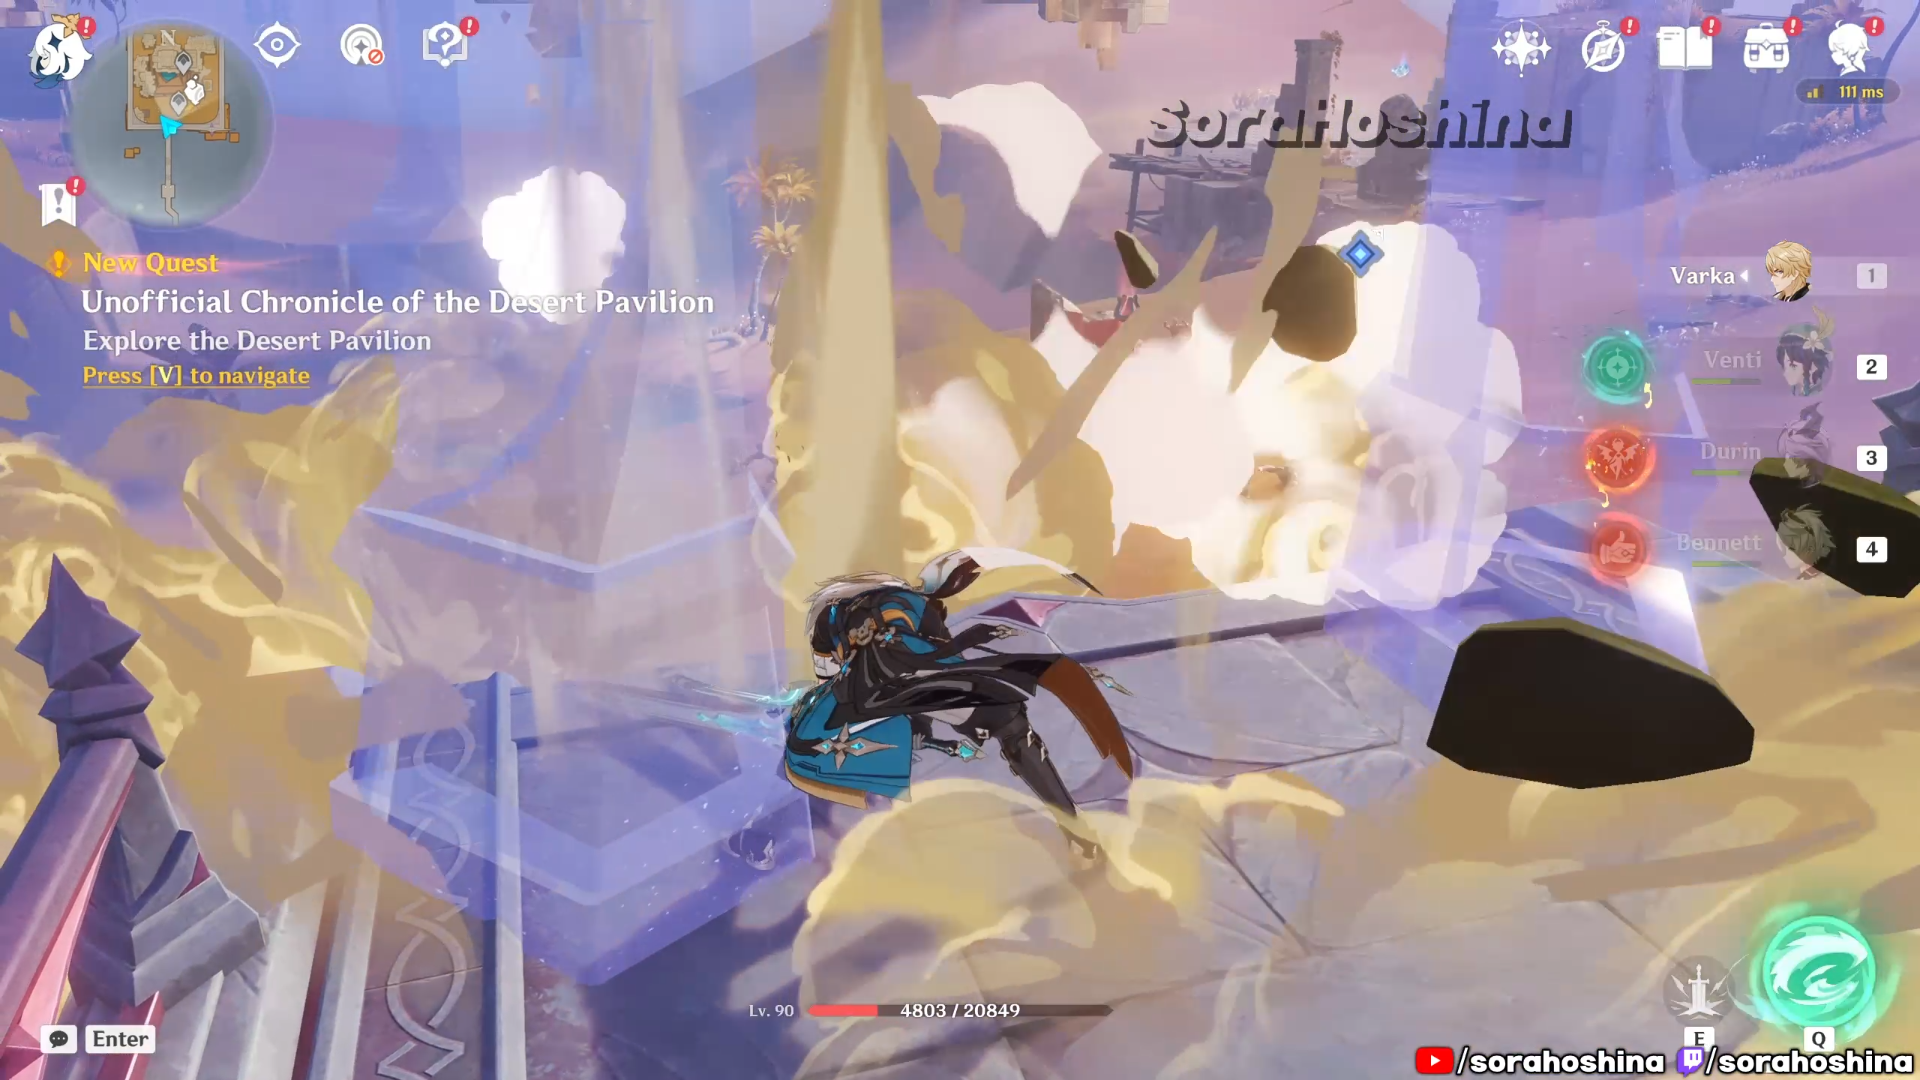
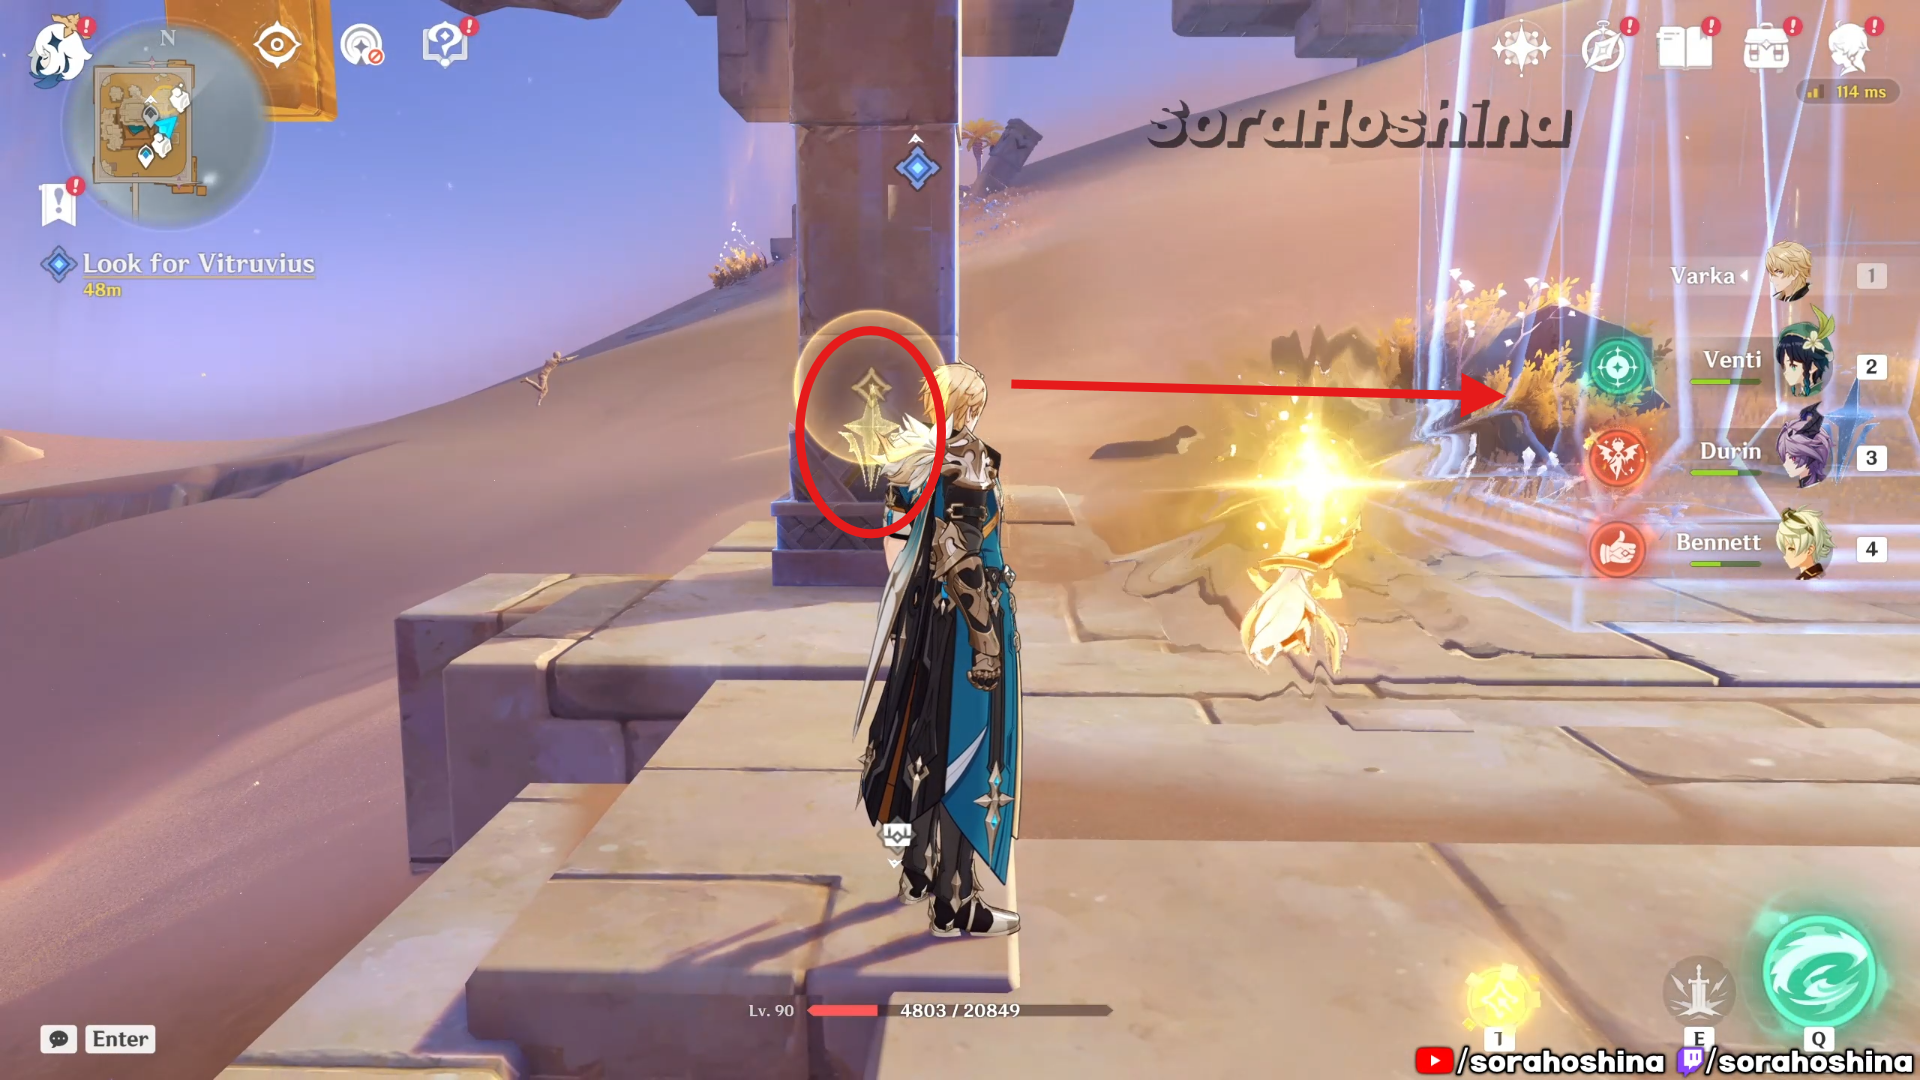
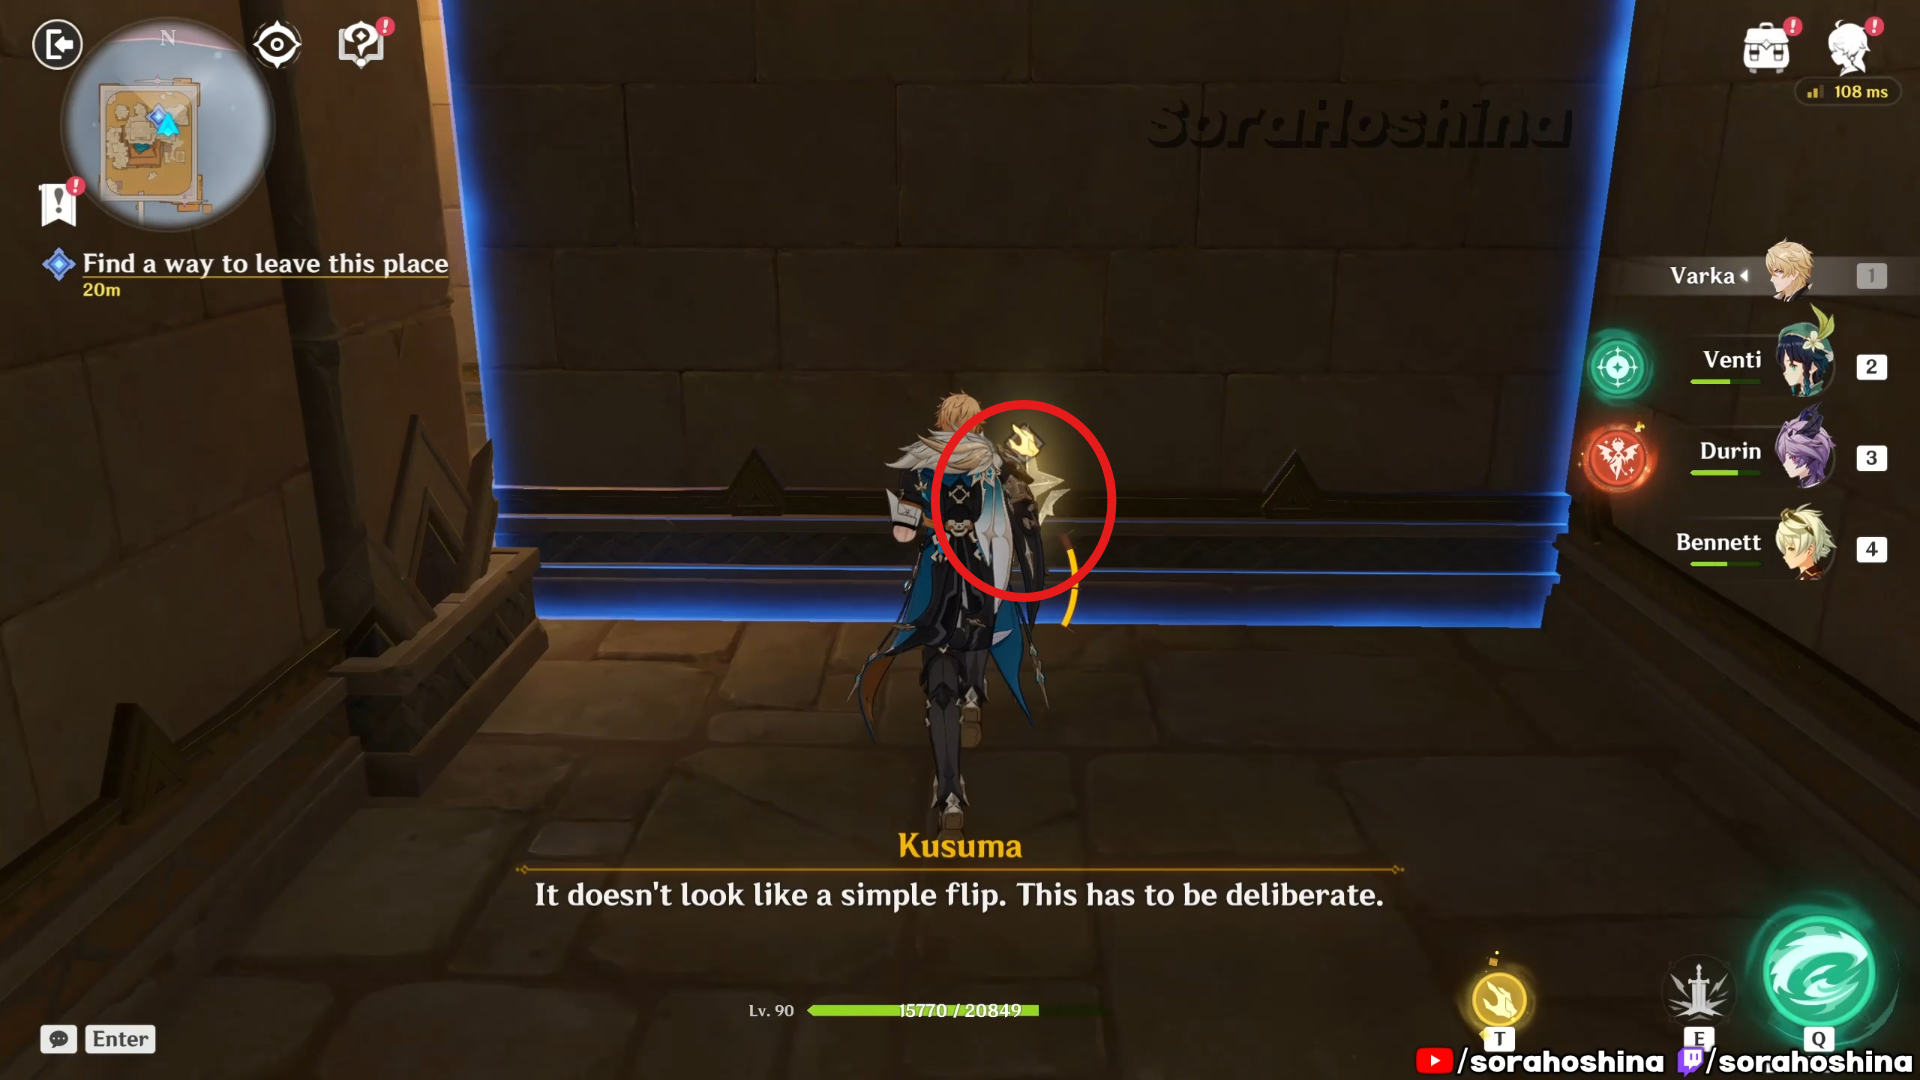
When the task said to explore the Desert Pavilion, you need to head northeast of the waypoint you just unlocked to hear an unknown voice. Then, you will progress through the quest.
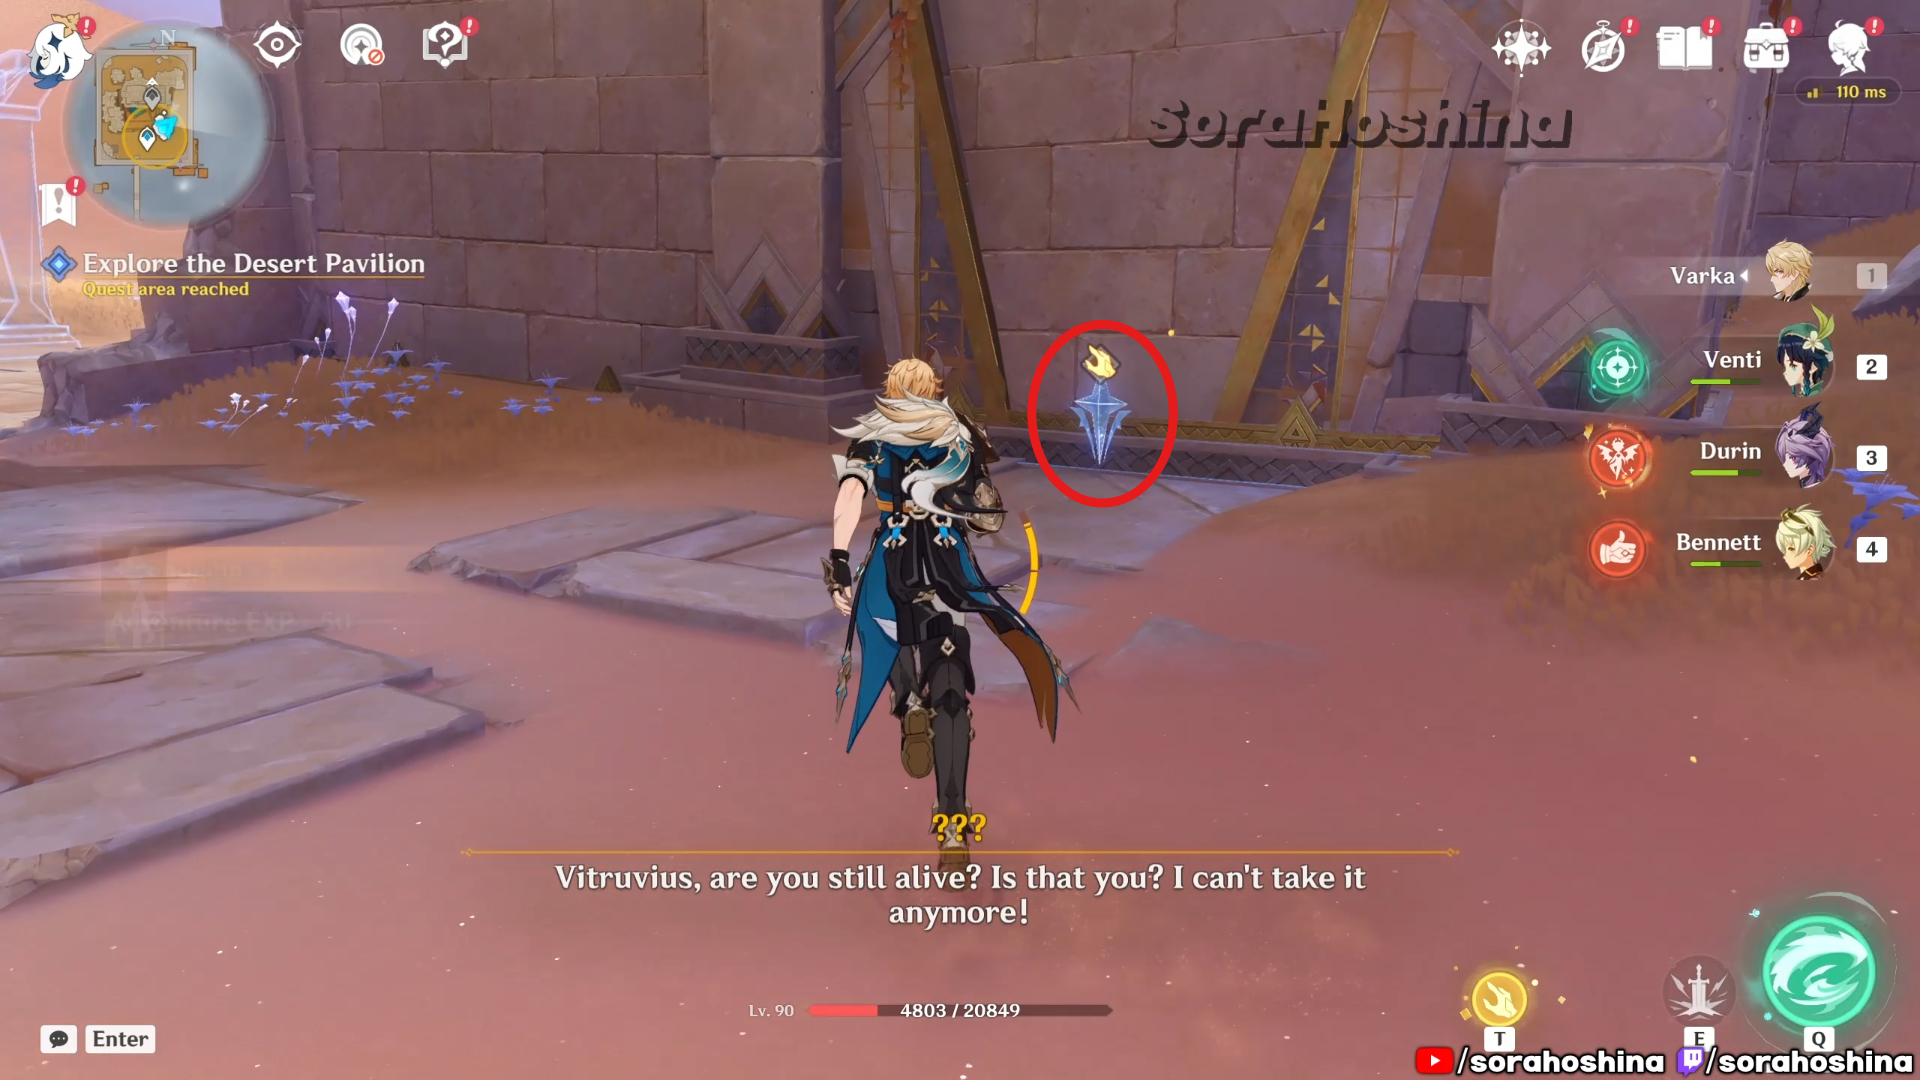
Head to the door and you will see the Quicksand icon on the entrance. Use Dex to seize the quicksand to dissolve the door and find an NPC inside.
The enemy you faces next is a normal mob in this area, but you don’t have to defeat it. In fact, you need to go to the backside of this enemy so Dex can retrieve its core and defeat it immediately.
For the next puzzle, simply seize the pillar Quicksand and have Dex construct the lift on the glowing space on the right side. Then, you can go to the upper level. Up there, defeat the enemies in front of the trapped NPC so you can save him.
The next enemy that will turn the NPC to sand is the same one in early quest, where you can go to the backside of this enemy and use Dex to defeat it. This enemy type will be a lot in Desert Pavilion, it’s best if remember this tips so you don’t have to keep defeating mobs.
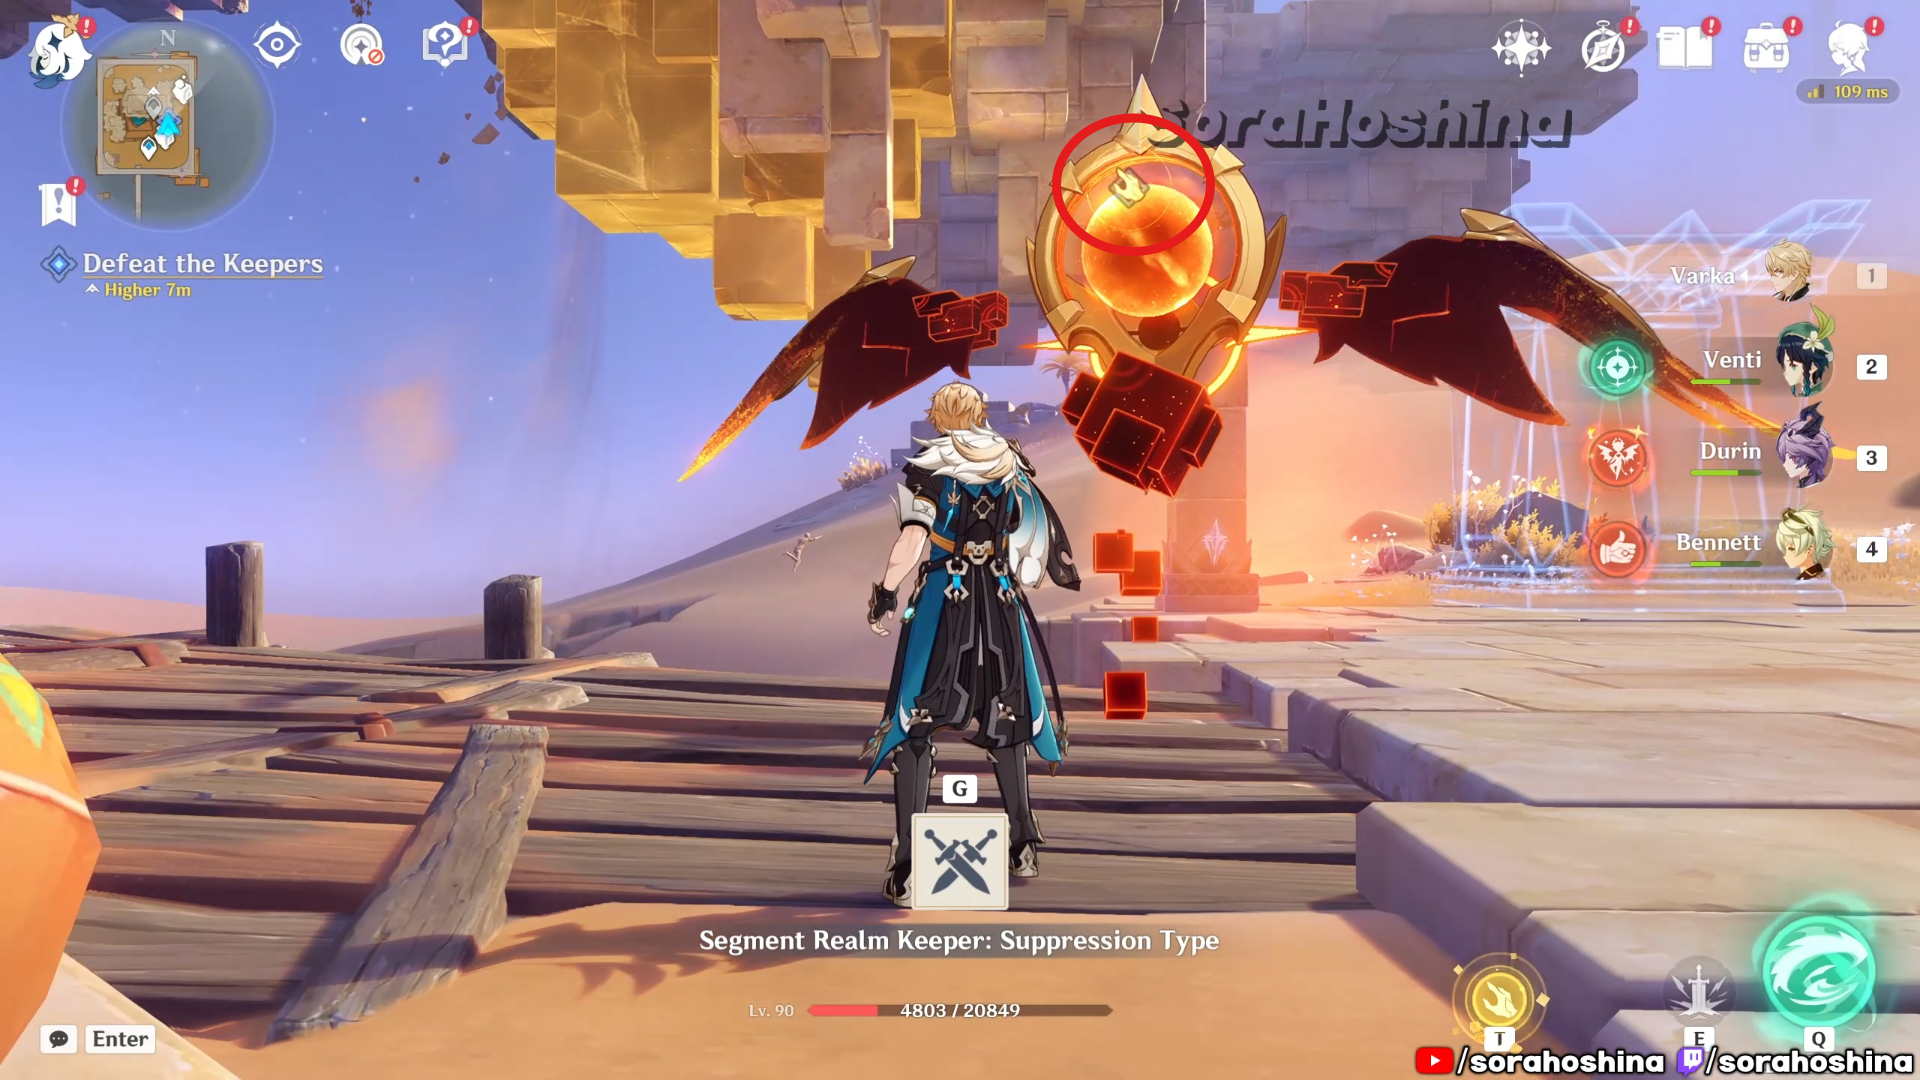
After defeating the Segment Realm Keeper: Suppression Type, use the already available lift just like before so you can reach the upper level again.
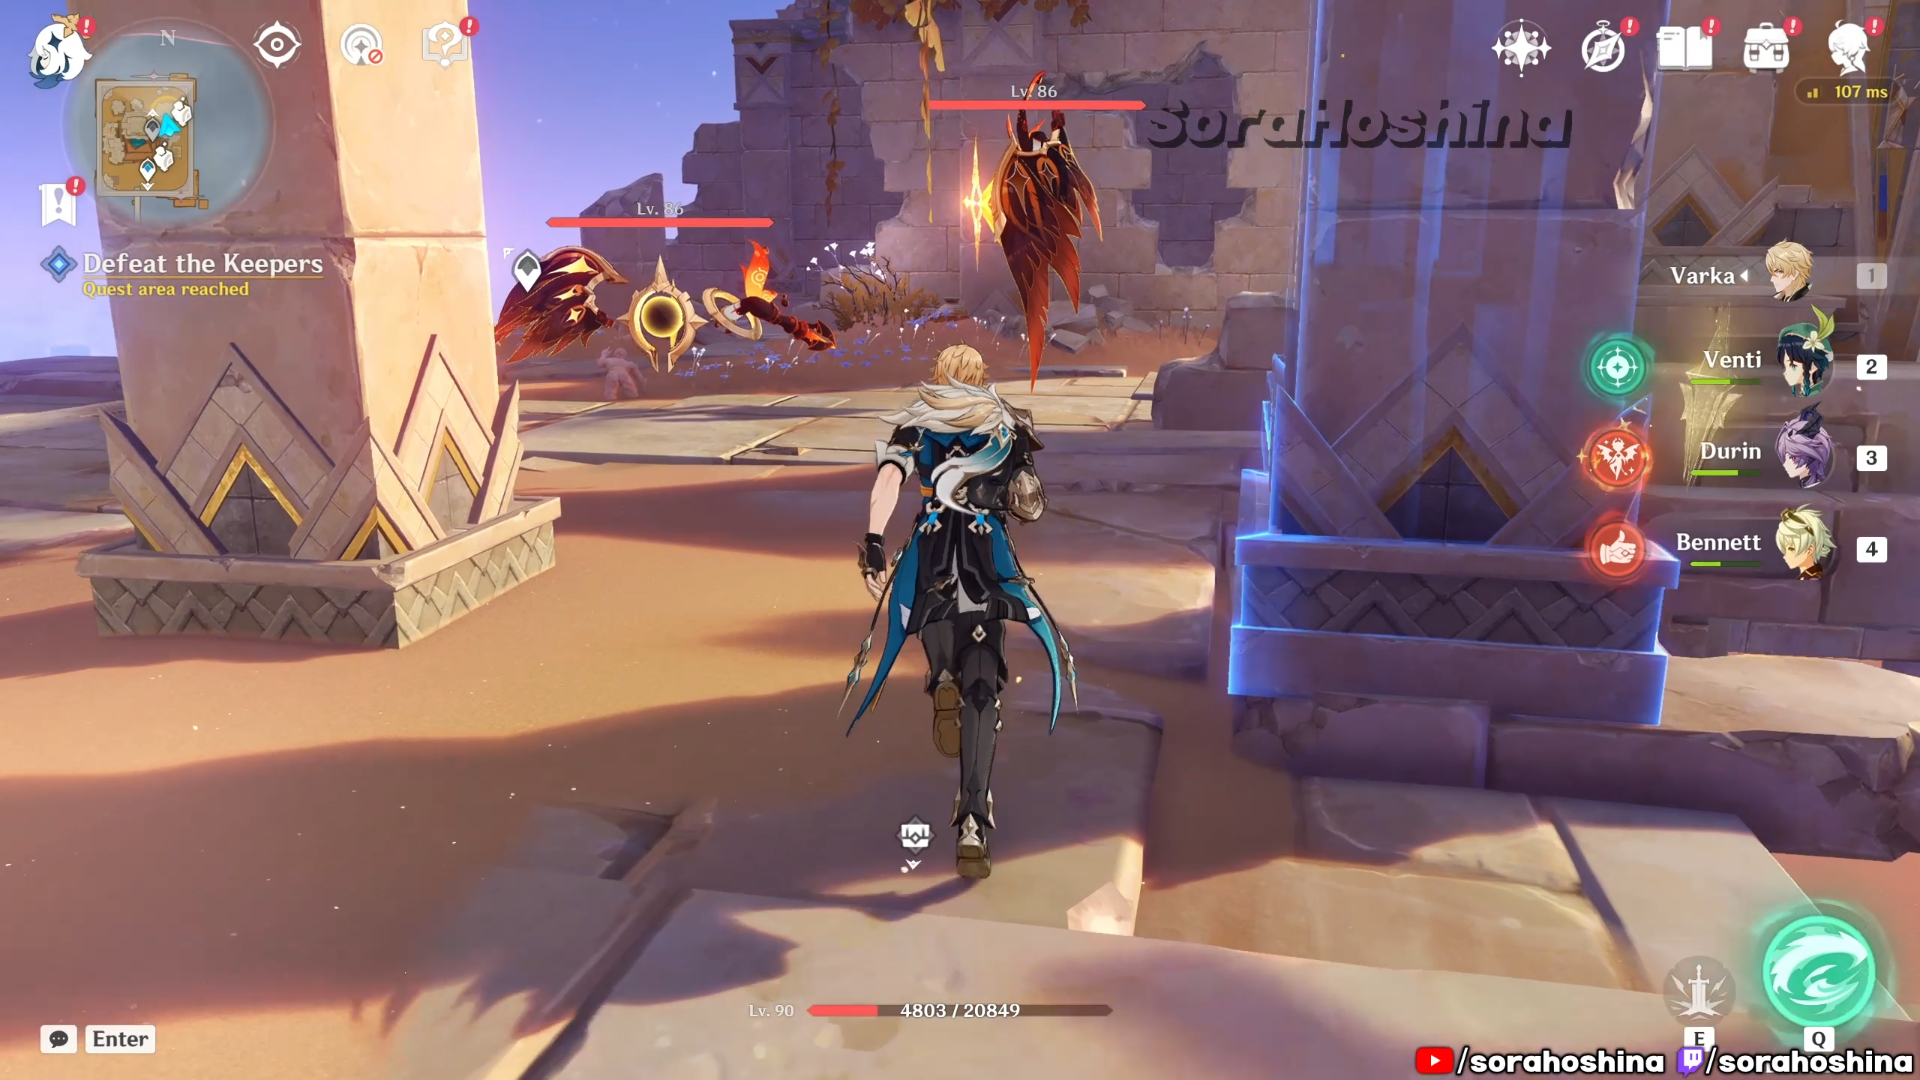
The task at the top level is to explore the central area. Just follow the path leading to west to find Keepers that you need to defeat (which will be mentioned by Paimon). There are 3 of them, so be smart when using the ‘seize and construct Quicksand’ ability to construct platform to reach/hide from the Keepers, and use Dex’s ability to immediately defeat the enemies. You will meet another NPC named Kshama once you defeat these 3 Keepers.
Once the conversation is over, teleport to the waypoint south of Desert Pavilion to ‘leave’ this location. Continue following the quest navigation until you reach the next puzzle.
When you’re teleported to a new area and fell into a trap, all you have to do is use Dex to seize the wall Quicksand so your character can move forward. And since it’s pretty one-way, you won’t get lose.
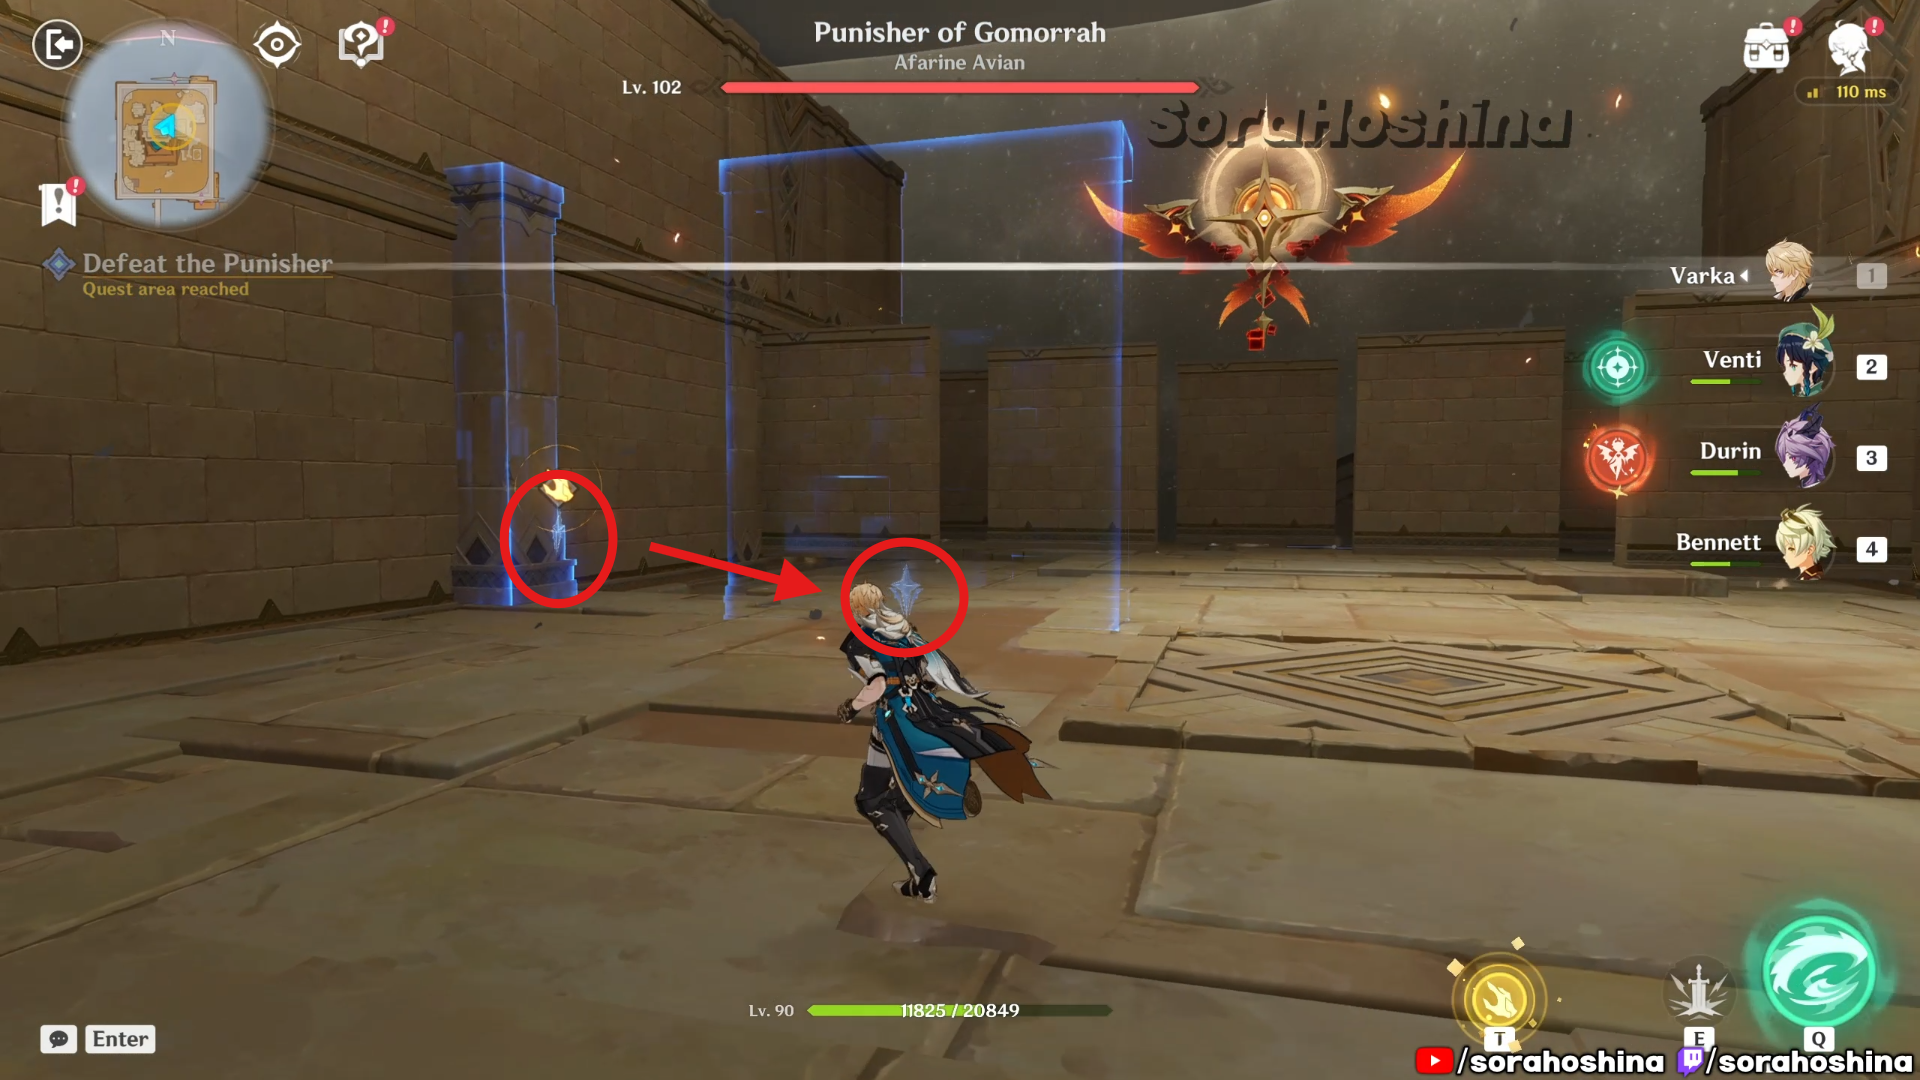
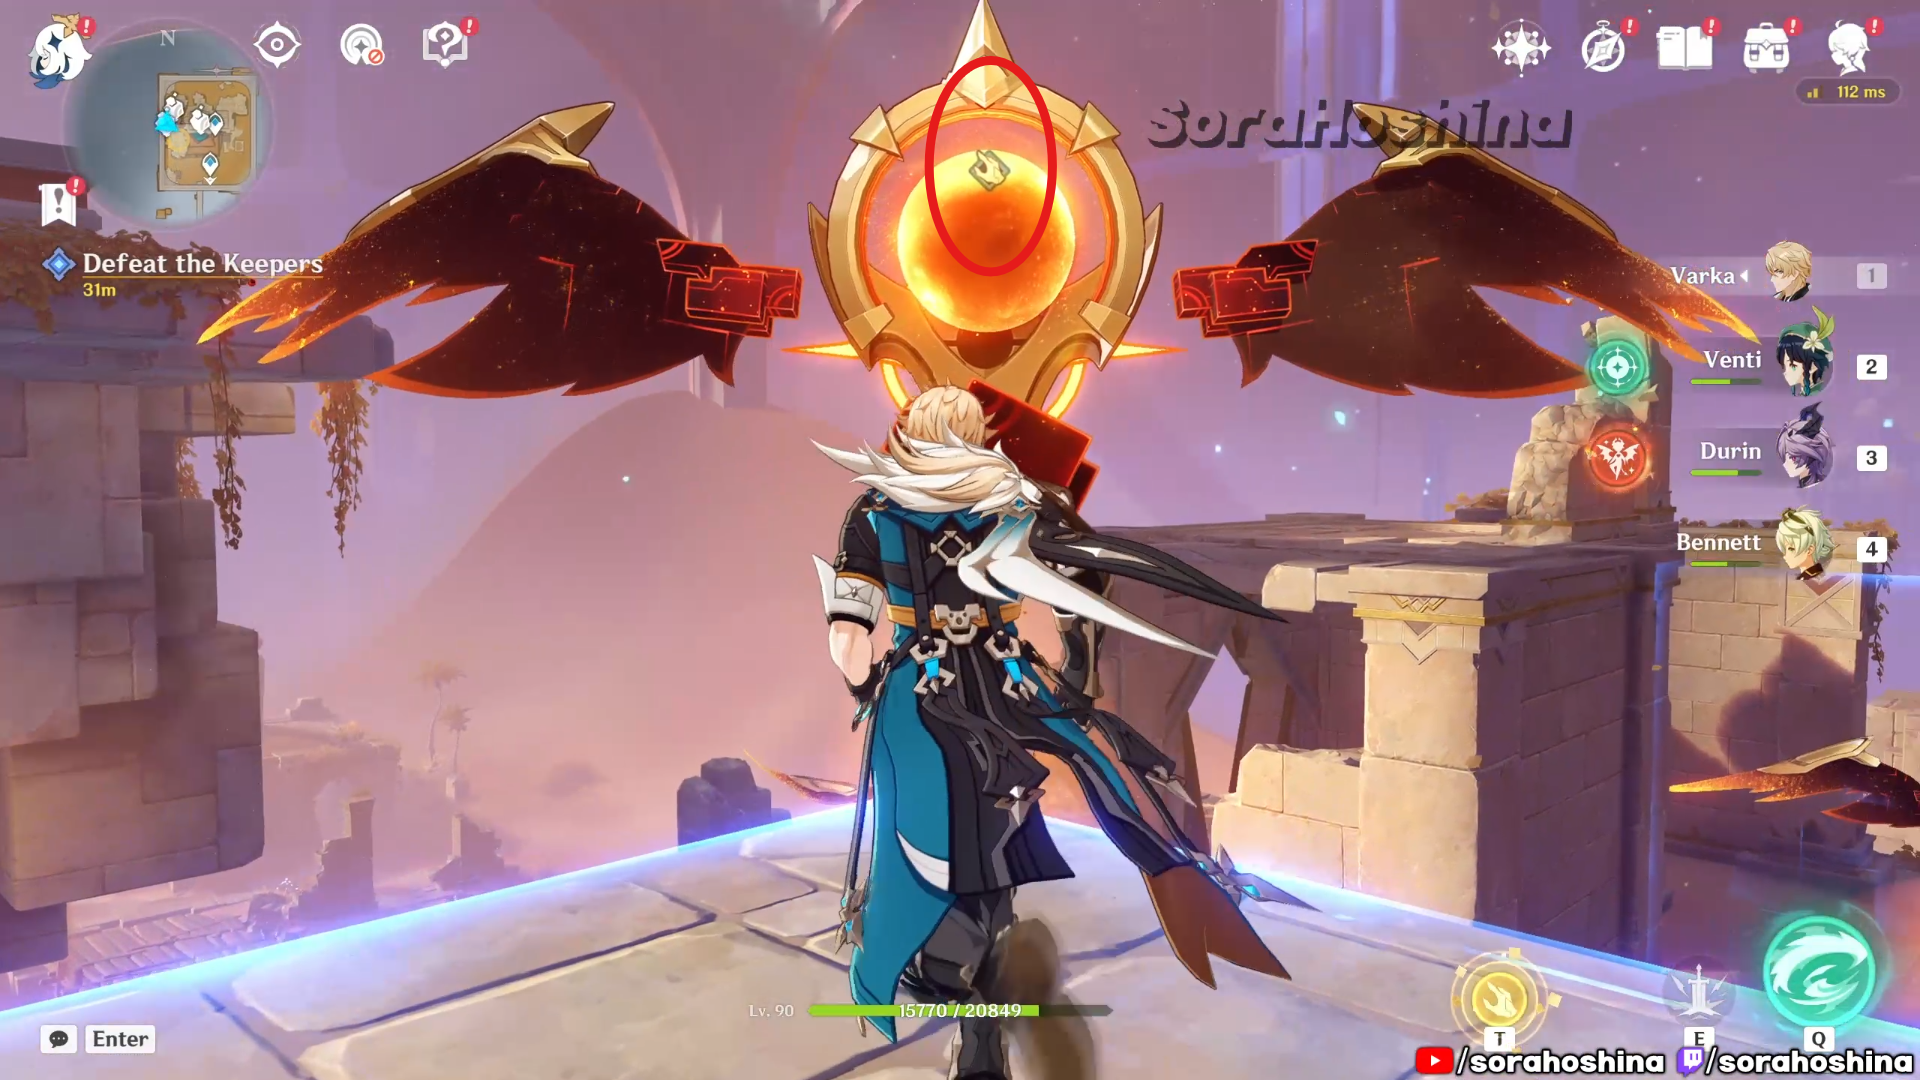
You will be confronted by a boss called Afarine Avian, and the trick to defeat is by using Dex to seize the wall Quicksand on the left/right side, and construct a wall in the center when you’re facing the boss to avoid all the attacks to hit you.
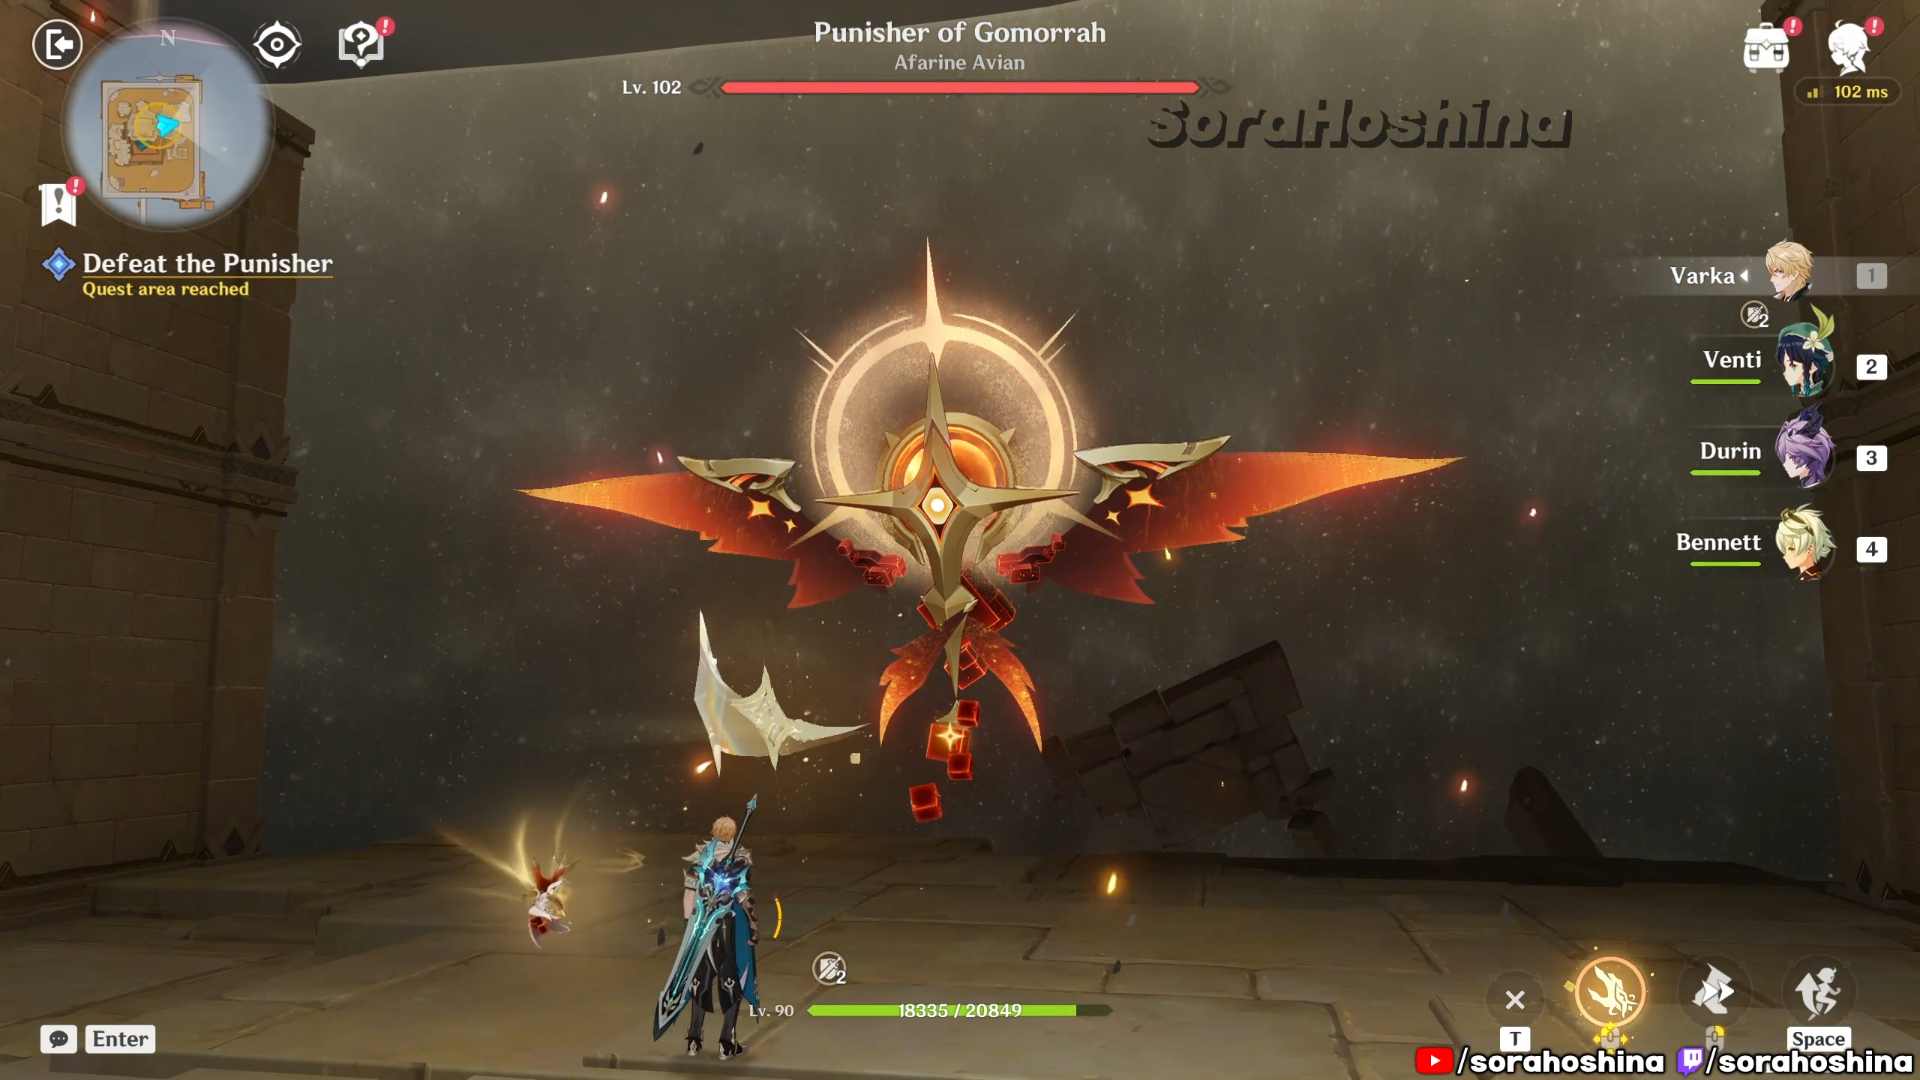
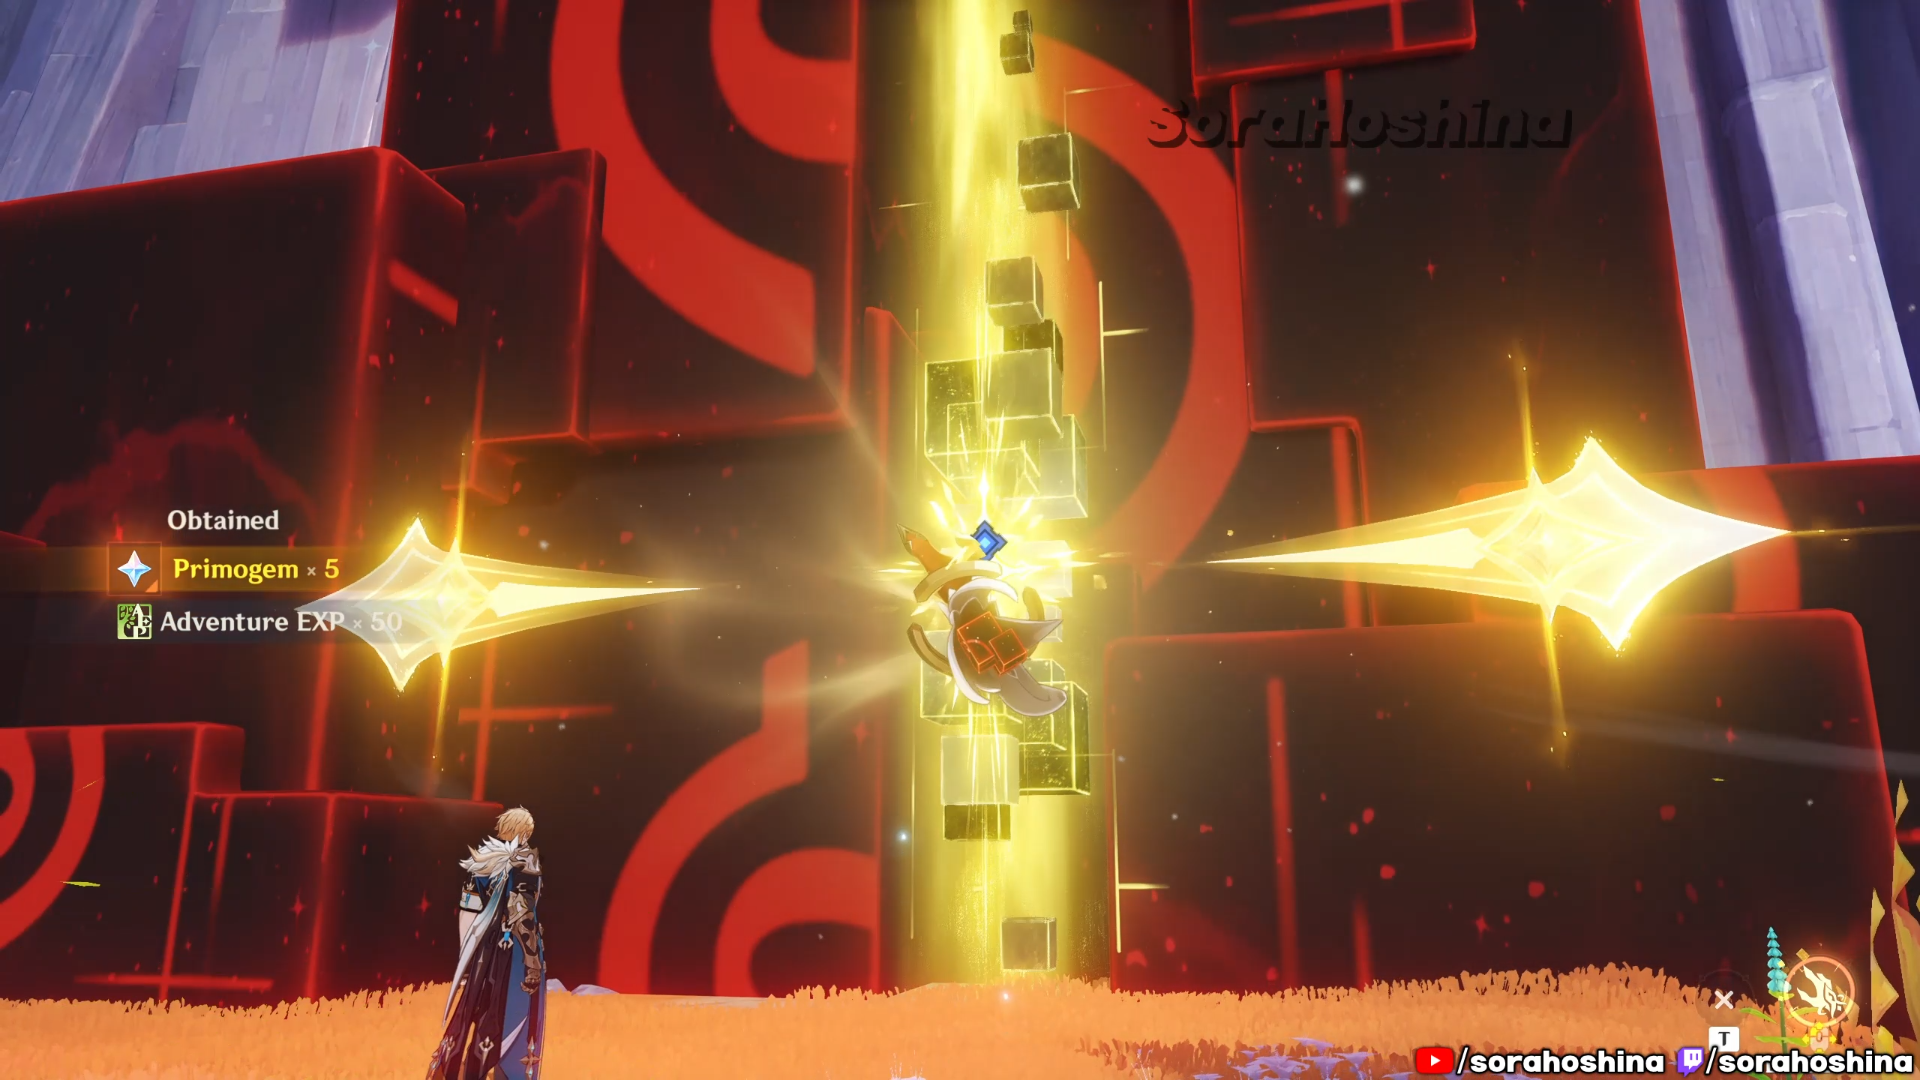
To defeat the boss itself, you don’t have to fight it. Instead, after its done attacking you, there will be a moment where it will hovered closer to the ground, so you will have the time to use Dex and force the boss to turn around before so Dex can seize their cores directly and deal massive damage. Do this multiple times until it’s dead. Afterward, you will find the last of Zeitlind’s missing belonging.
A Day the Grand Temple Inscribed with Ages
Finally, after completing the three quests above, you will return back to Temple of Space: Memory Core and progress the main quest here. In this part, all you have is dialogues and no puzzle before the quest comes to an end and you will automatically get the continuation.


Leave a comment