
The Final Judgement is the fourth quest under the A Long Day in the Mountain Quest Chain released in Genshin Impact version Luna VI. It’s the continuation of Lion’s Celerity quest, where we will be transported a new area called Apathic Interval and need to defeat Maranasati Casket and collect the Deathmuse Shards to escape the location. This guide will help you complete The Final Judgement quest in Genshin Impact.
The Final Judgement Quest Guide In Genshin Impact
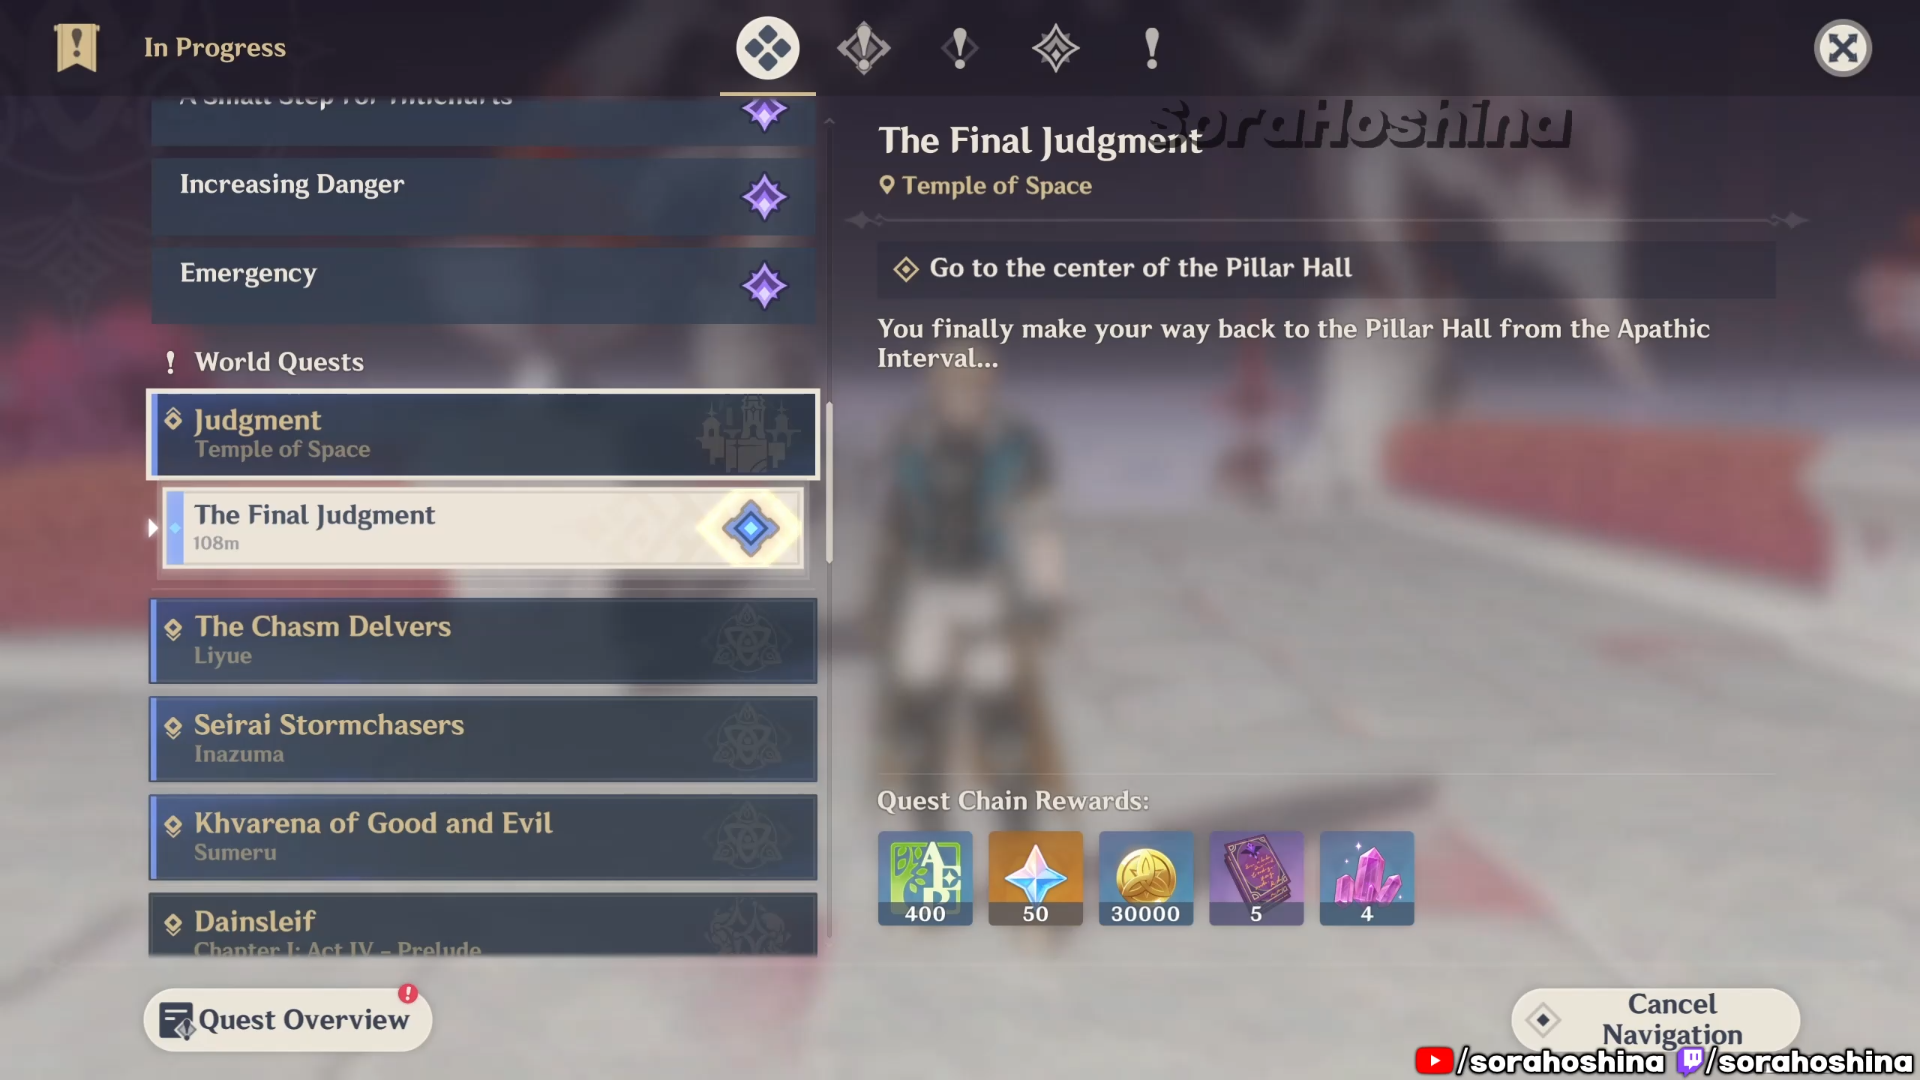
You will obtain The Final Judgement quest automatically after completing Lion’s Celerity quest in Genshin Impact. Once you get the quest, the first task is to go to the center of the Pillar Hall, so you can teleport to Temple of Aether – Mnemonic Nexus. Afterwards, continue with the navigation until you reach the Corridor of Nothingness. This place is not marked on map.
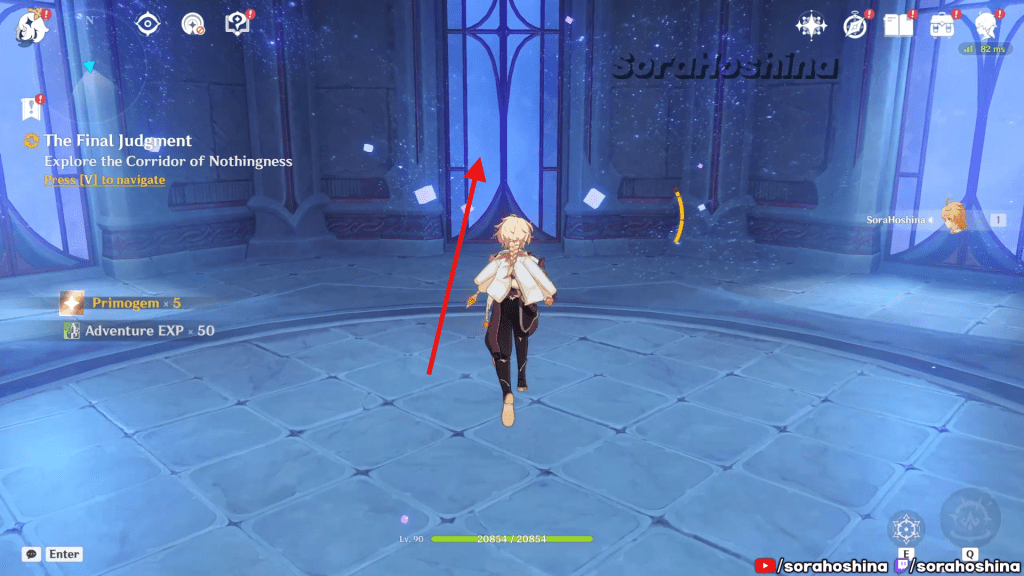
In the Corridor of Nothingness, there are many doors. From your original position when you first arrive here. Go to the door right in front of you to discover and Inazuma-themed room. Inside the room, keep following the raccoon until you reach the first simple puzzle.
Grab the Restoration Core, and restore the space that were folded so you can go through it. This time, you will enter a Sumeru-themed room. Inside the room, all you have to do is to investigate the pile of books marked by the quest navigation. Afterward, keep following the navigation until you reach Atrium of Suchness.
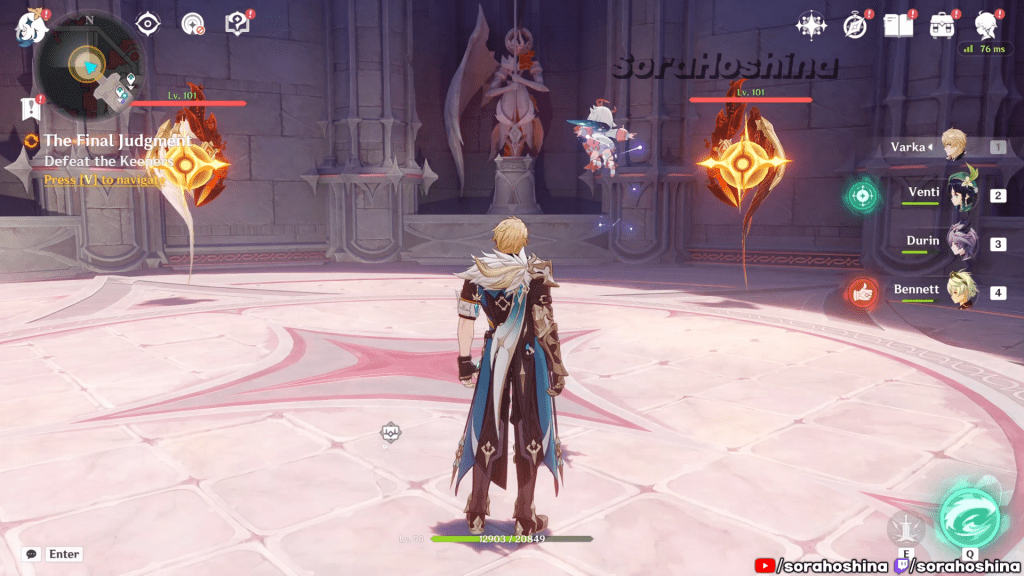
Entering the Atrium of Suchness, you will find Melanta inside, and there will be a minor battle. For now, there will only be multiple Keeper mobs for you to take care of.
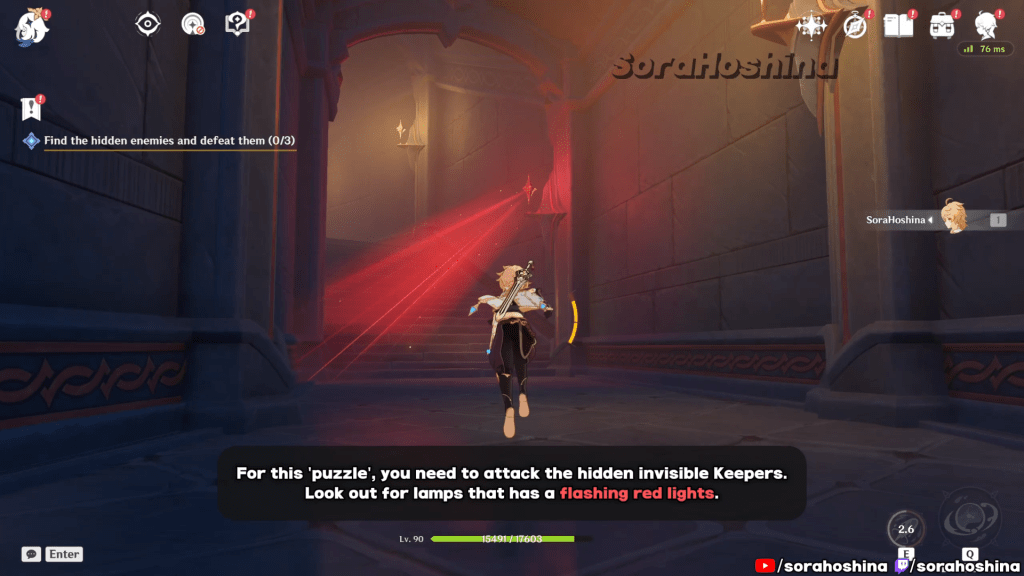
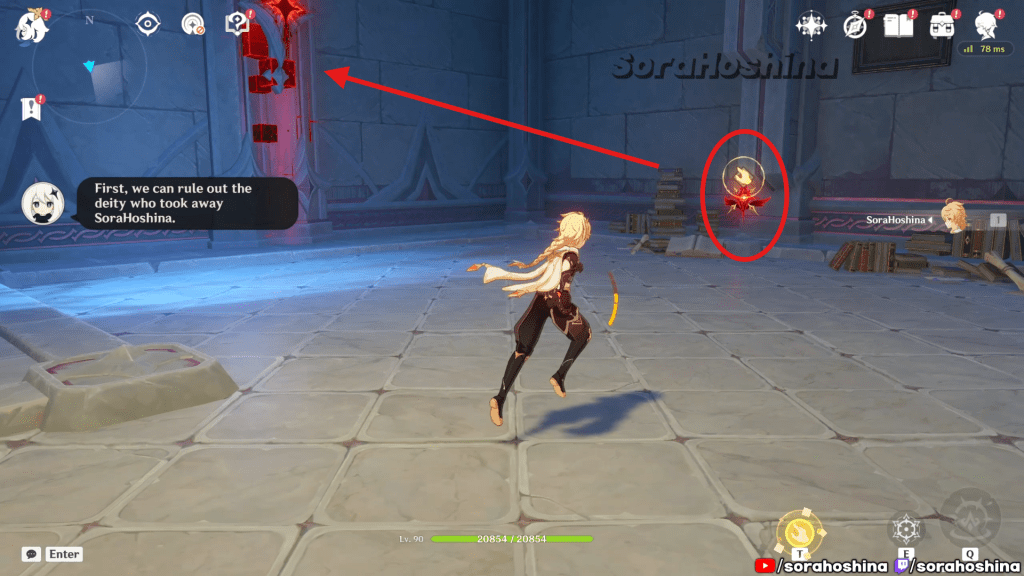
Next, you will be transported to another area where you need to find hidden enemies and defeat them. To find them, look at the lamp ornament along the hallway and find those that shone red lights. Use Traveler’s Elemental Skill on those lamp to immediately defeat the hidden enemies.
Tips: At first, all the lamps in the vicinity will shine gold, but after a few seconds, the hidden enemies one will have a flicker of red in it.
Special mention to the last hidden enemies because all lamps will have red shine. The hidden enemies is inside the flickering lamp.
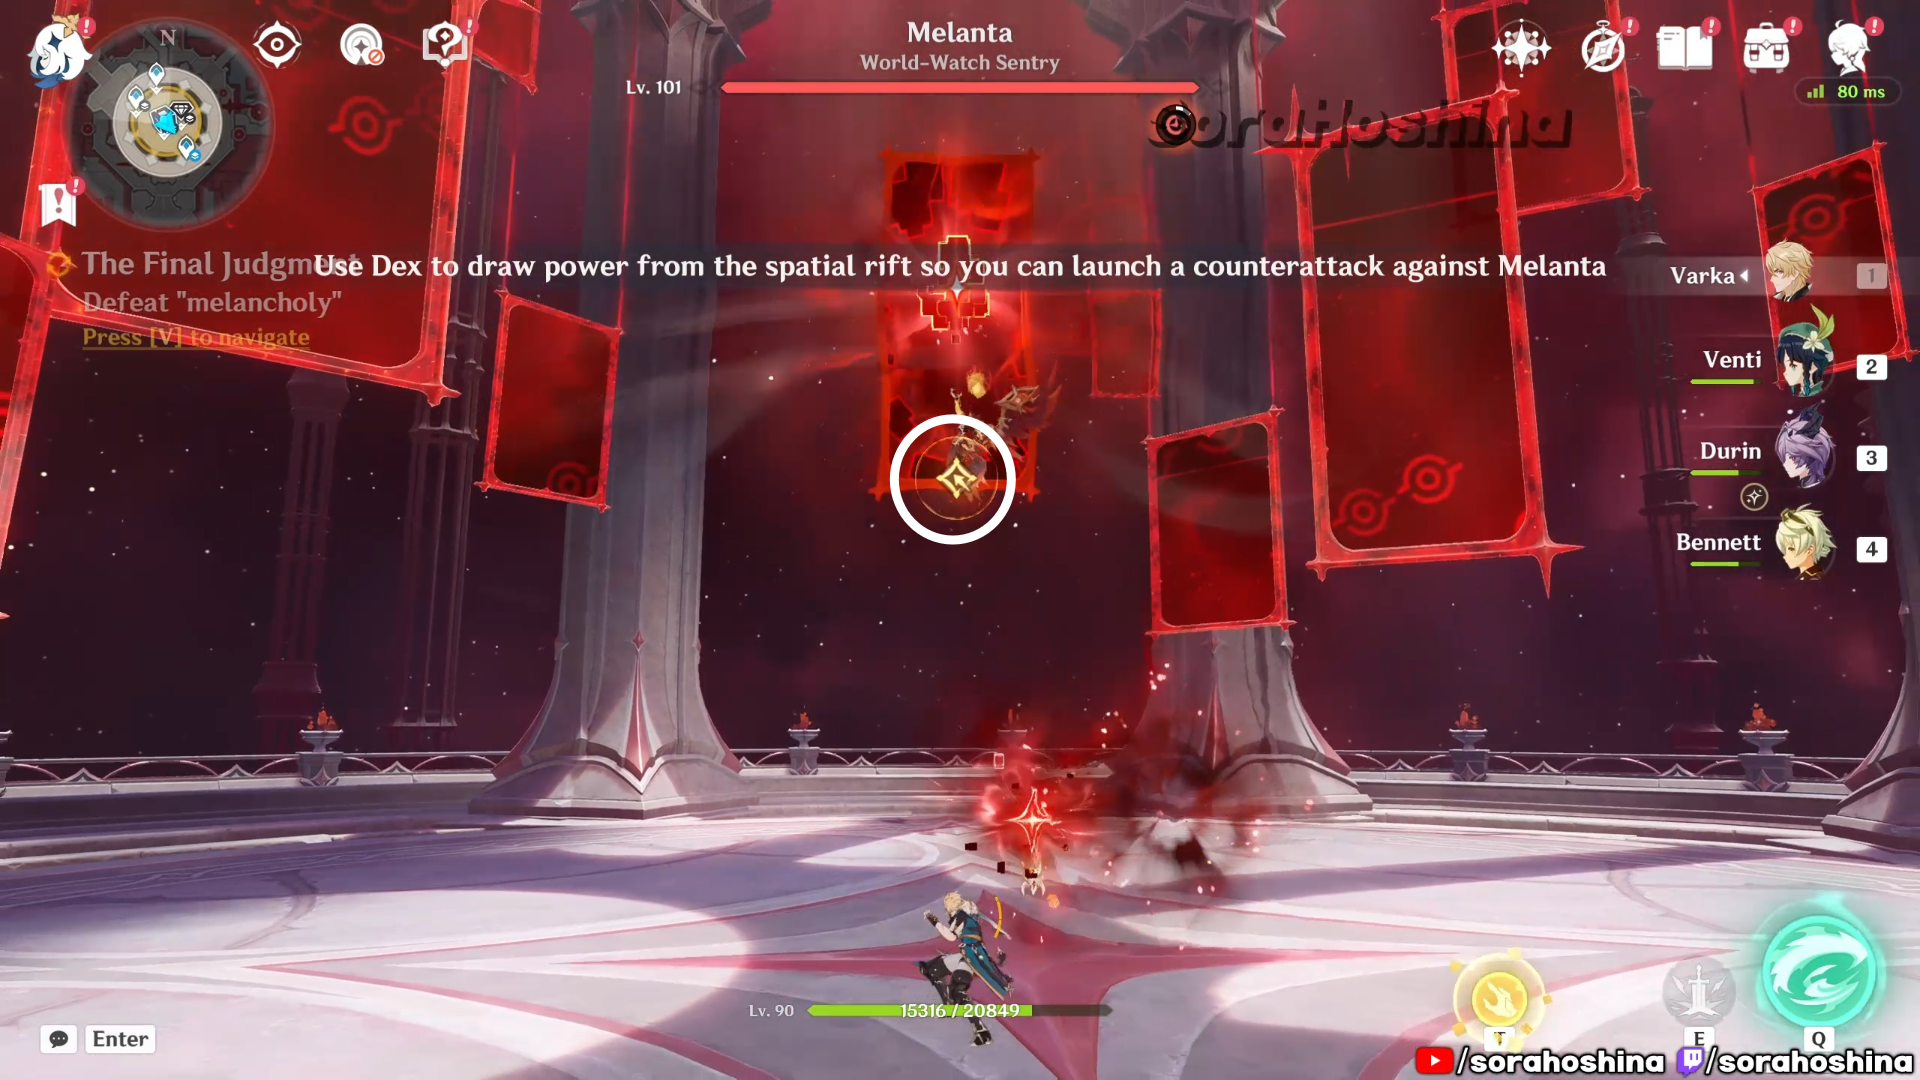
Afterwards, you will have a conversation with Melanta, and will face a boss fight with it. Fight the boss as usual with your best team, but at one point (in the second phase), Melanta will fly higher above your reach and summon ‘mirrors’. Make sure to use Dex (press T) to absorb the crimson blocks from the mirrors and throw it back to Melanta. You need to do this multiple times. After Melanta in the second phase has less than 5% HP, you will have to use Dex again to deal the final blow.

Once the battle over, return to Temple of Space: Memory Core for some more dialogues to finish the quest!


Leave a comment