
The Wind Has Ceased is a quest under the A Long Day in the Mountain Quest Chain released in Genshin Impact version Luna VI. This version boasted a new Mondstadt area, Windrest Peak, and tons of lore for Travelers who like to learn more about the history in Teyvat through the many quests hidden in this new sub-region. This guide will help you find the location to start The Wind Has Ceased quest, and how to complete it in Genshin Impact.
Note: This quest will unlock The Temple of Space, a whole new sub-region like Enkanomiya and The Chasm: Underground Mines.
The Wind Has Ceased Quest Guide
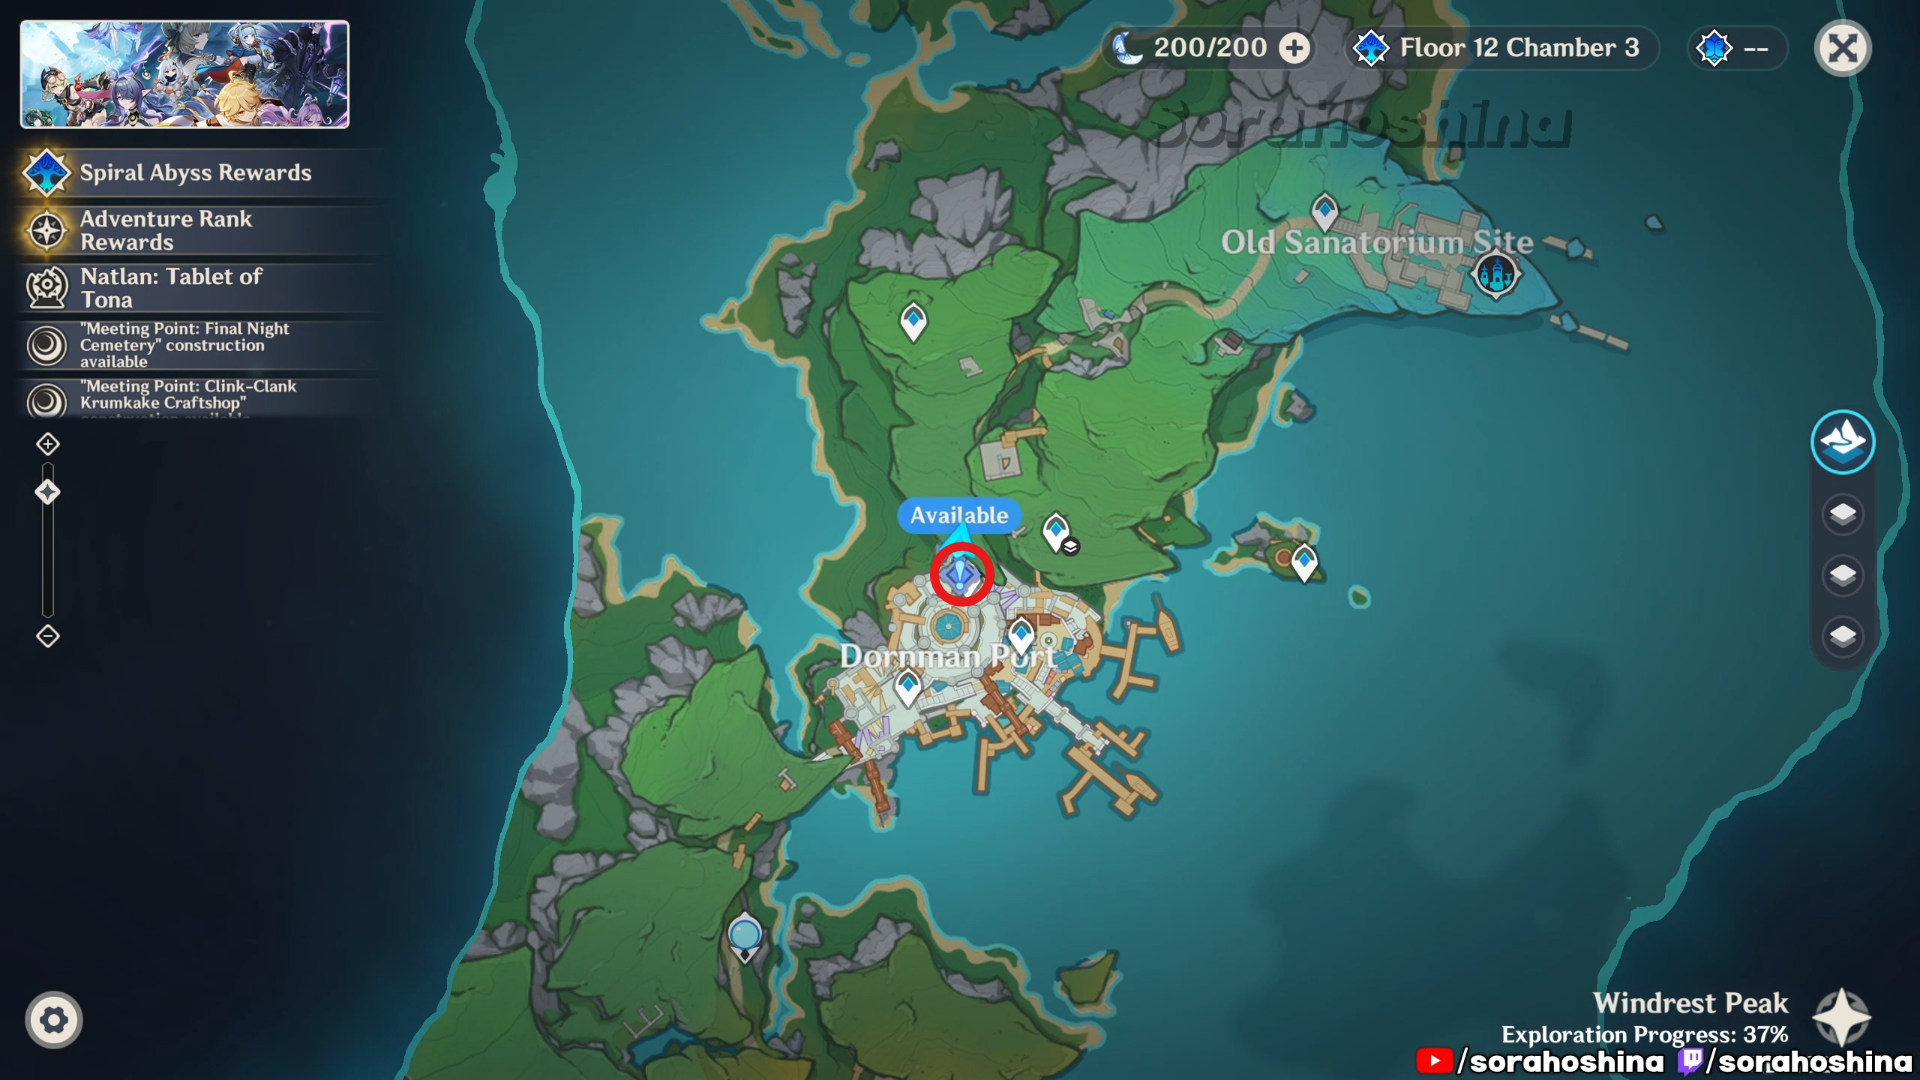
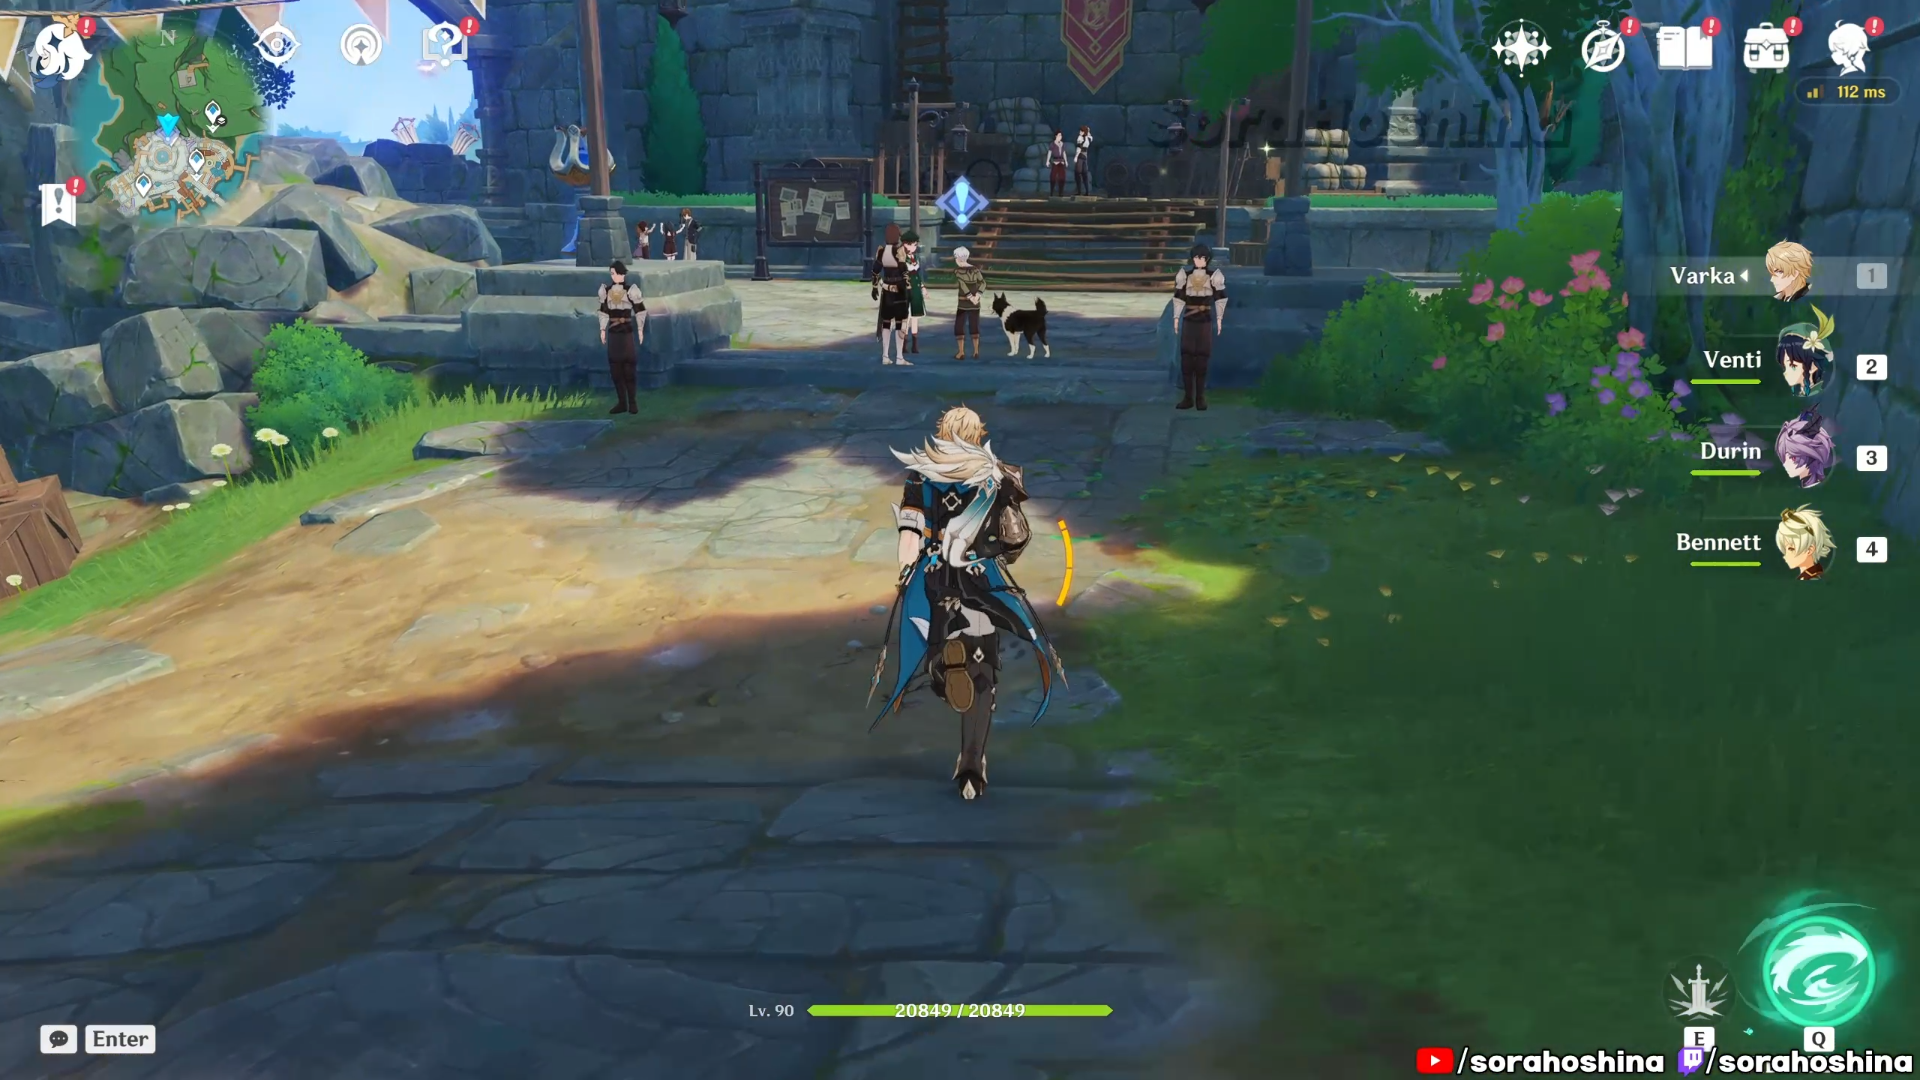
You can start the quest by going to the teleport waypoint north of Dornman Port, Mondstadt. There will be a quest icon on the map, so you won’t miss it. Approaching the area will make you automatically start the quest.
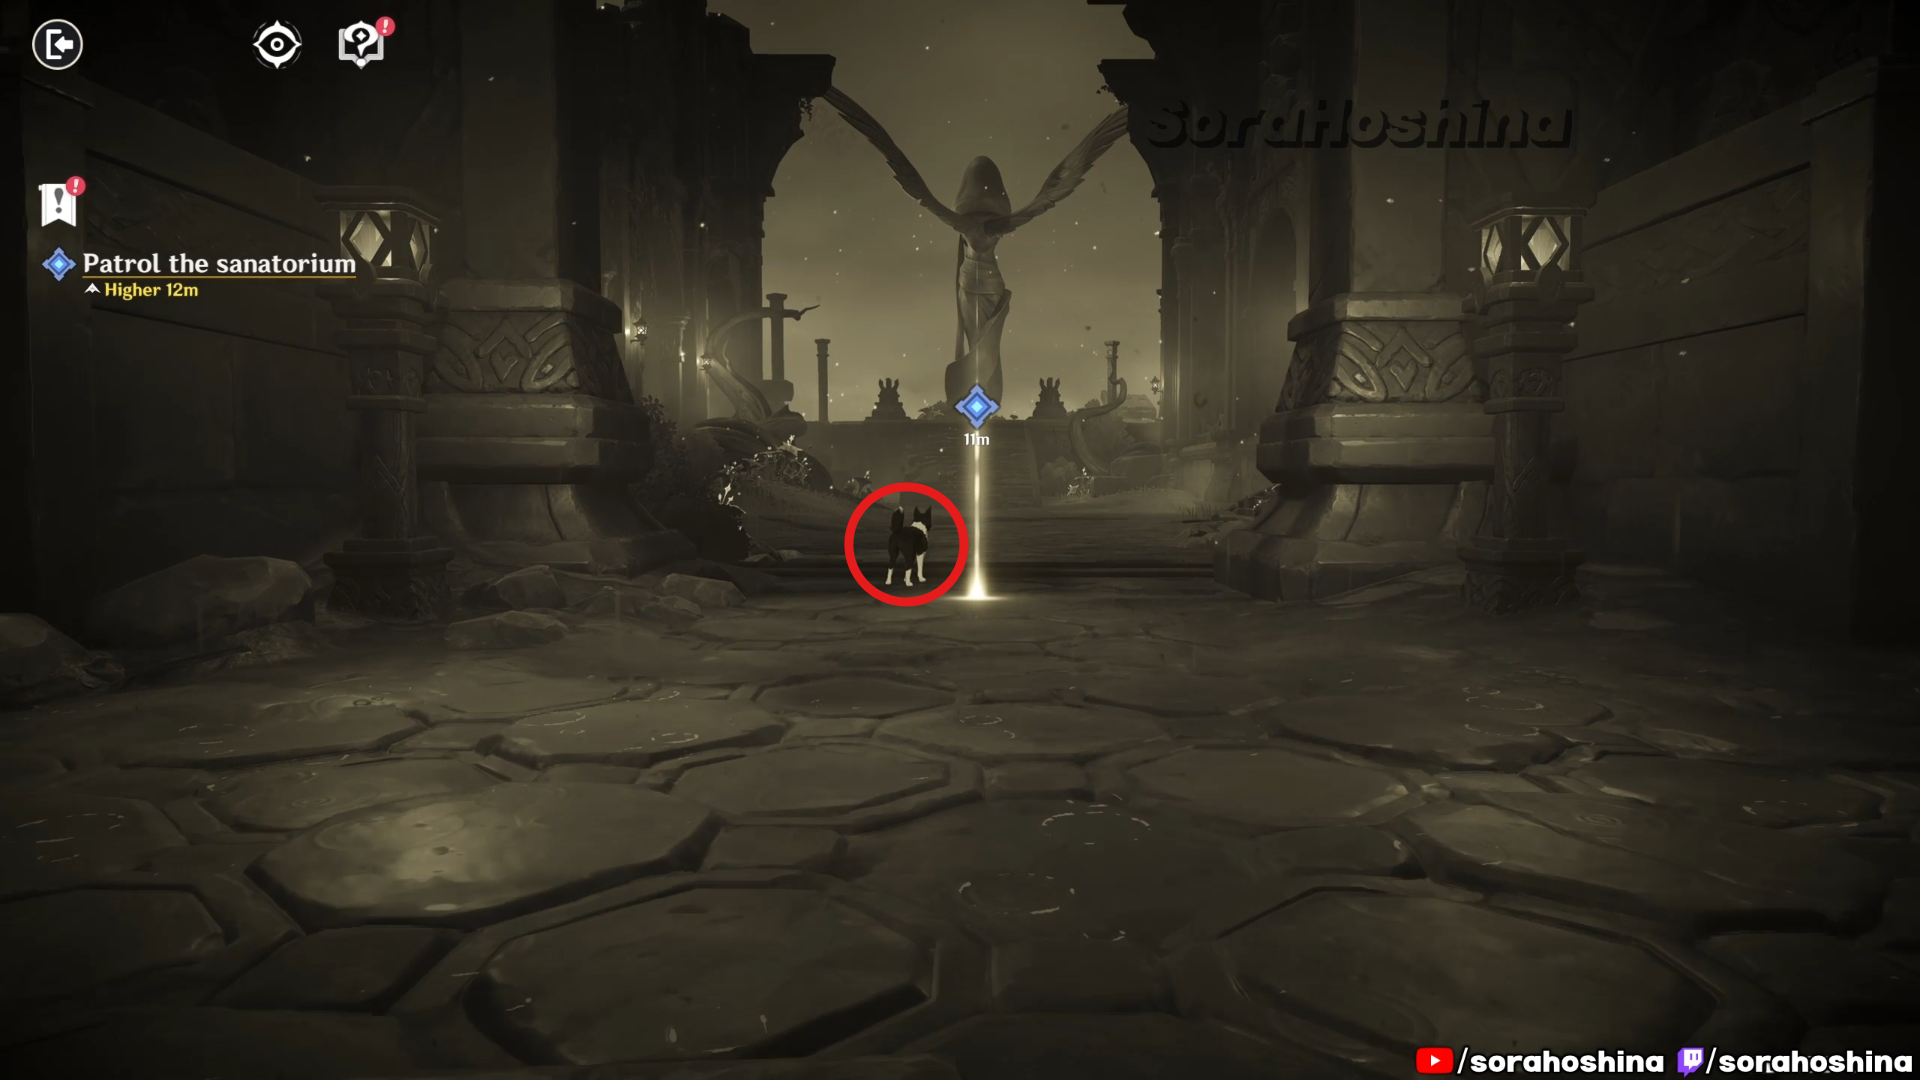
Inside the quest, you will patrol the sanatorium as Old Mann. There’s no puzzle here so just follow the quest navigation until you finished the flashback. But if you’re having trouble with the ‘investigate the anomaly’ at the cemetery (or any of the sub-tasks), make sure to find Hauptmann, the little dog. It will stand in front of the places you need to go or items you need to interact with.
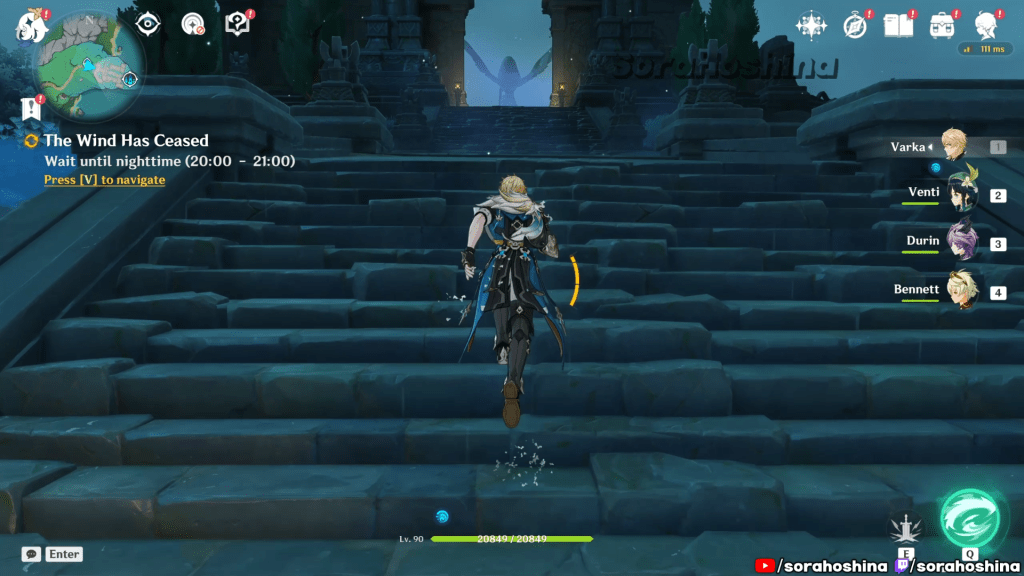
After the flashback by Old Mann, head to the Old Sanatorium Site on the mountain. Change the time to nighttime (20:00 – 21:00) to progress the quest in the cemetery. Here, you will find a new NPC named Zeitlind.
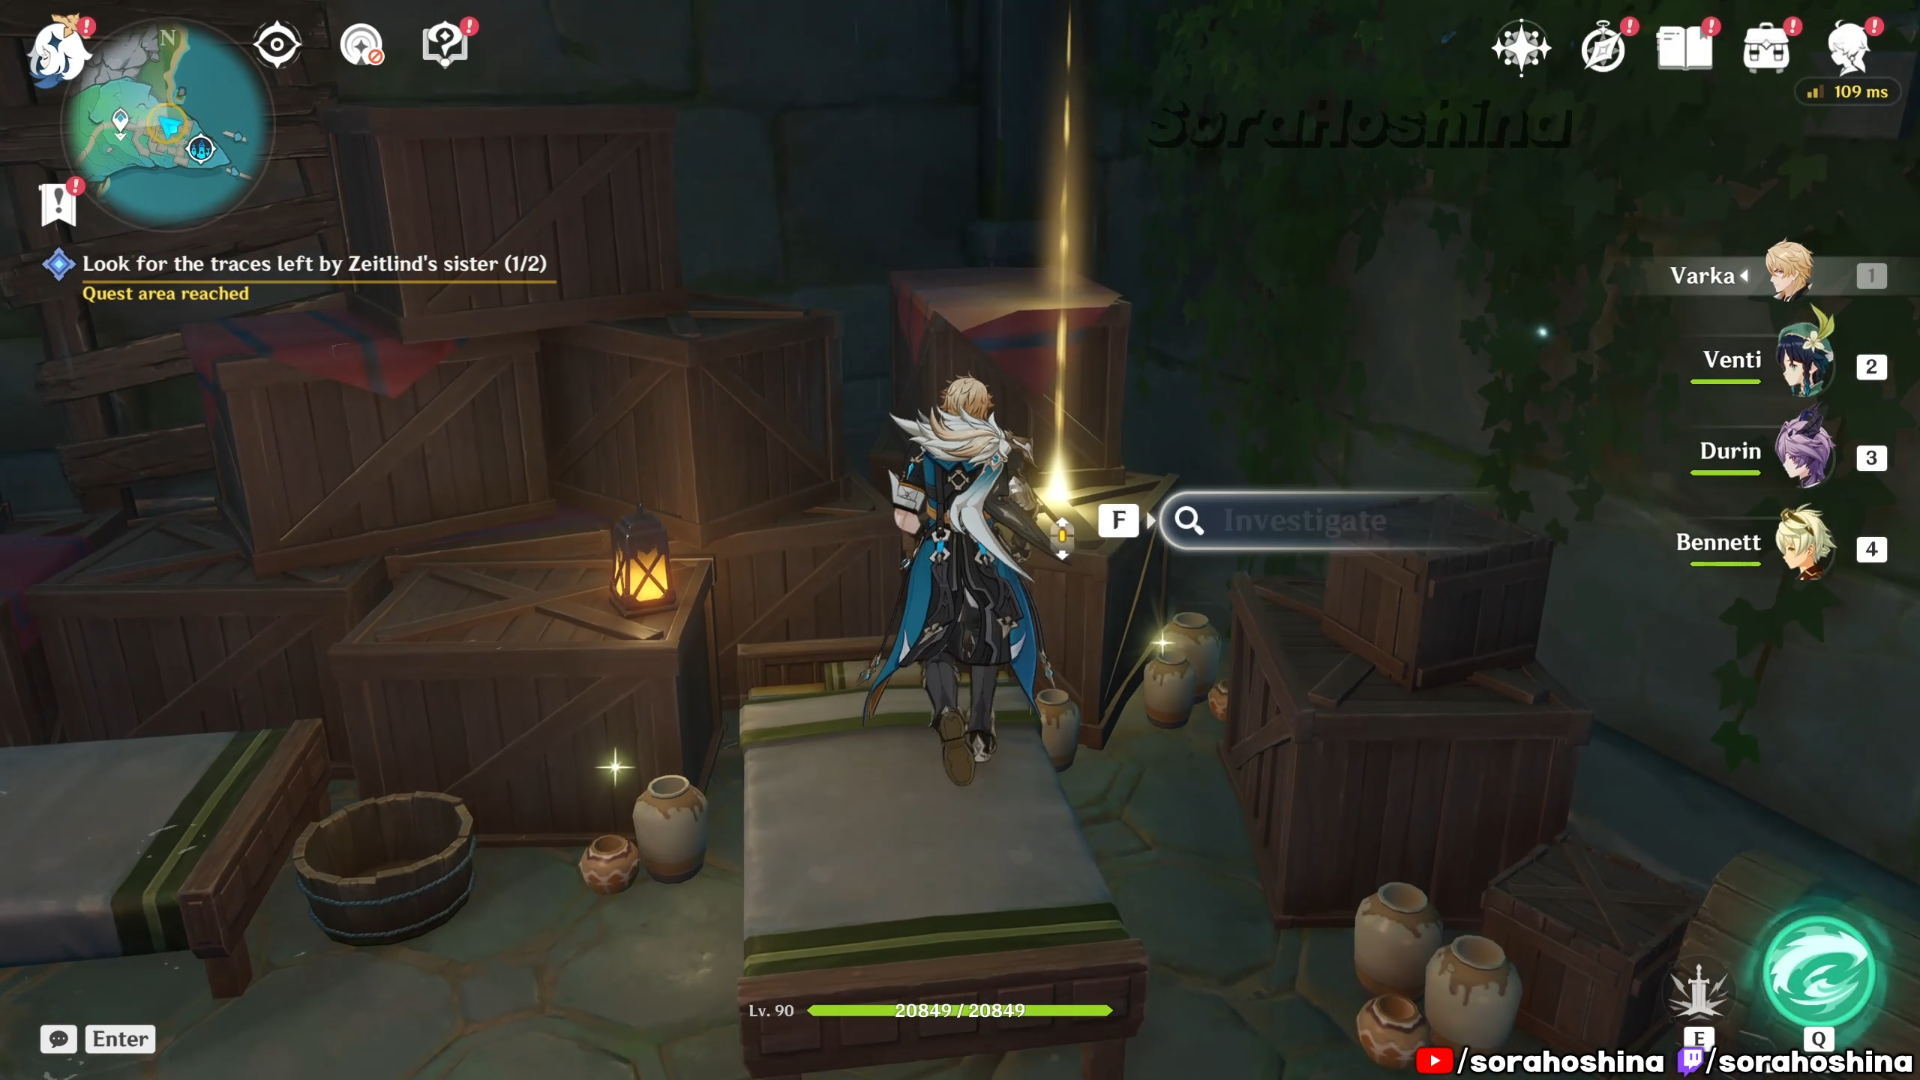
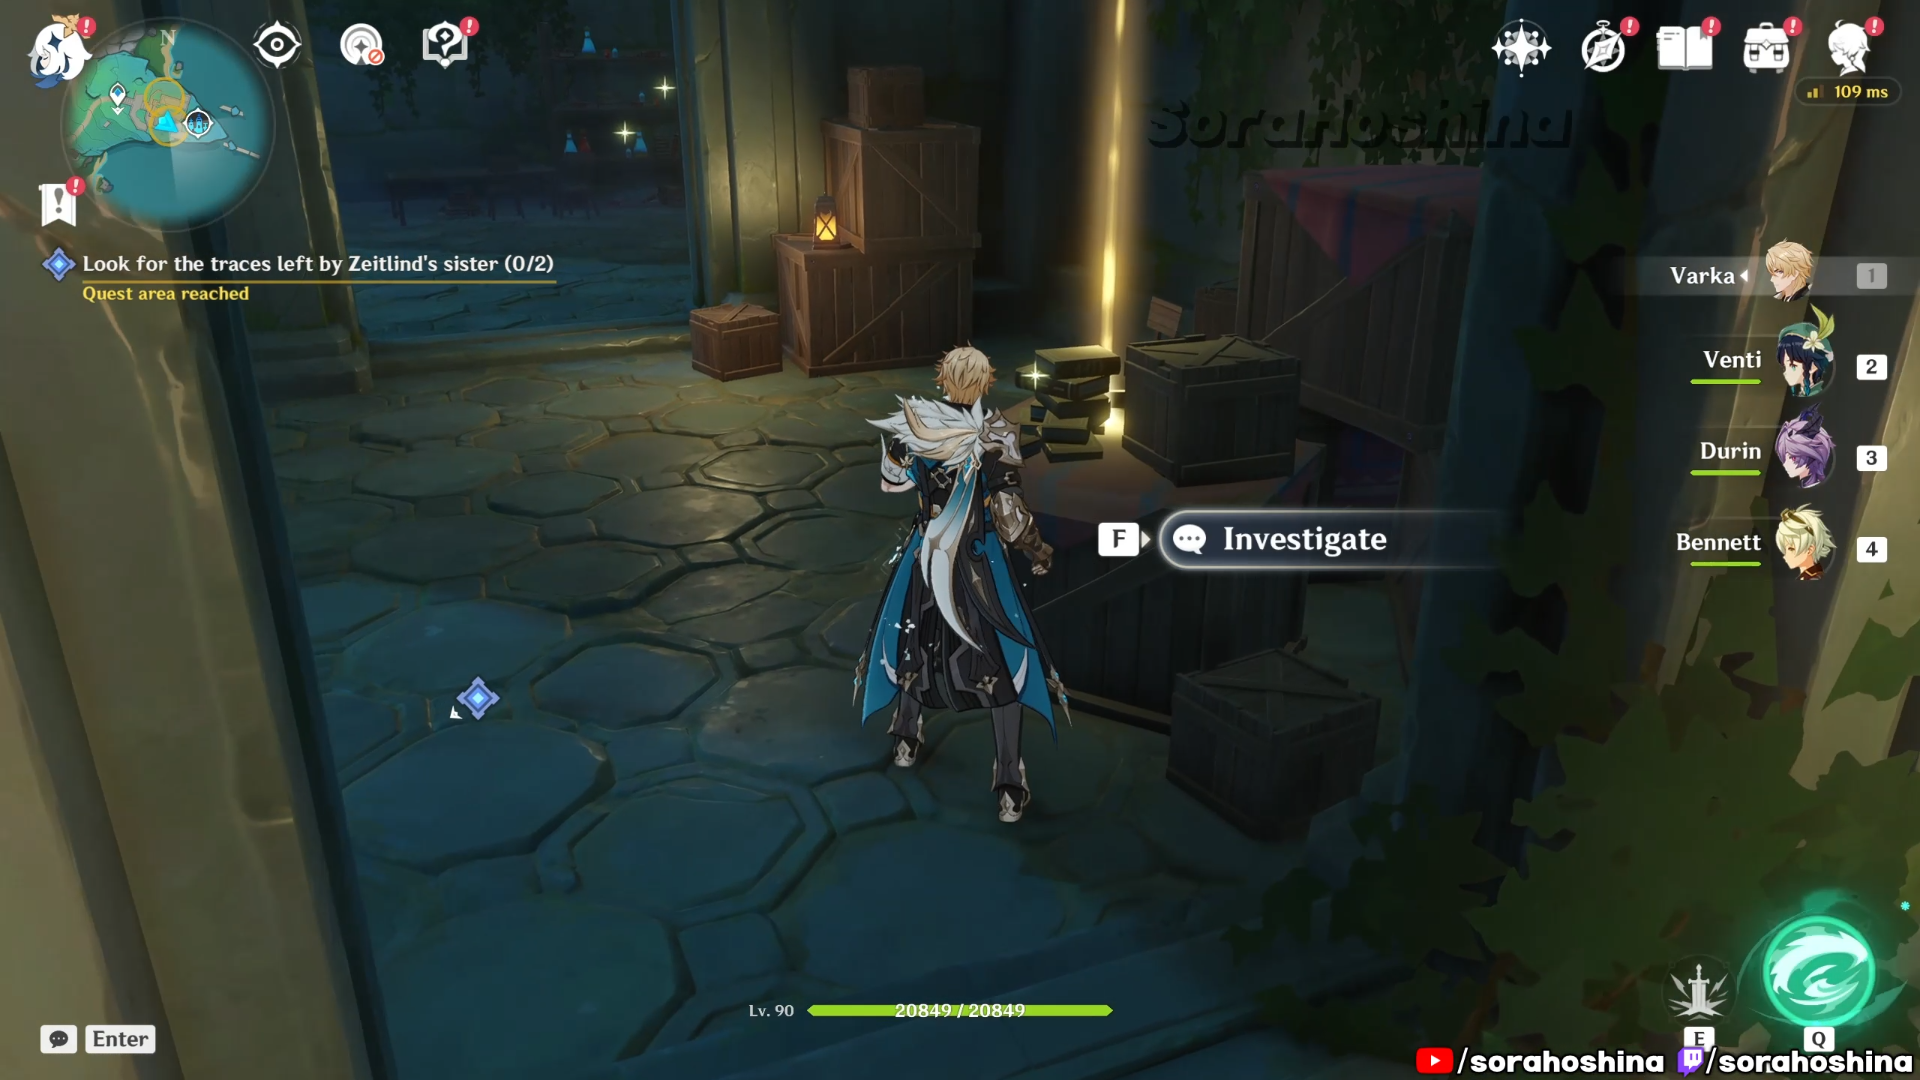
The next task is to find 2 traces left by Zeitlind’s sister. The first one is inside the room right behind the sister’s grave, on top of a box. The second one is in the room further back, also a shining spot on top of a box.
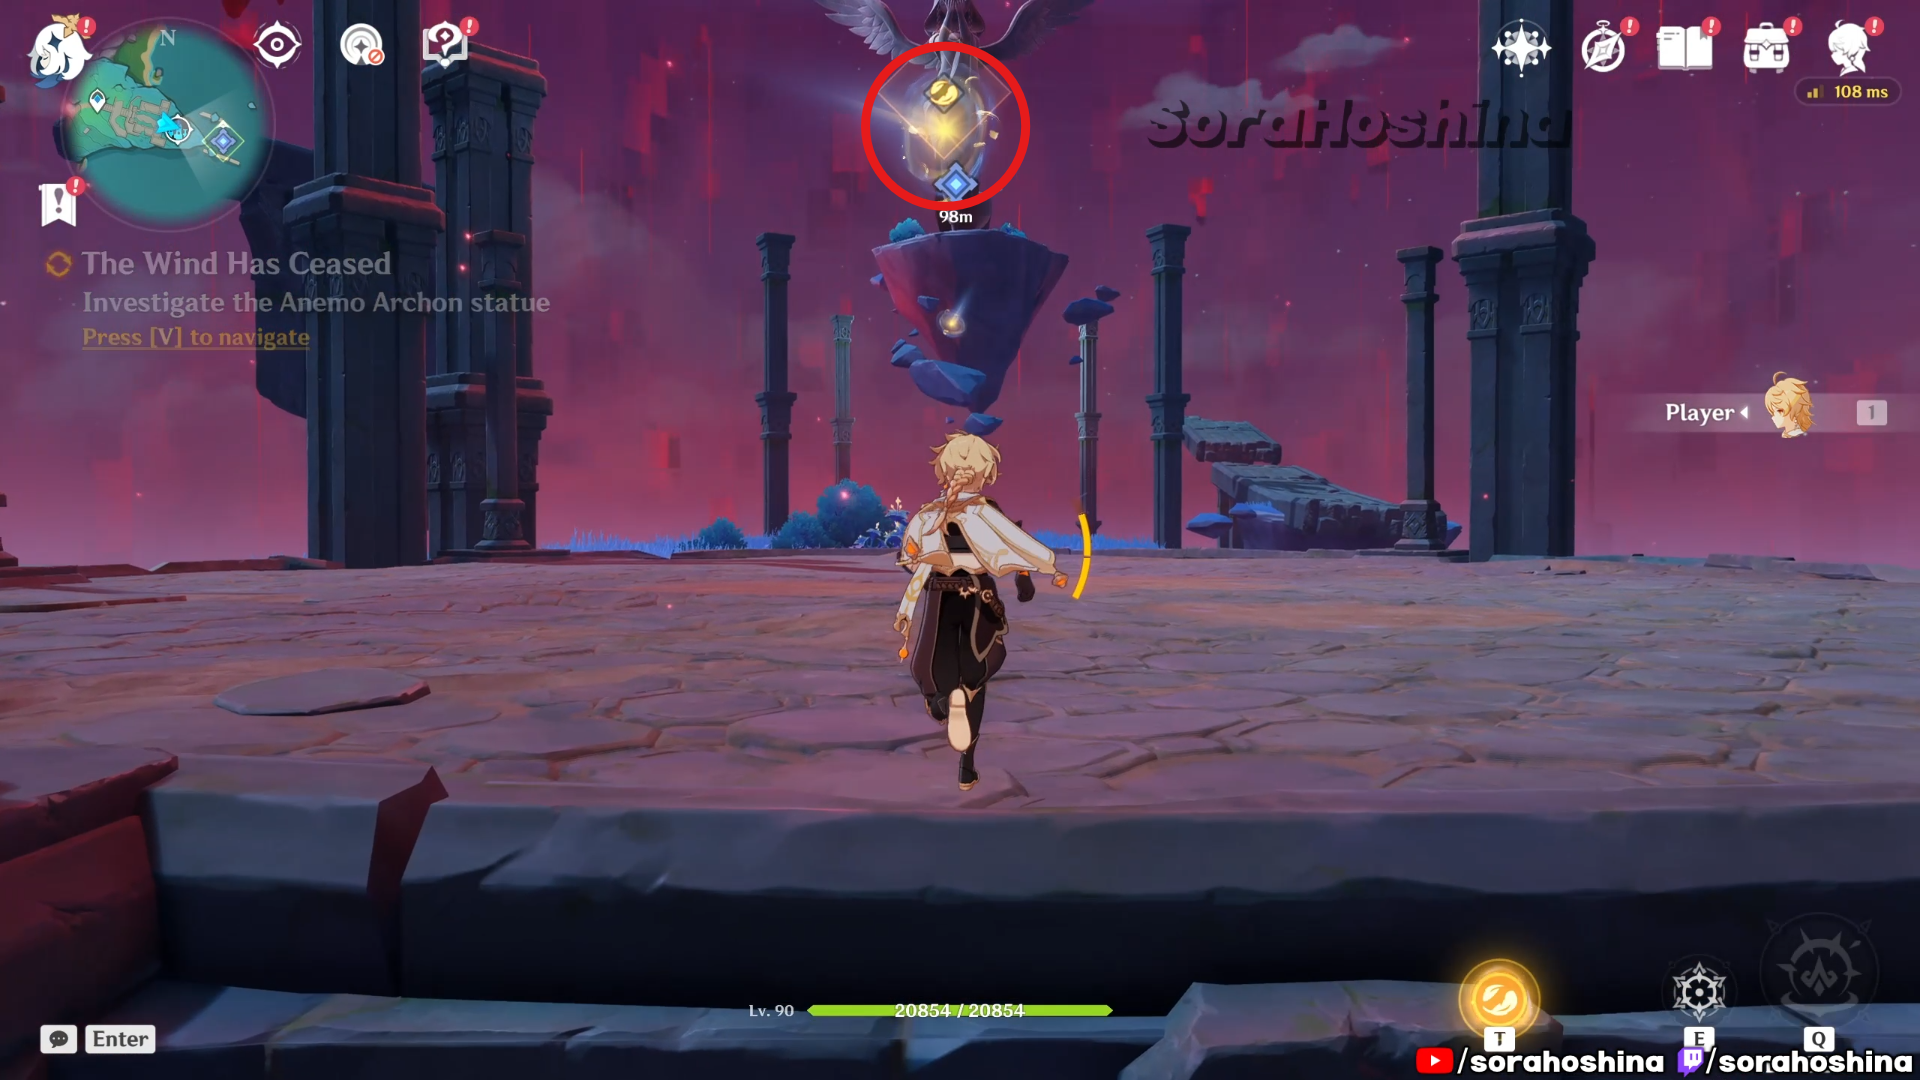
Once you bring your findings to Zeitlind, the new boss will appear and unlock a whole new area, The Temple of Space. Once it finishes talking, investigate the Anemo Archon statue that was floating far away from the ground using the new mechanism that allow you to transform into a moth and fly free through the air.
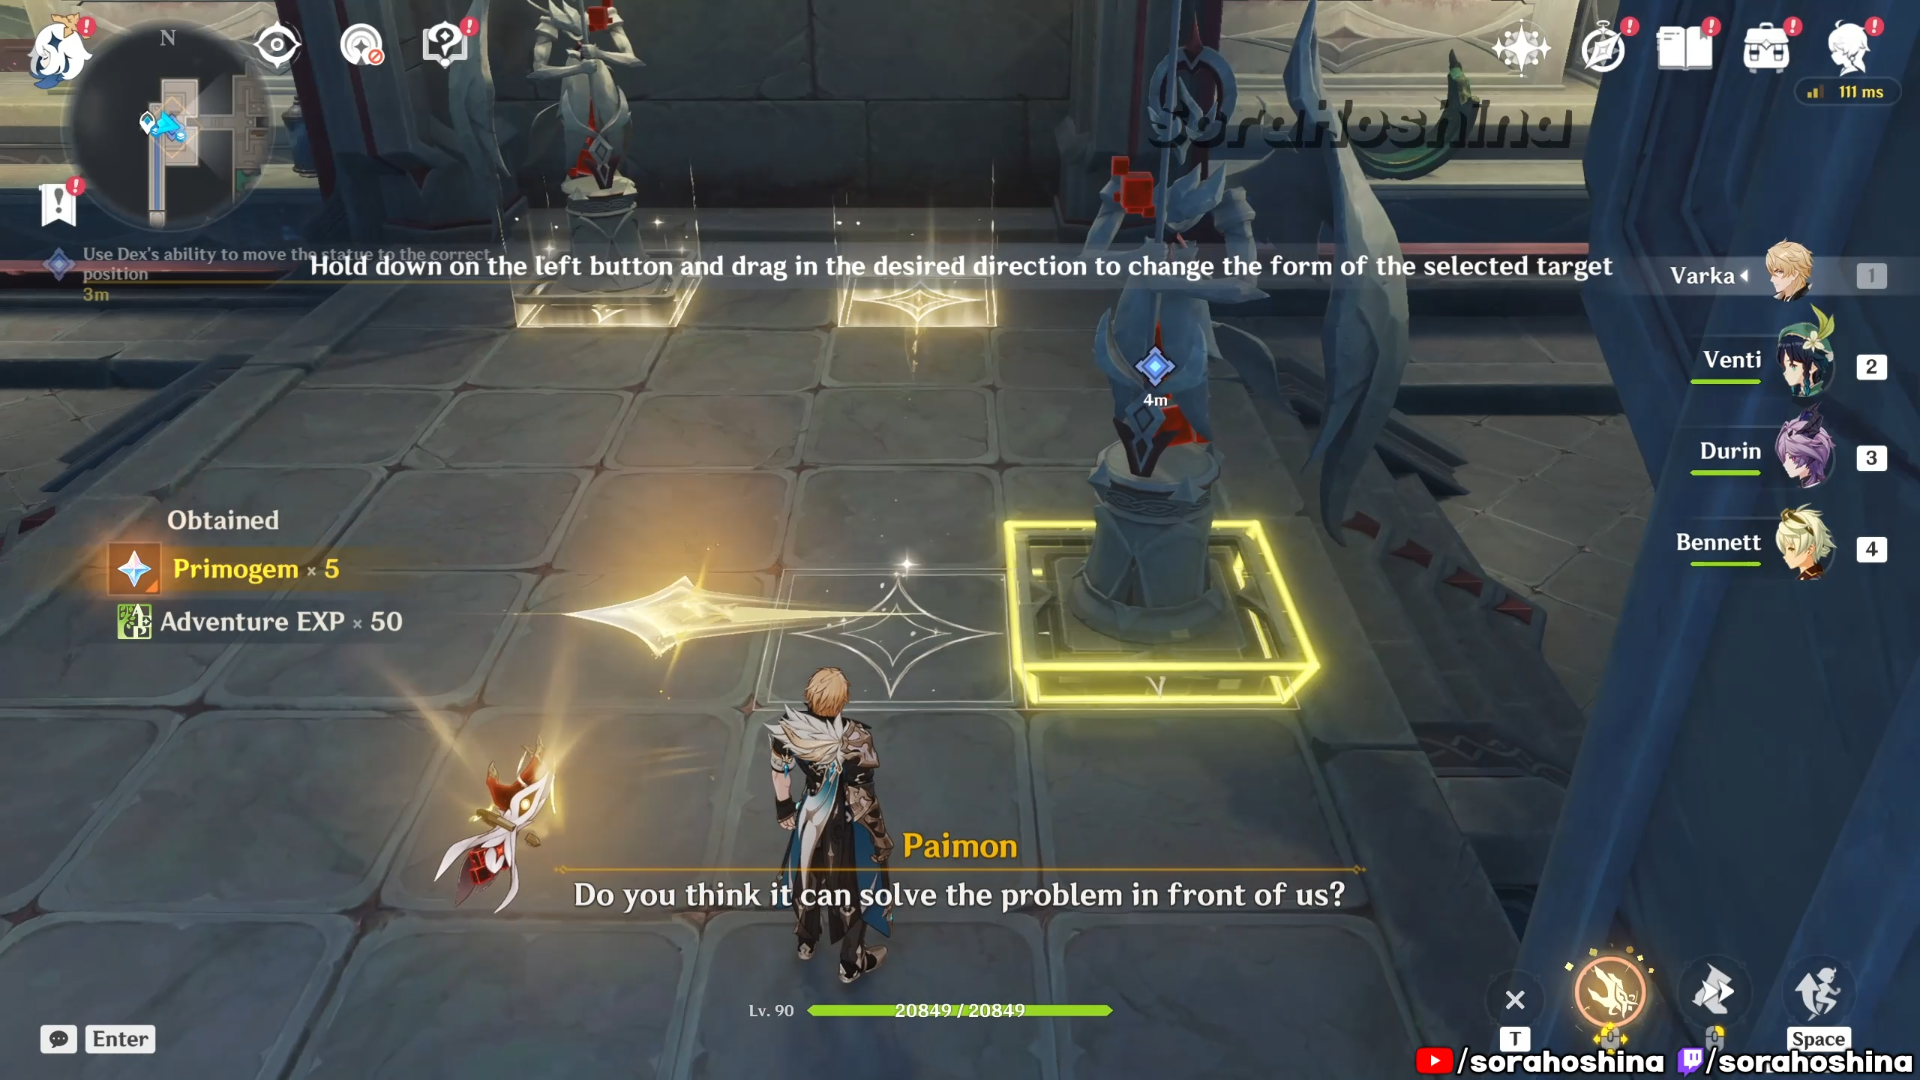
In the Temple of Space, your first puzzle is here and it’s in the form of a new mechanism called Dex: Spatial Dragging. Interact with the statue, and move it to the glowing platform before you can unlock the hidden door (Press T, hold the left-click button and move the camera in the direction it needs to do until you see the glowing arrow on the ground has finished charging, then release the T button so the statue will move by itself).
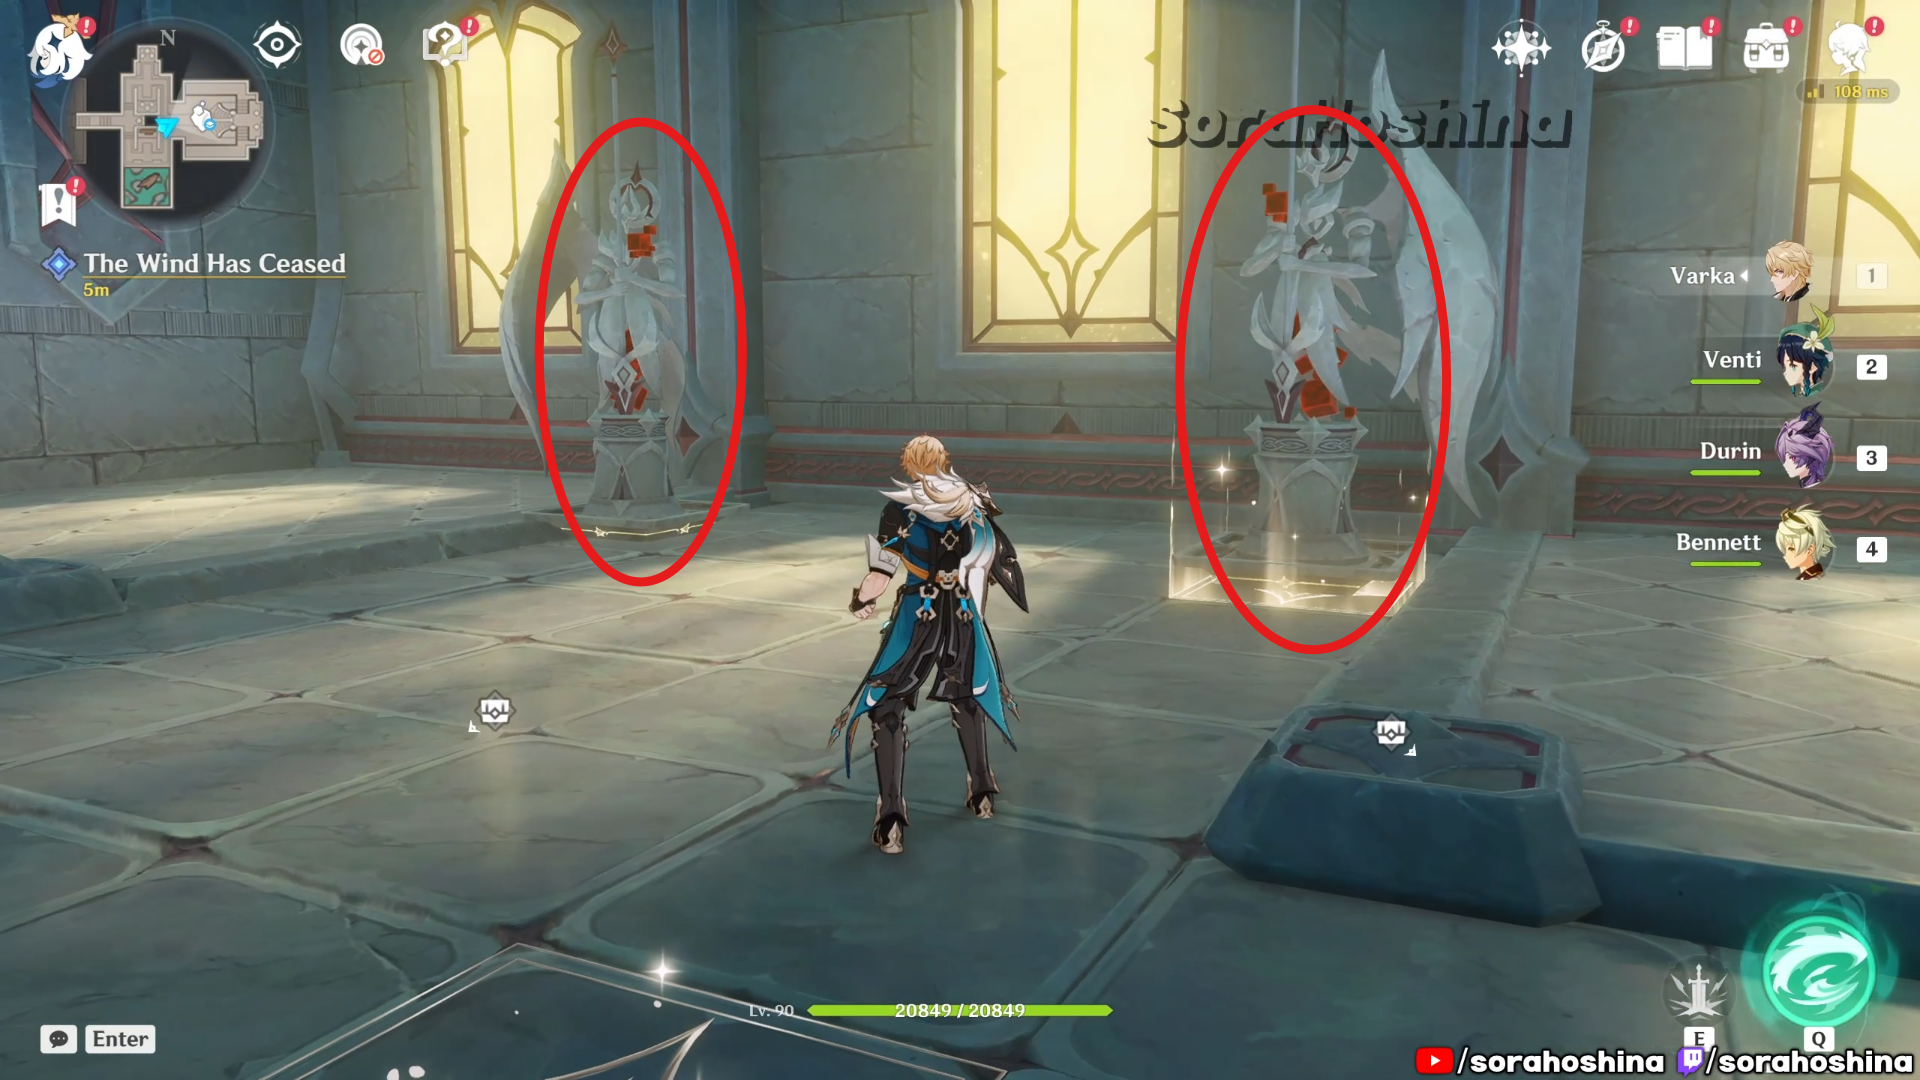
Continue with the quest navigation until you reach a fork road, Whichever is fine as you will need to move two statue to the correct position, which is the two glowing spot you can see in the image above. A new area will be unlocked to progress through the quest.

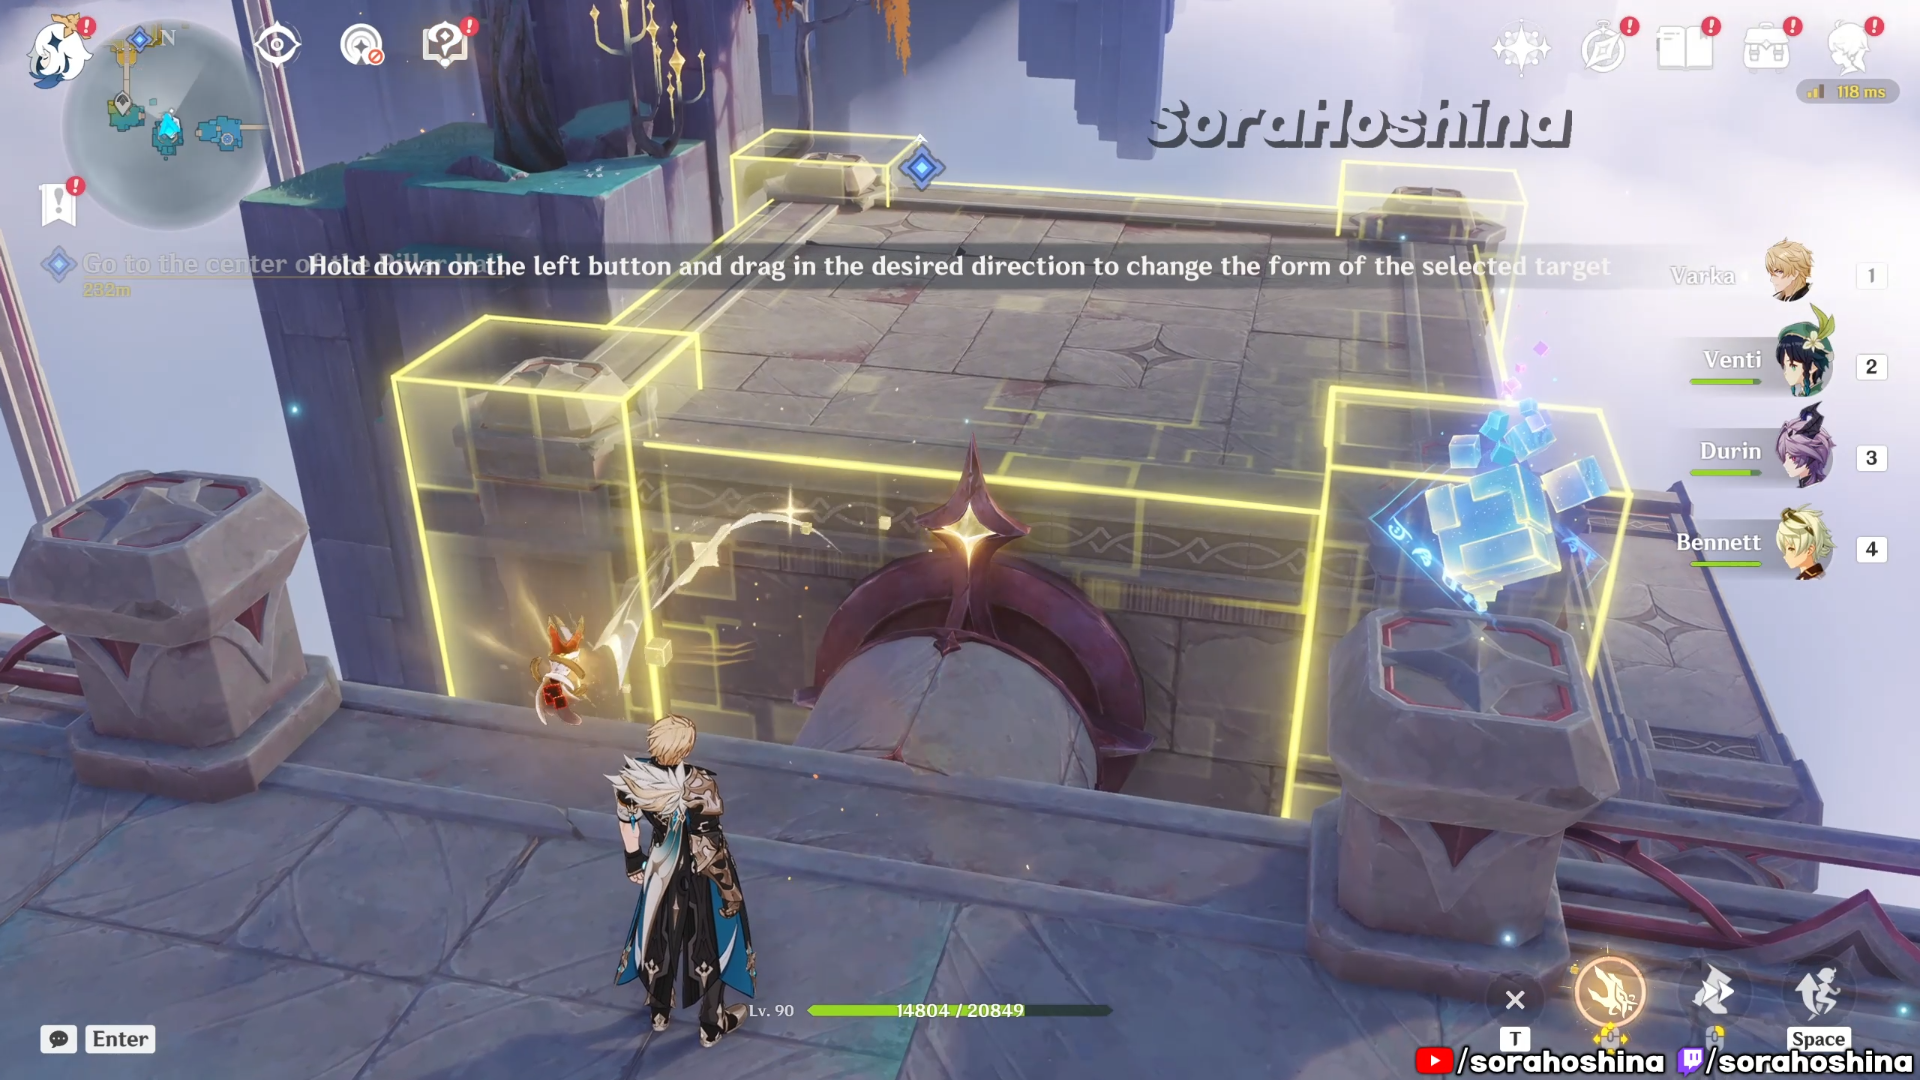
Further ahead, you will find another NPC named Istoria. Without spoiling anything, let’s continue the quest where you need to move the wall using the Dex: Spatial Dragging mechanism. Do this for every moveable walls you come across until you reach the quest navigation in southeast of Pillar Hall Central Zone.
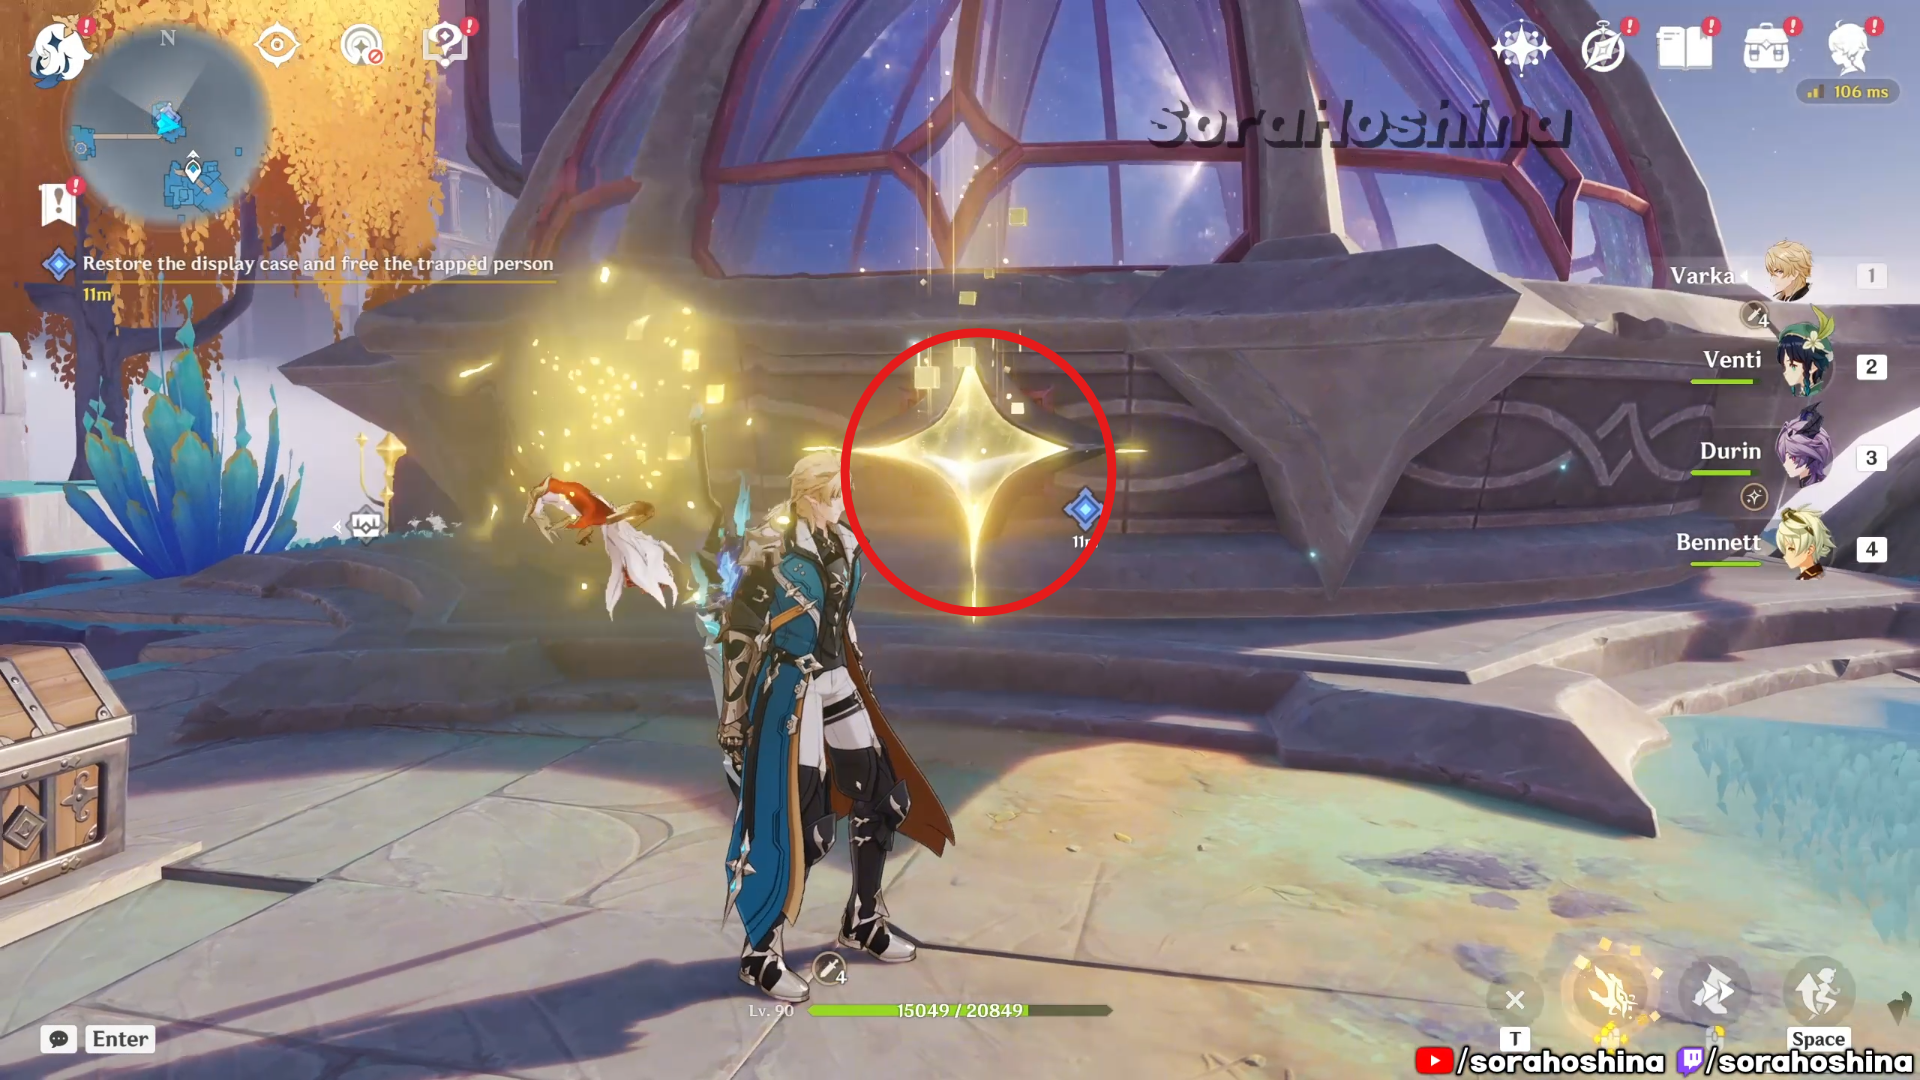
The next task is to restore the display case that looks like a huge dome and free the trapped person inside. The mechanism is still the same Dex: Spatial Dragging where you interact with the dome, drag the arrow frontward (by moving the camera forward), and release it.
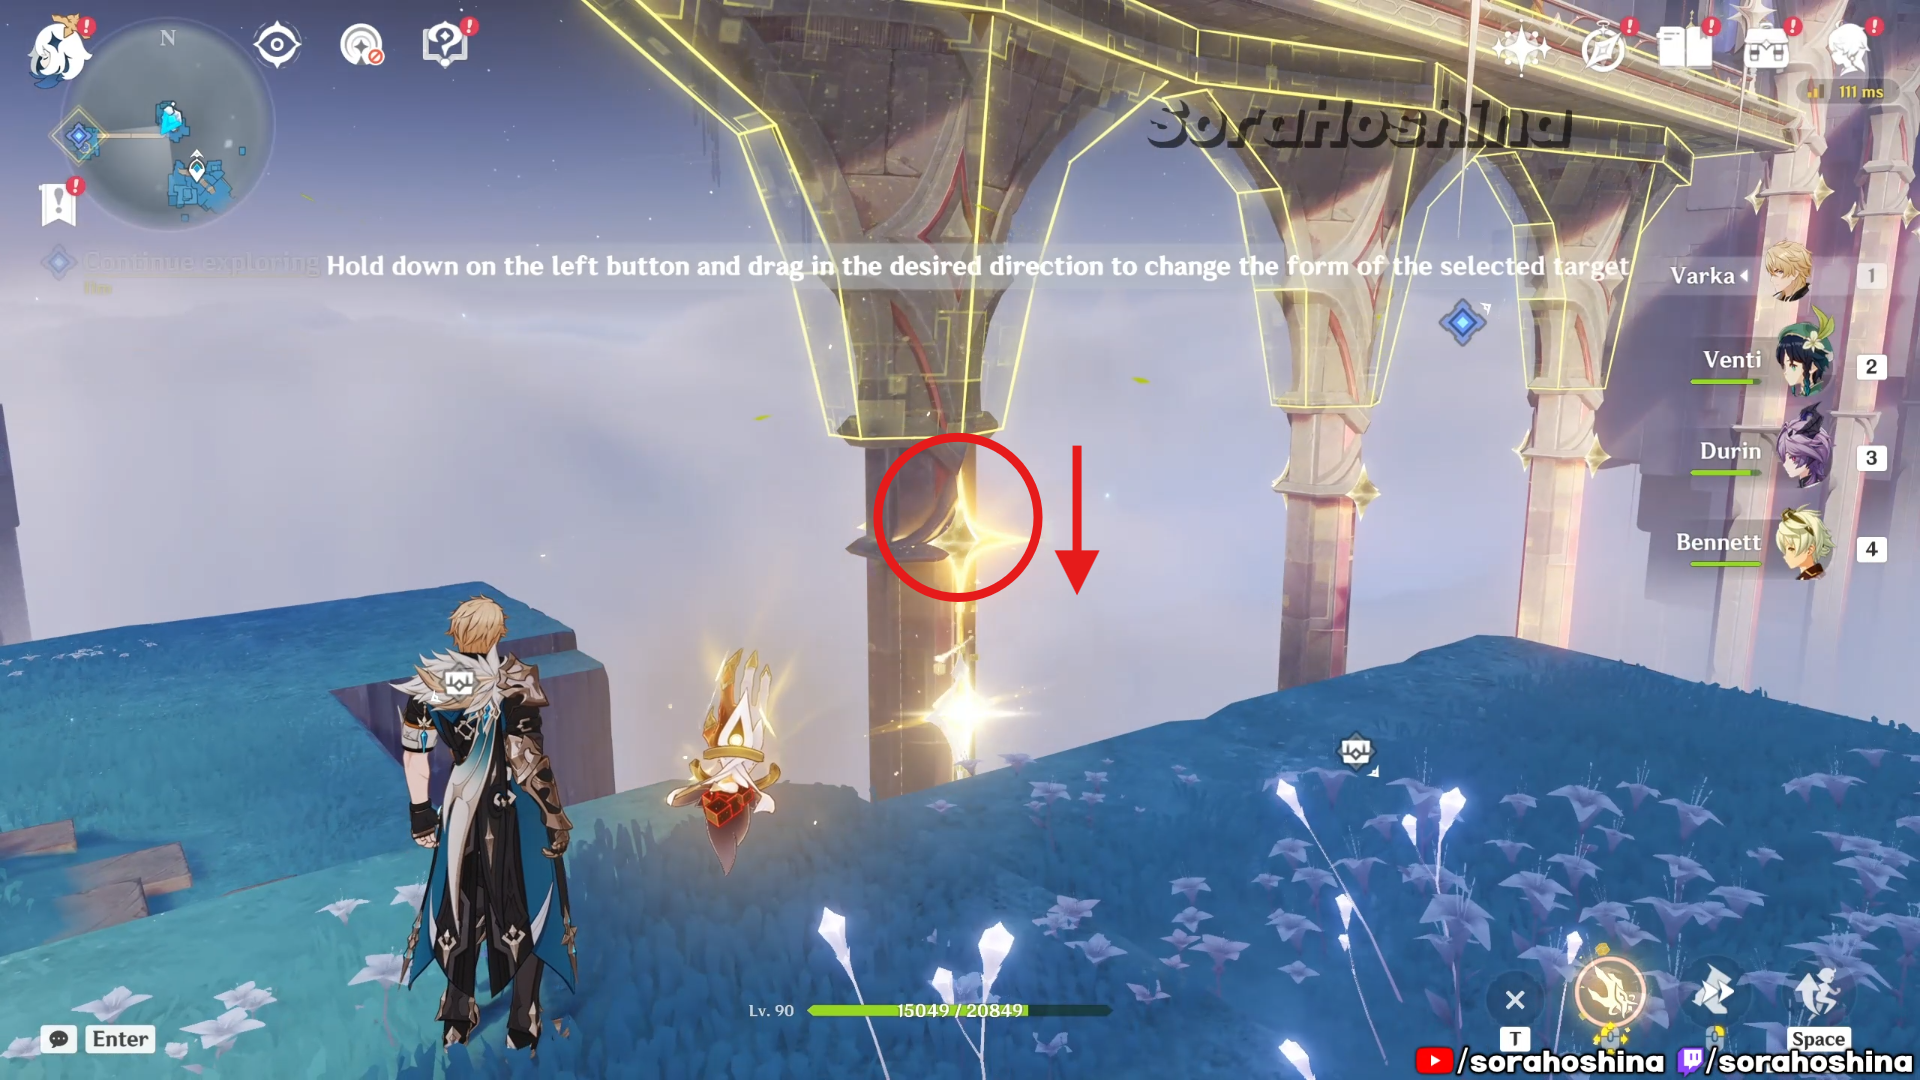
After saving yet another NPC, you need to reach the Pillar Hall Central Zone. To do that, you need to lower the bridges using Dex: Spatial Dragging. Go to the top of the platform, look at the central pillar, and drag your camera downwards until the arrow is fully charged. Be careful as the bridge will only lower temporarily so jump on top of it as soon as it goes down.
Continue with the exploration as the following puzzles are still with the Dex: Spatial Dragging until you reach the center of the Pillar Hall. Inside the navigated area, you will continue the story until the quest is finished.
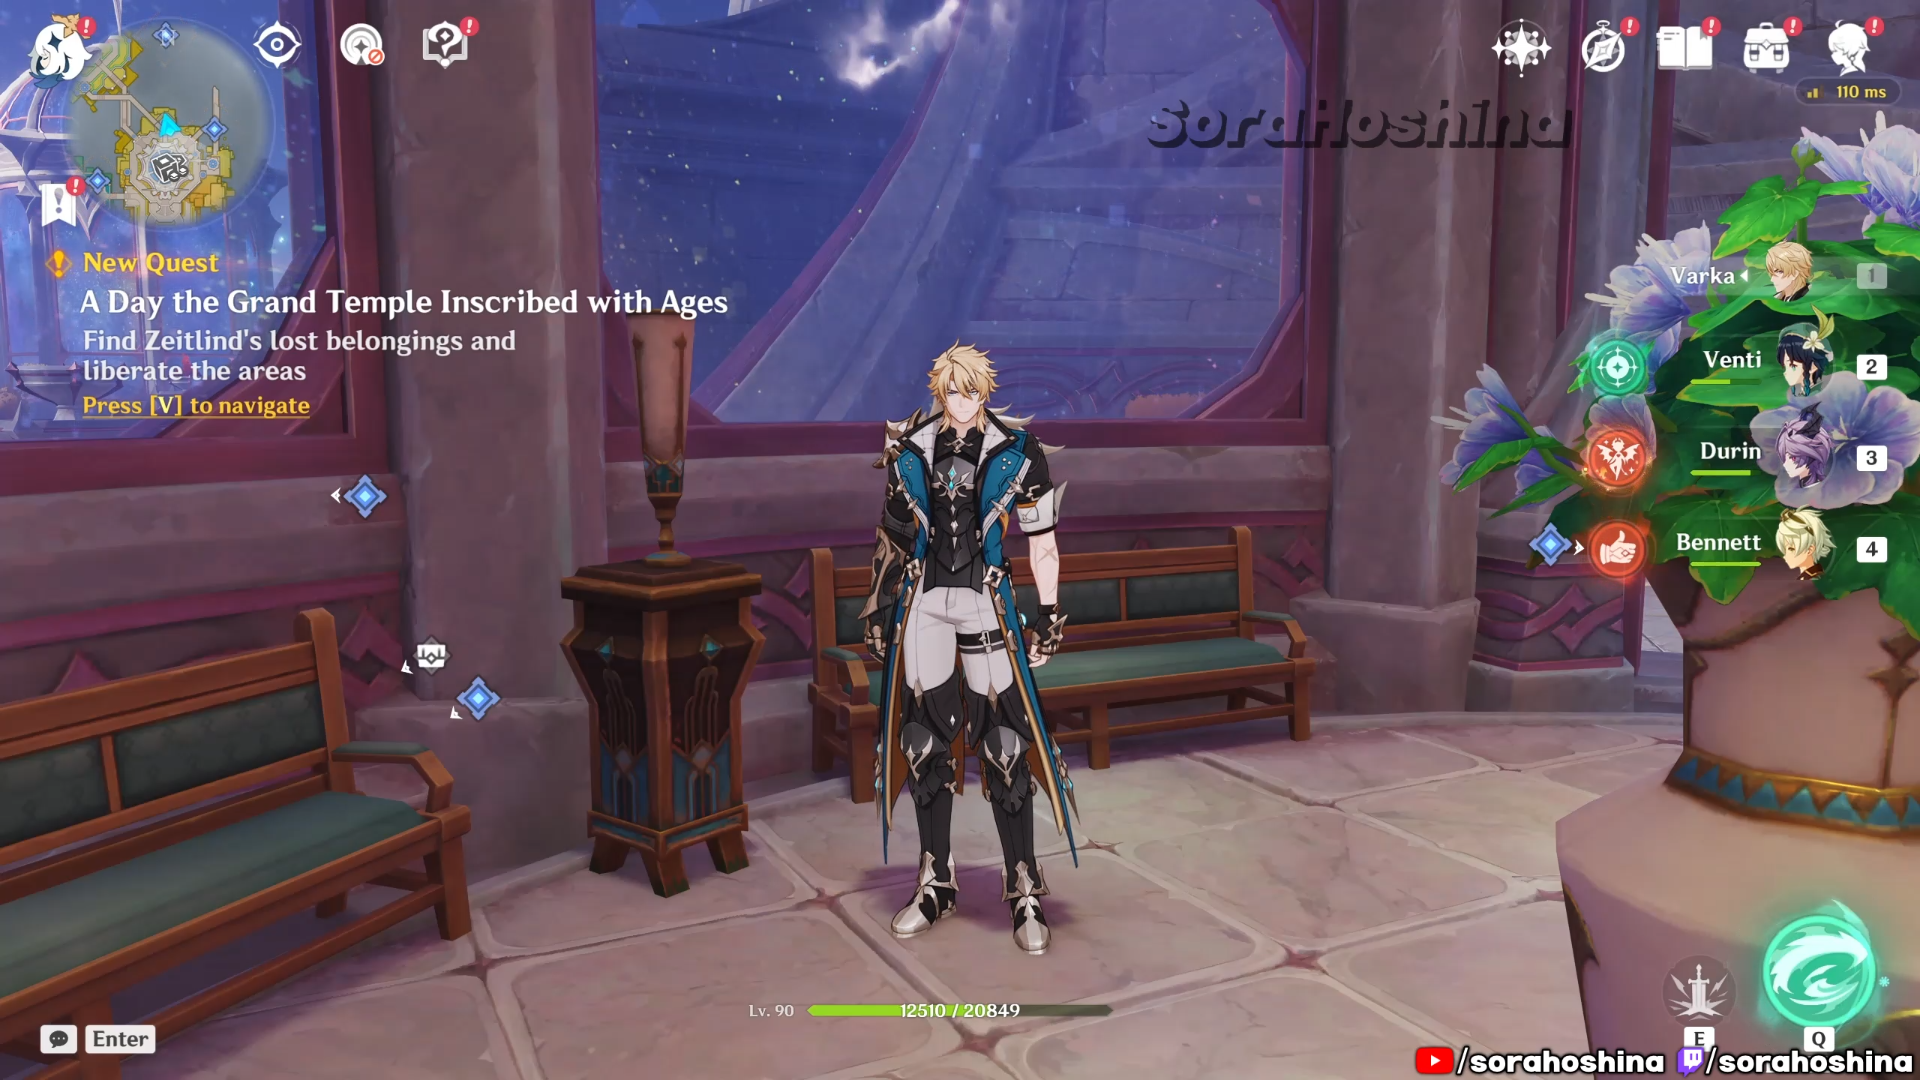
The continuation for this quest is A Day the Grand Temple Inscribed with Ages. Click here for the full quest guide!


Leave a comment